

The connection flow
Every connection follows the same flow:- Prepare the end system. Create the service account, grant the permissions, or generate the credentials your connector needs. This is the part that differs per system, and it’s what each connector’s own page documents under Required plan and roles and Instructions.
- Find the integration card in Lumos. Integrations are managed from the Lumos admin settings. Search for your app or generic method and open its card.
- Enter credentials and connect. The card prompts for exactly what the connector needs, such as an API token, OAuth consent, or a database URI with a username and password. Click Connect.
- Wait for the first sync. On a successful connection Lumos starts an initial sync, pulling accounts and entitlements from the system. Duration depends on the size of the system, from minutes for small apps to considerably longer for large directories.
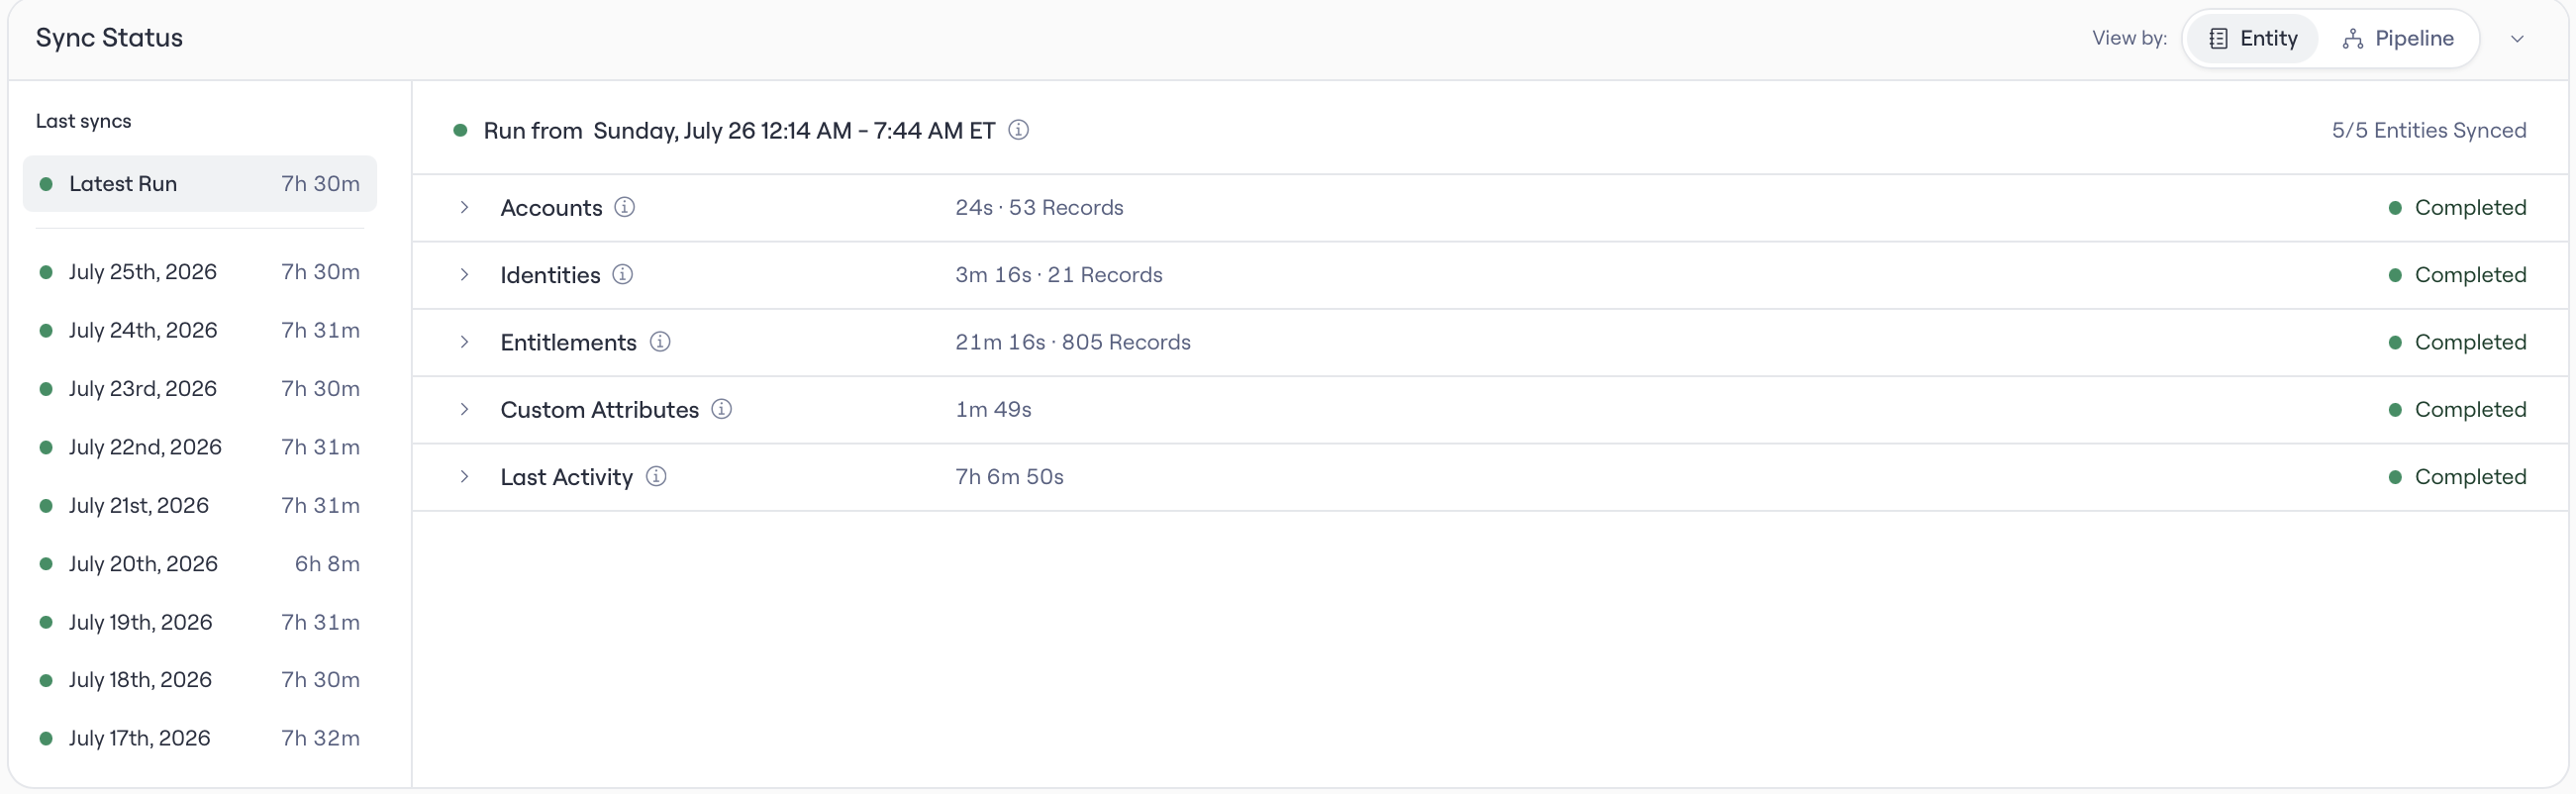
Some connectors take more than one step A few connectors, such as JDBC, require a connector version download in Configure Integrations before the connection settings appear. When a card shows a download step instead of settings, complete it first. The settings screen follows.Checking sync status. The integration card shows the connection state and last sync. If a sync fails, start with the connector page’s Troubleshooting section, which is keyed to the error strings Lumos surfaces.
Configure Integration to rotate credentials or upgrade a connector’s scope set. Reconnecting replaces the stored credentials without losing the app’s history. Some integrations have reconnect specific caveats listed in the integration-specific document.
Disconnecting. Disconnecting removes stored credentials and stops syncs. Your synced data history stays in Lumos.
Access levels and capabilities
Every connector page carries the same two building blocks: an access statement (what permissions the connection needs) and a Capabilities table (what Lumos can do once connected). Here’s how to read both.Sync, provisioning, and deprovisioning
Sync is read access. Lumos pulls accounts and entitlements from the system on a daily schedule, keeping its picture of who-has-what current. Sync alone powers visibility, Access Reviews, and reporting. Provisioning is write access. Lumos creates accounts, assigns and manages entitlement access, and grants access in the system, driven by access requests and lifecycle workflows. Deprovisioning is the write path for removing access: deactivating or deleting accounts, unassigning entitlements, and offboarding actions like transferring data or freeing licenses. The connector page’s Capabilities section states exactly which deprovisioning actions the connector supports, because they differ by system.Reading a Capabilities table
Connector pages show capabilities in a table like this:
A Yes under Sync means Lumos can see that object type. A Yes under Provision means Lumos can change it. A row that syncs but doesn’t provision is possible: many systems expose reads their API doesn’t allow writes for.
The read-only trade-off
Many connectors can run with reduced permissions in a sync-only mode. The trade is always the same: fewer permissions granted means limited actions Lumos can take, no provisioning. Every connector page documents this under Read-only access vs provisioning, including exactly which scopes the read-only path drops and which Lumos features stop working as a result. If your security review prefers minimal grants, start read-only. Moving to provisioning later is a reconnect with broader permissions, not a rebuild.Types of integrations
An integration does one or more of these jobs. Knowing which job you need tells you which integration to set up.One service, more than one integration
The same service often has separate integrations for separate jobs, each with its own credentials. Connecting one does not give you the other.
Set up each integration from its own page, and grant only the scopes that page lists.