Background
Flexible provisioning lets you control the order of provisioning steps. Previously, if manual steps were needed on a permission, Lumos always provisioned to the Okta group first, which didn’t work for complex apps. This article covers the UI changes and shows you how to configure provisioning in Lumos.App-Level UI Changes
When you navigate to the AppStore settings, the Provisioning section will look a little different. This is what it used to look like before: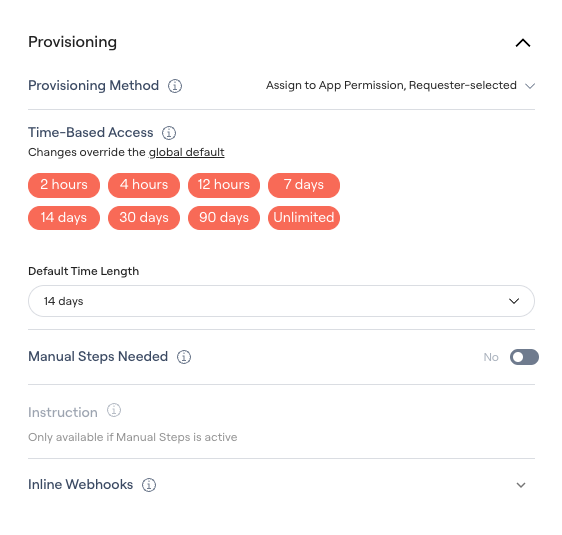
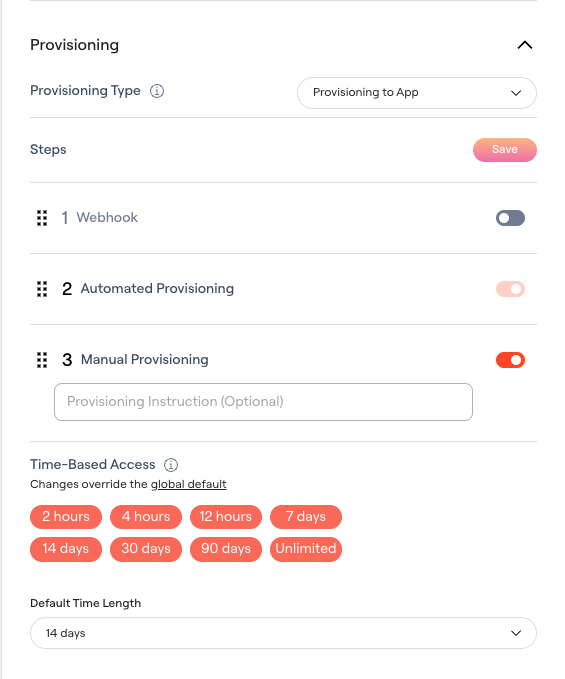
Provisioning Method is now Provisioning Type
Lumos previously used a concept called Provisioning Method, which meant that it would be:- N/A
- Assign Directly to App
- Assign to App Permission, Defaulted
- Assign to App Permission, Requester-selected
- Provisioning to Permission
- Provisioning to App
Provisioning to App
Steps (App-Level)
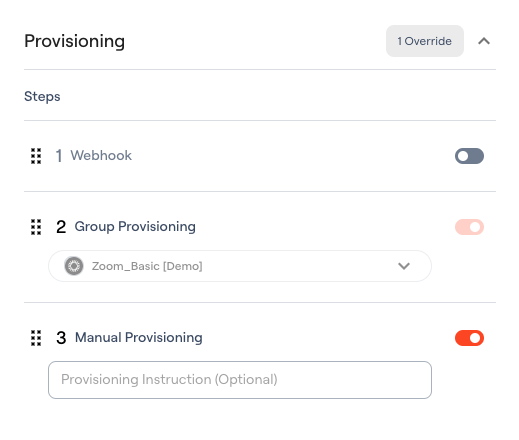
When you’ve designated Provisioning to app, you’ll see the ability to configure a Provisioning Webhook, Automated Provisioning (which is assigning the user to the Okta app), and Manual Provisioning with optional Provisioning Instructions. The main difference here is that you can reorder these steps by using drag and drop.Provisioning to Permission
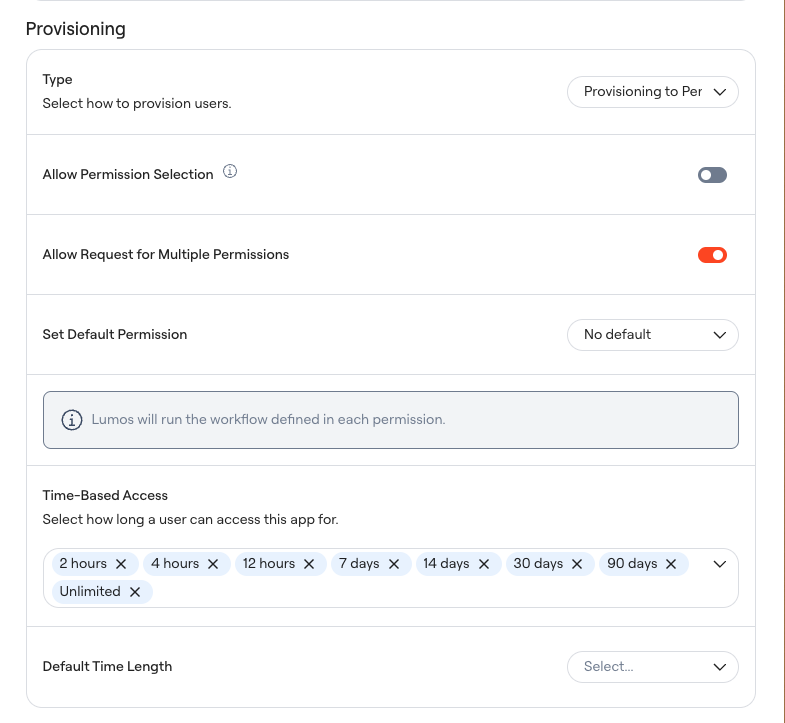
Assign to App Permission, Defaulted OR Assign to App Permission, Requester-selected is now Allow Permission Selection
Lumos previously had two Provisioning Types - Defaulted or Requester-selected. This was meant to determine whether you wanted users to be able to select the permission when making the request or have it defaulted. Lumos simplified this to “Allow Permission Selection”, which allows you to toggle whether you want to allow permission selection by your users.Allow Request for Multiple Permissions and Default Permission
These settings haven’t changed. They are now in the provisioning section.Permission-Level UI Changes
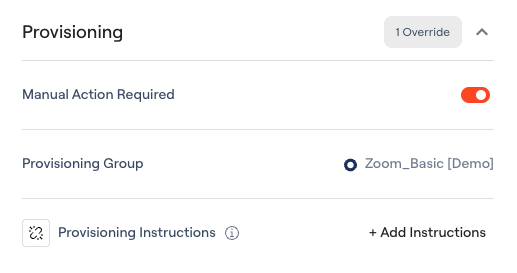
When you navigate to the Permission settings, the Provisioning section will look a little different. This is what it used to look like before: