Background
This article shows you how to add a new app to your AppStore.Steps
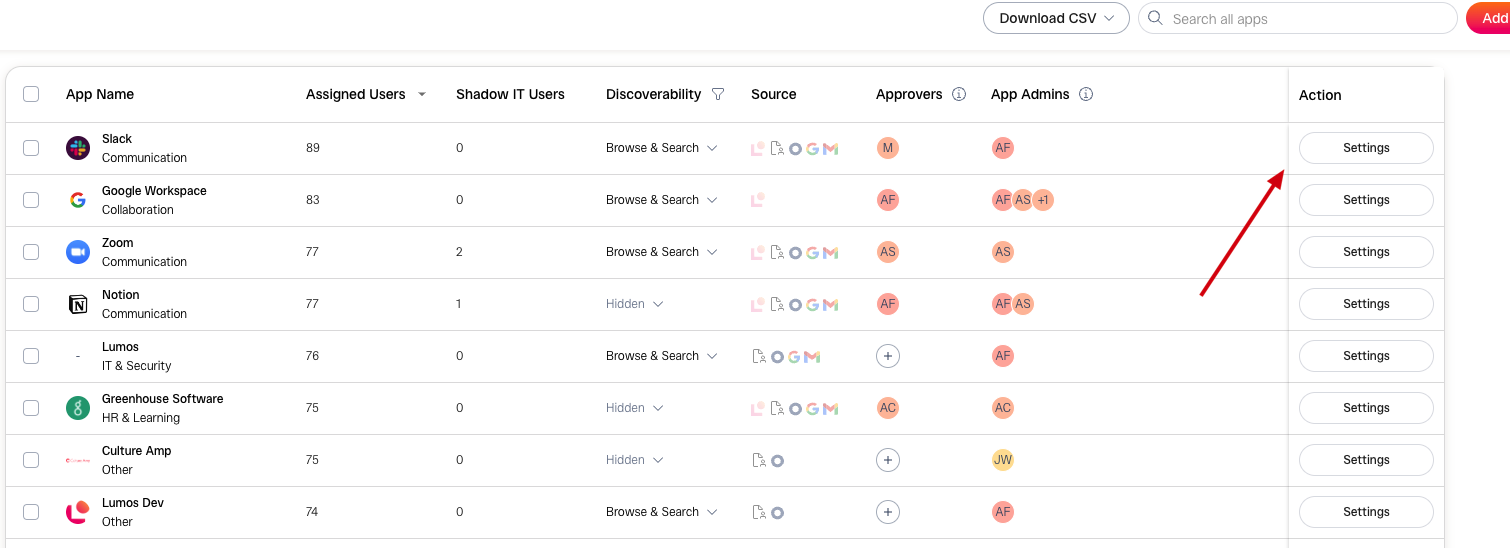
1. Go to the AppStore setup tab
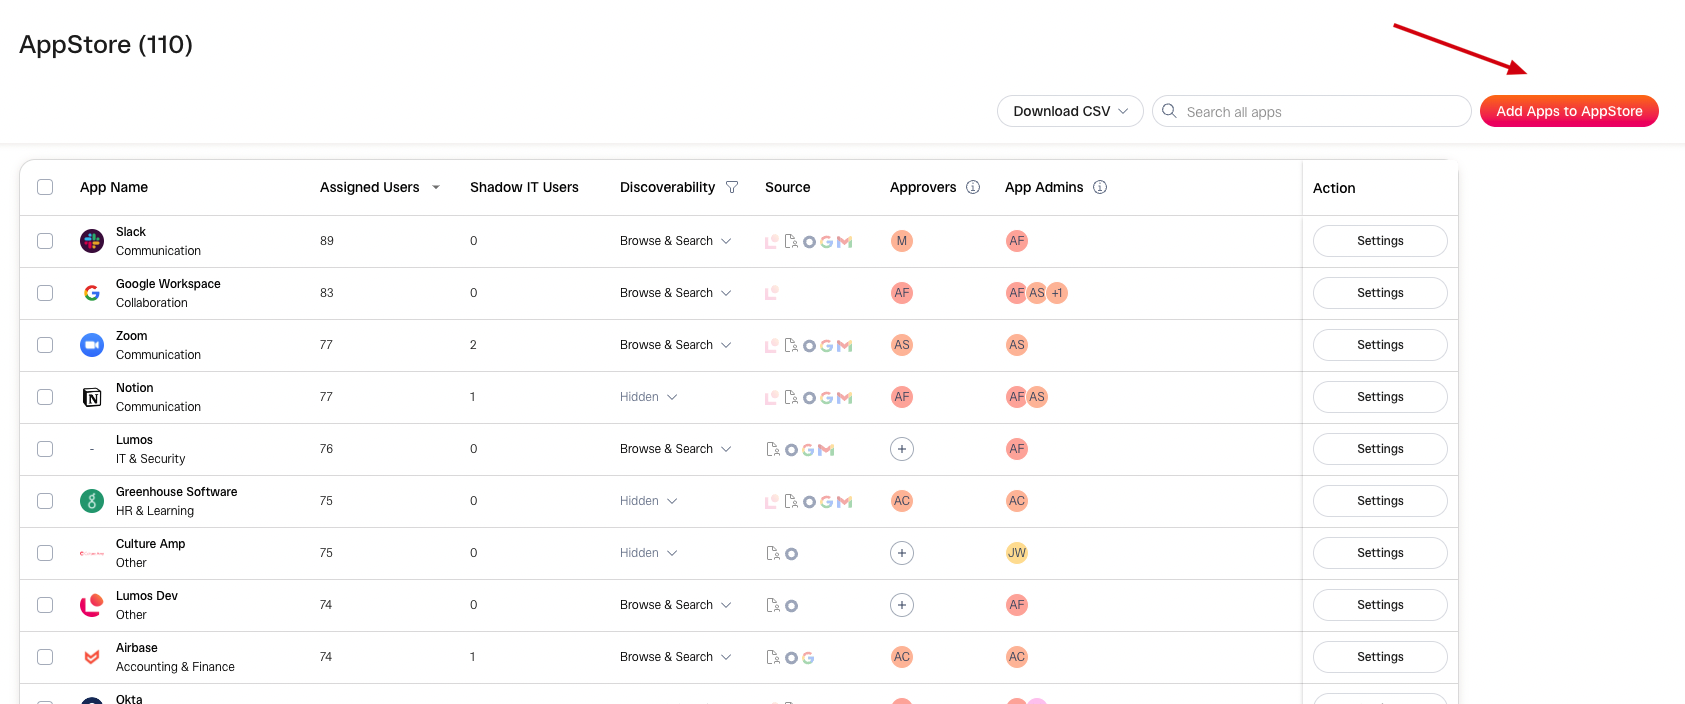
2. Click the “Add Apps To AppStore” button.
3. Choose the apps you want to add
If you can’t see an app from your IdP after searching, try clicking the Sync button.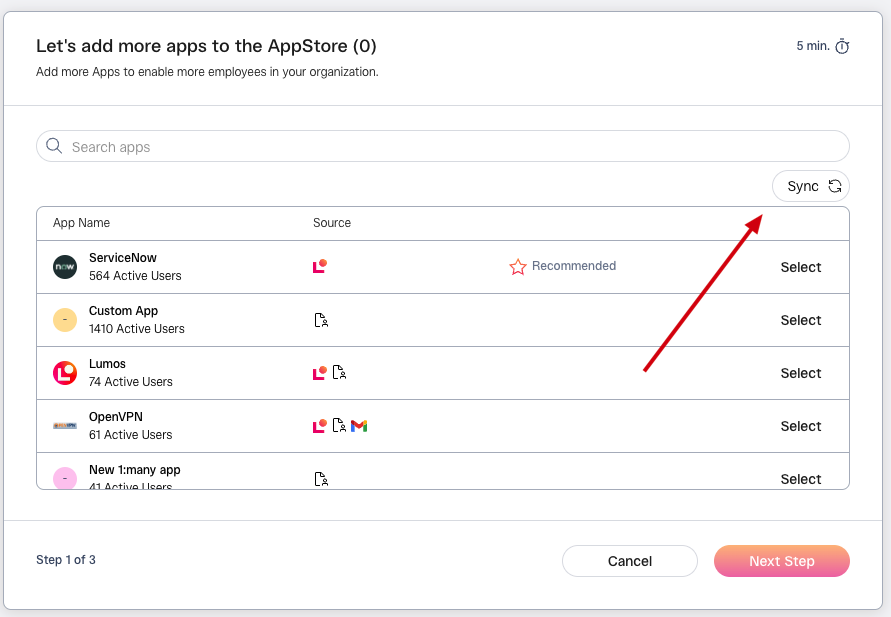
- Lots Of Tickets Apps that create a lot of tickets are the best candidates for automation.
- Automatically Provisioned If adding the app tile in your IdP automatically creates an account, Lumos can add the tile for you. These are good candidates for automation.
- IT-Managed Does IT fully understand how this app needs to be provisioned to create the account for the requester? If so, Lumos can do it for you automatically.
4. Choose Approvers and App Admins
App Admins are required, while Approvers are optional. More info on Approvers and App Admins can be found in this article: AppStore Configuration Settings5. Configure advanced settings
You can change these later, so you don’t need to set them now. More info on the settings can be found in this article: AppStore Configuration Settings6. Click “Finish Setup”.
If you need to adjust the app settings, click on the Settings button from the AppStore admin page.