1. Go to your access reviews in Lumos
If you got a notification, click the button in it to start your review. If you need to log in, use your Single Sign On (SSO) login ID or email.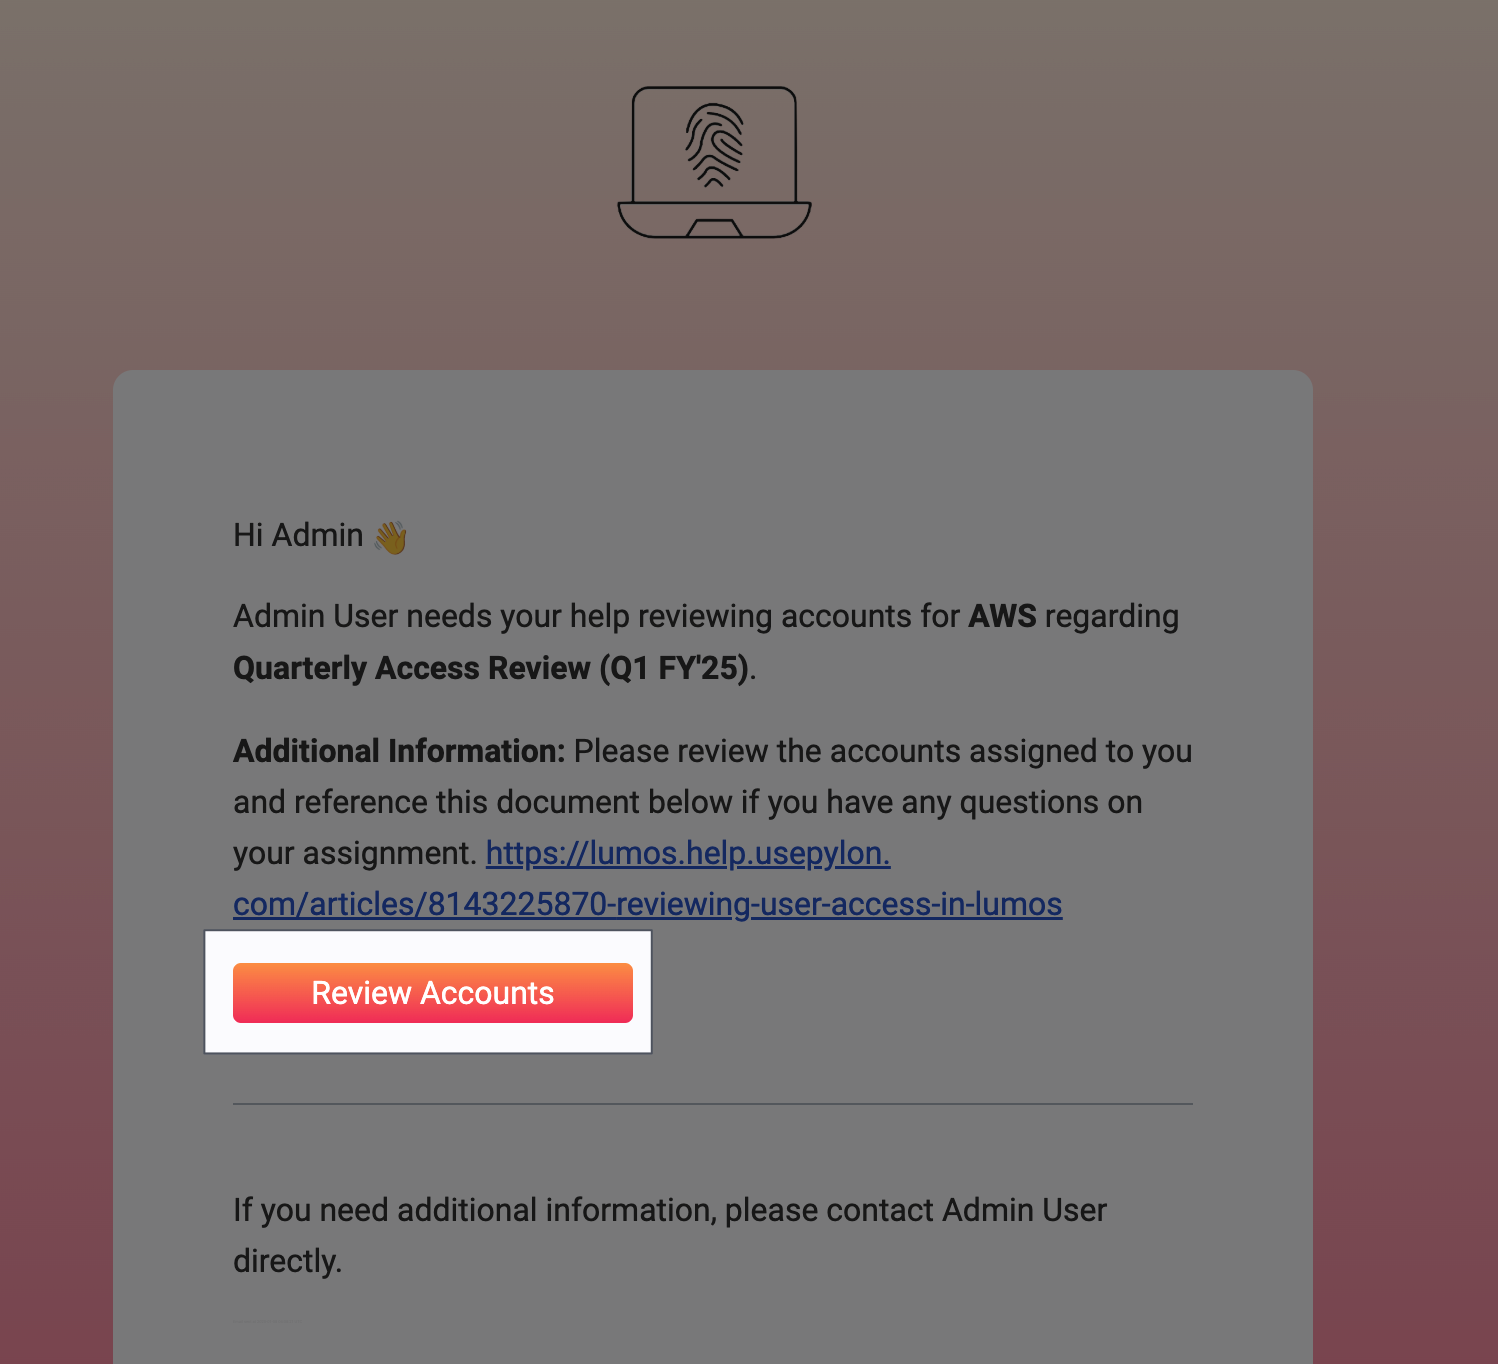
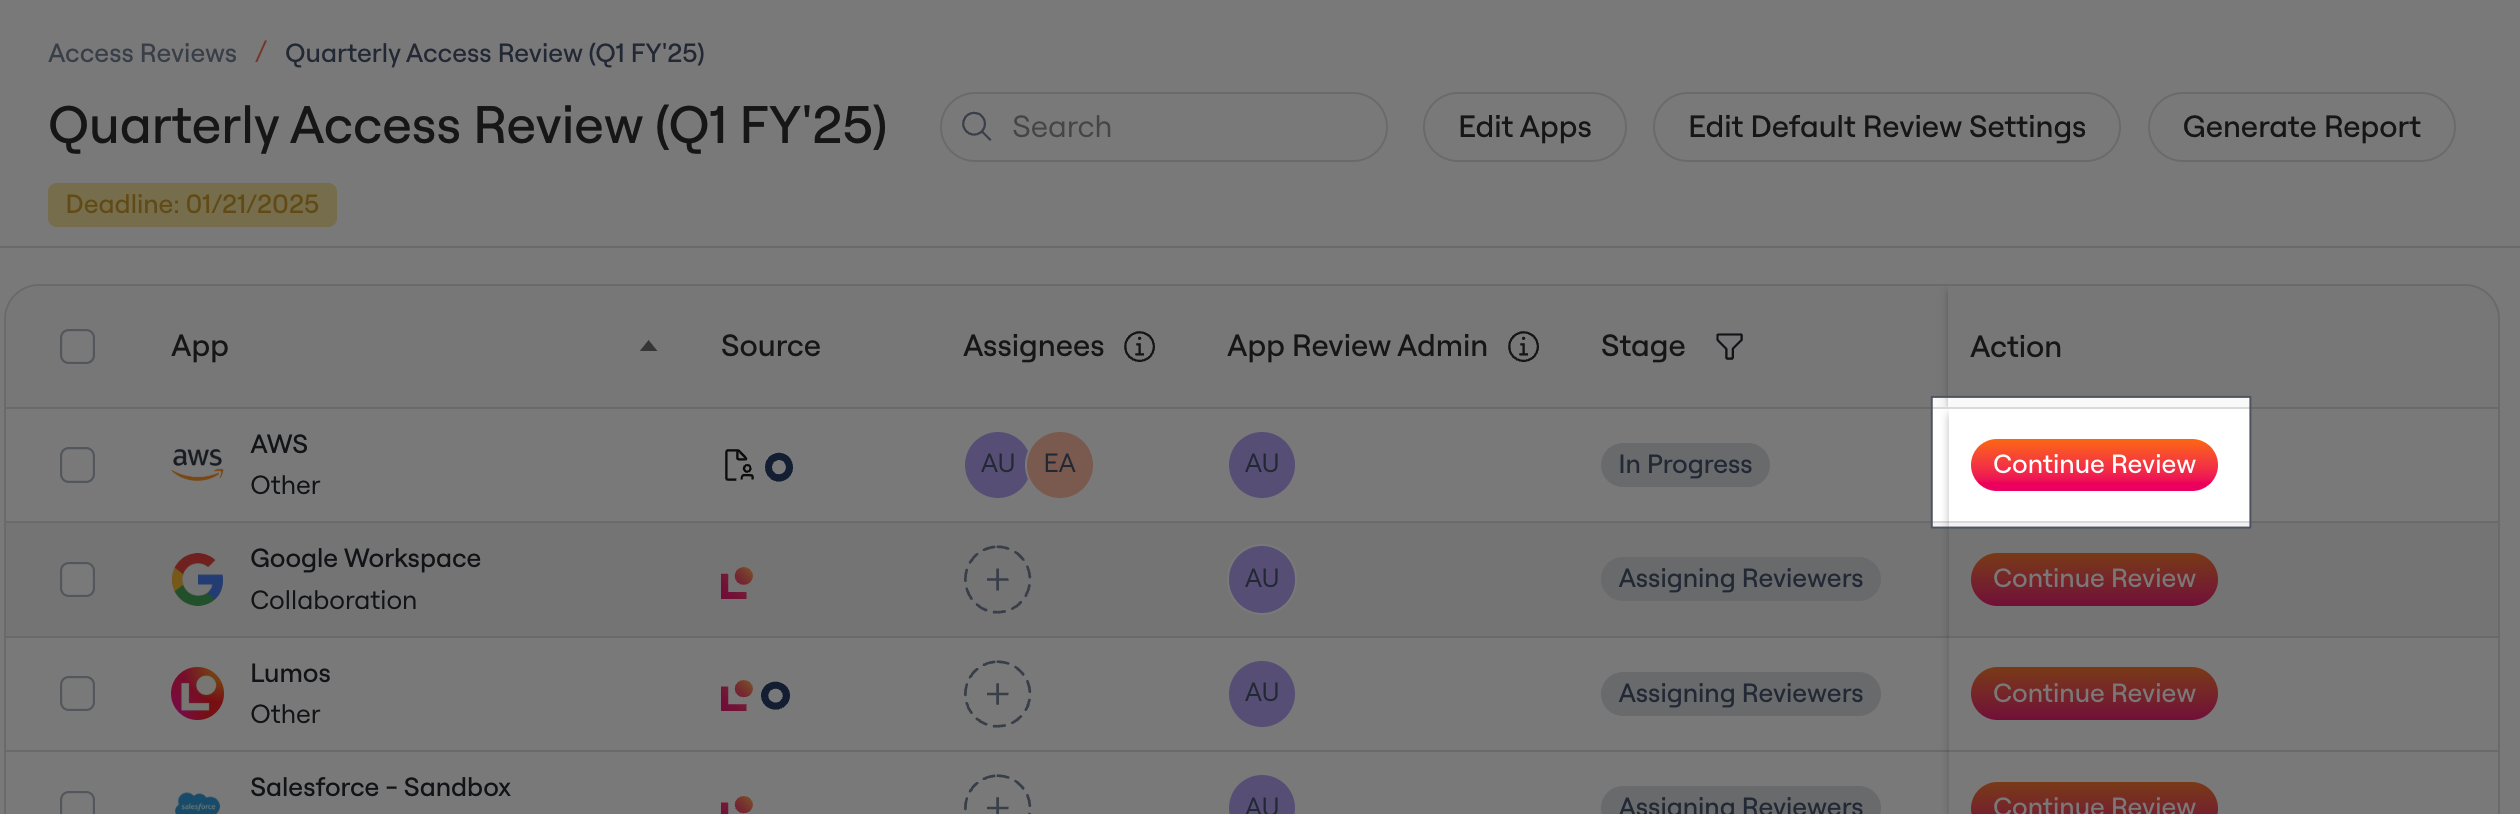
2. Click “Continue Review” for an app to start a review
3. Review the line items assigned to you
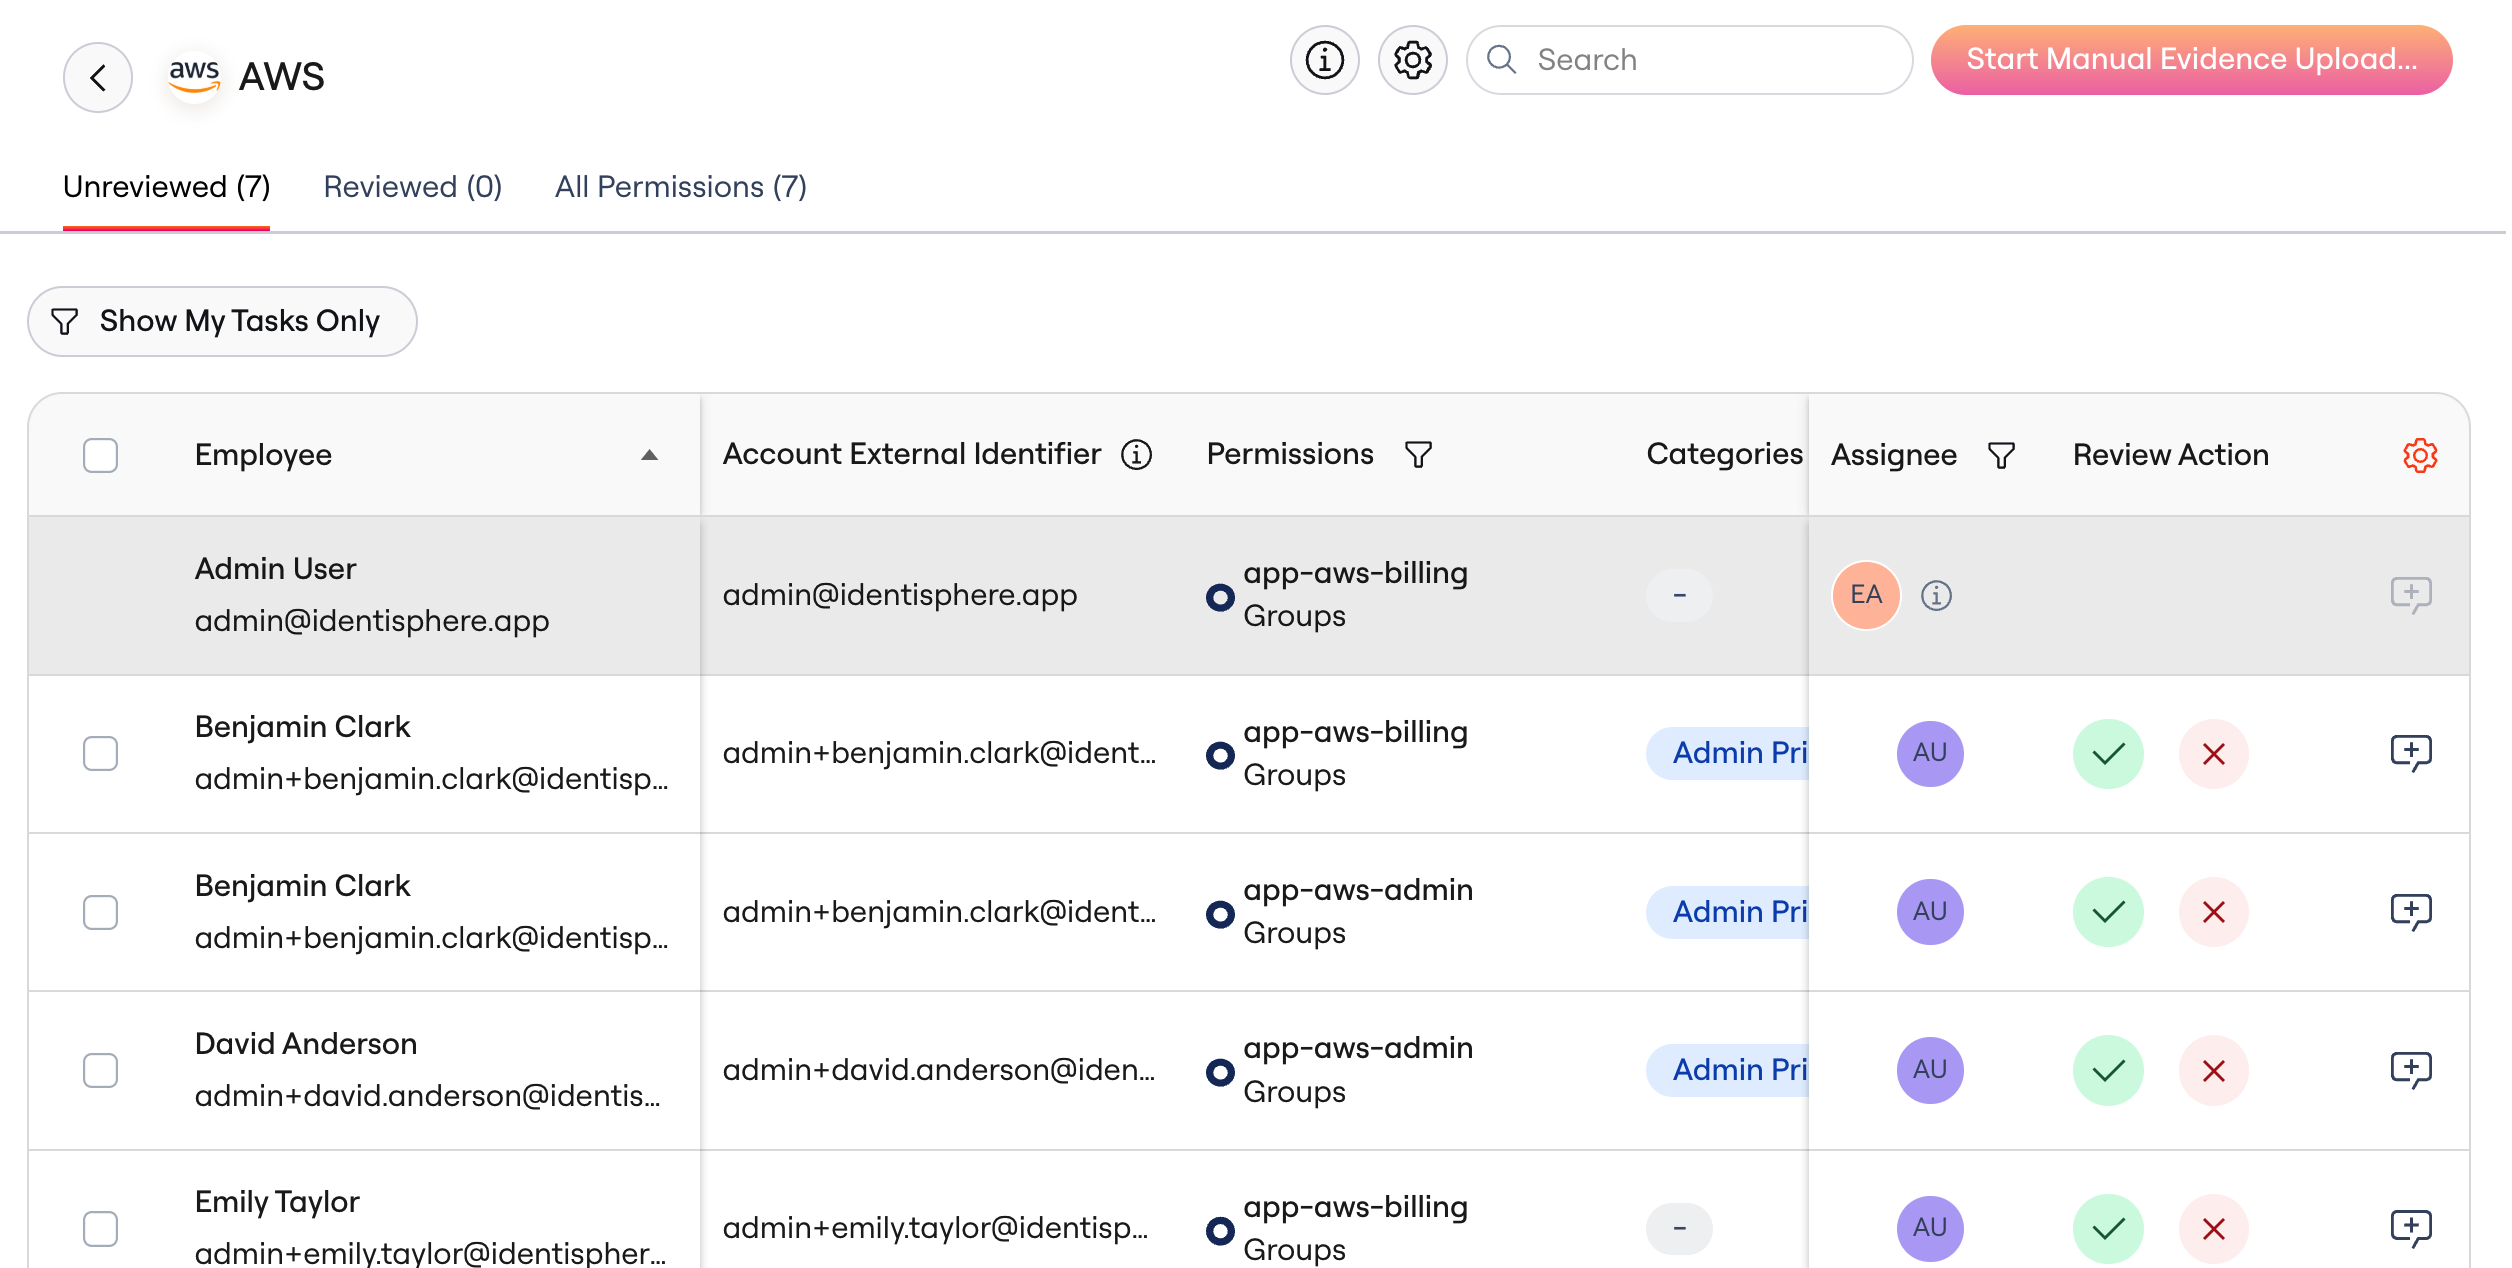
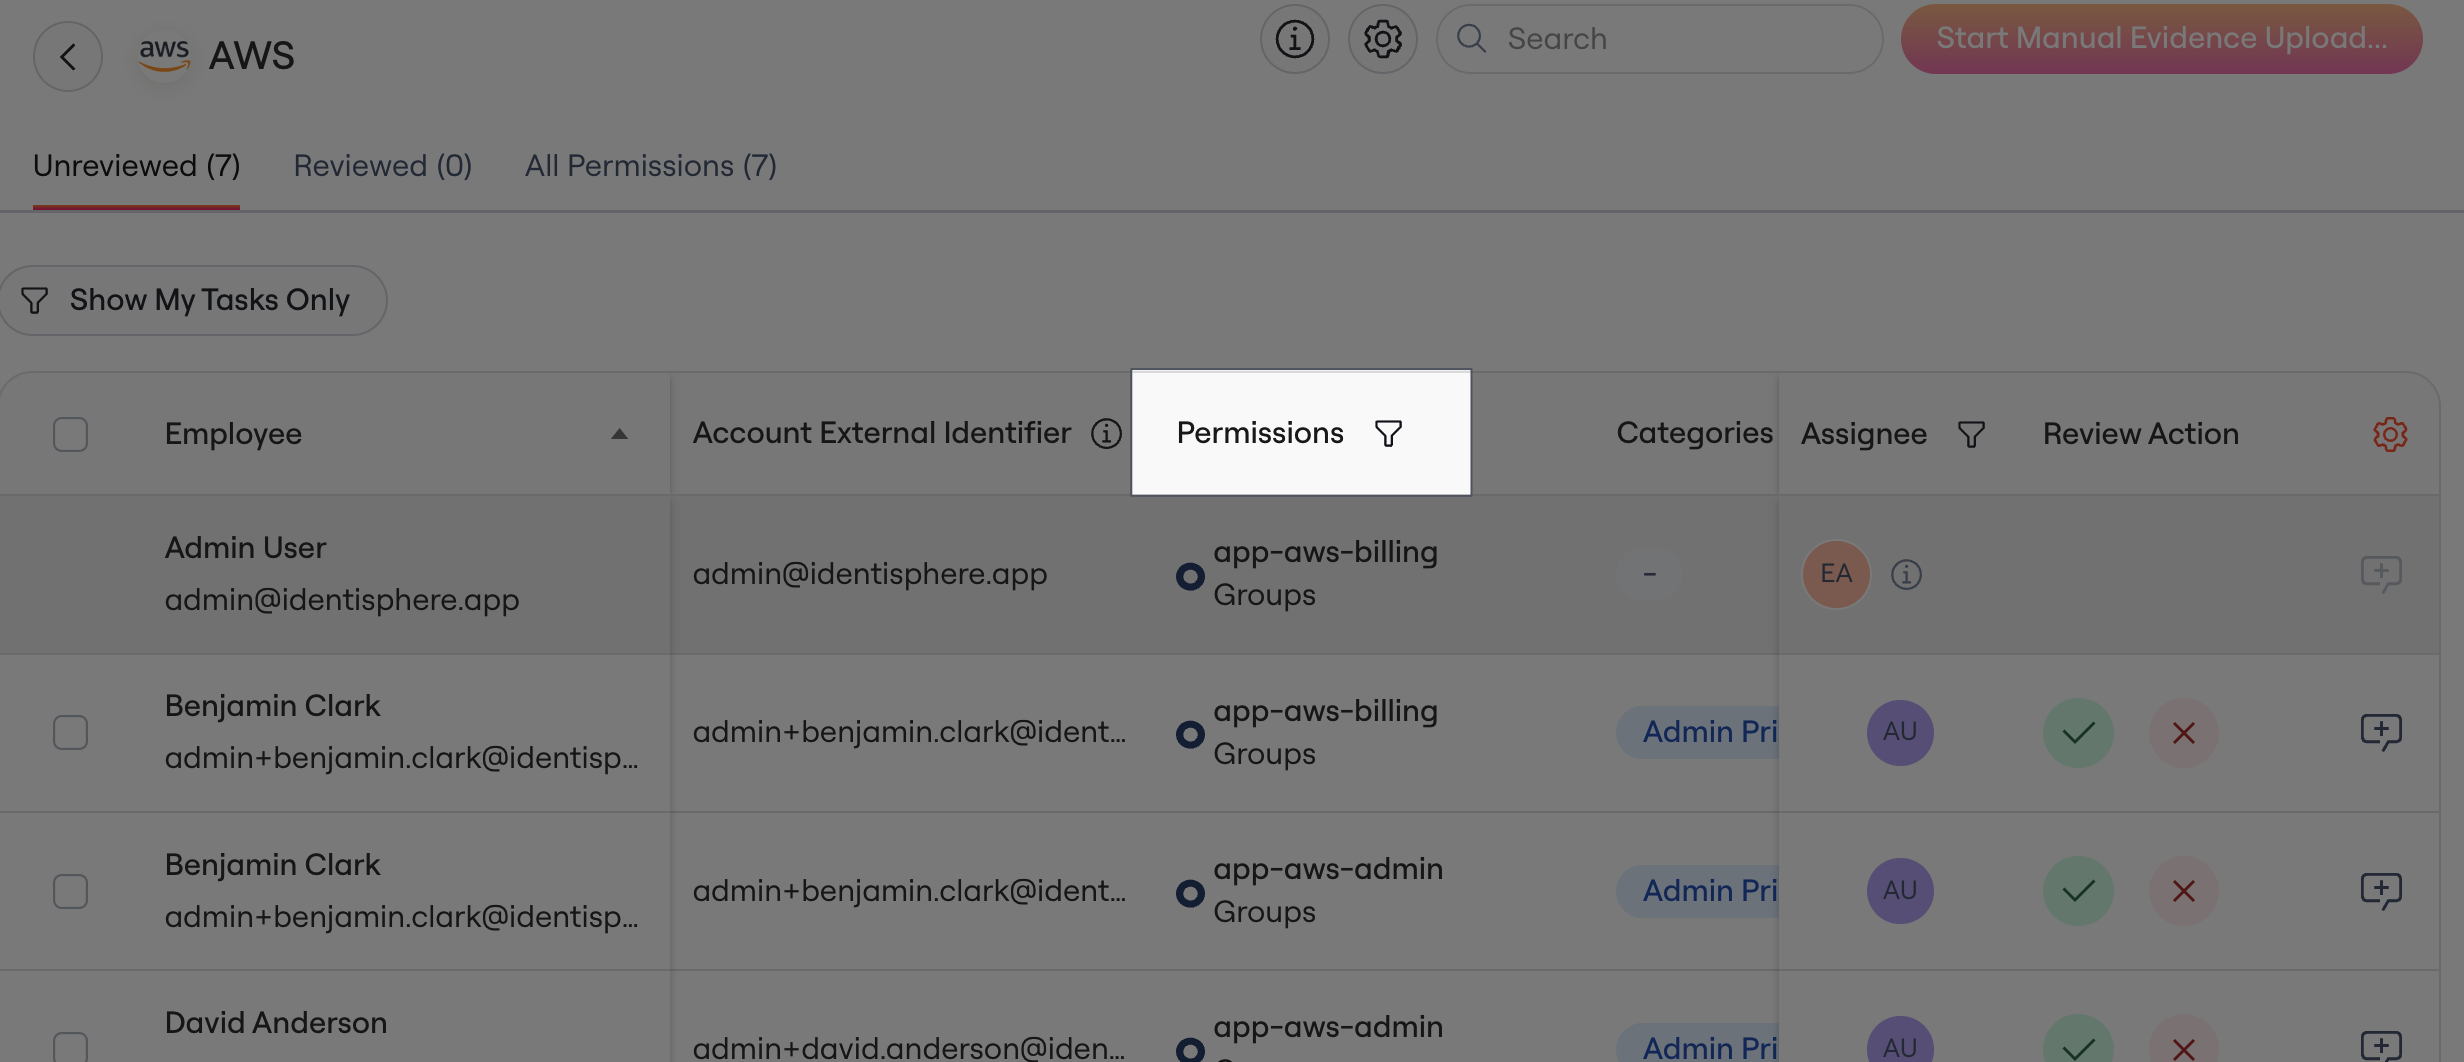
- Permissions: If you see a Permissions column in the table, each row represents a specific role or app group to which the employee is assigned. You’ll decide whether they should still have it.
- Accounts: In this case, you’re reviewing the employee’s access to an app as a whole.
- Employment Status: If the user is still actively working at your company.
- Last Login: The last time the employee logged into the app.
- Groups: App-specific groups assigned to the user, revealing more insight into their access level and needs.
- Categories: More info on the Categories column can be found in the FAQ below.
- Admin Privileges - This means the user likely has some kind of “admin” access to the app. Review carefully.
- Terminated - The employee is no longer with your company.
- Service Account - Lumos detected that the account is a system/service account in the app.
- Unmatched - The account isn’t linked to an employee. Usually these are guest accounts, system/service accounts, or contractor accounts. Review them carefully. See Understanding Categories in the Access Review for more details.
4. Approve or reject the accounts assigned to you.
You can approve or reject multiple lines at once. As you review your tasks, use the following workflow:-
Scan over all your assigned accounts and click the reject (X) icon in the Review Action column if any access should not be kept. Don’t approve anything yet.
- Choose Reject if their access should be removed completely.
- Choose Modify if the access should be adjusted, not fully-removed.
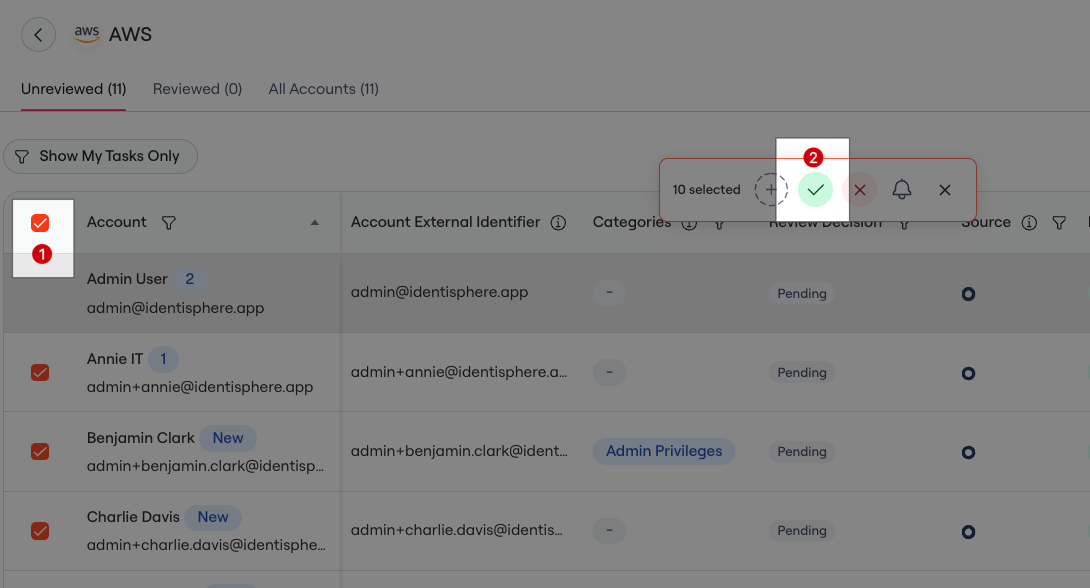
- After rejecting any access, select the checkbox in the table’s top-left corner, click Select All for the remaining line items, then click the approve (checkmark) icon in the pop-up to approve the remaining items.