

After this article
You’ll know how to diagnose and resolve issues where expected access requests weren’t automatically kicked off as part of an employee’s onboarding or mover workflow.Background
Within the Lumos platform, you can use Access Policies to dictate which employees should get access to which systems. Access Policies are structured into two elements:- A condition that identifies a set of users (e.g. department = “Engineering”)
- A set of access that should be granted to users that meet the condition
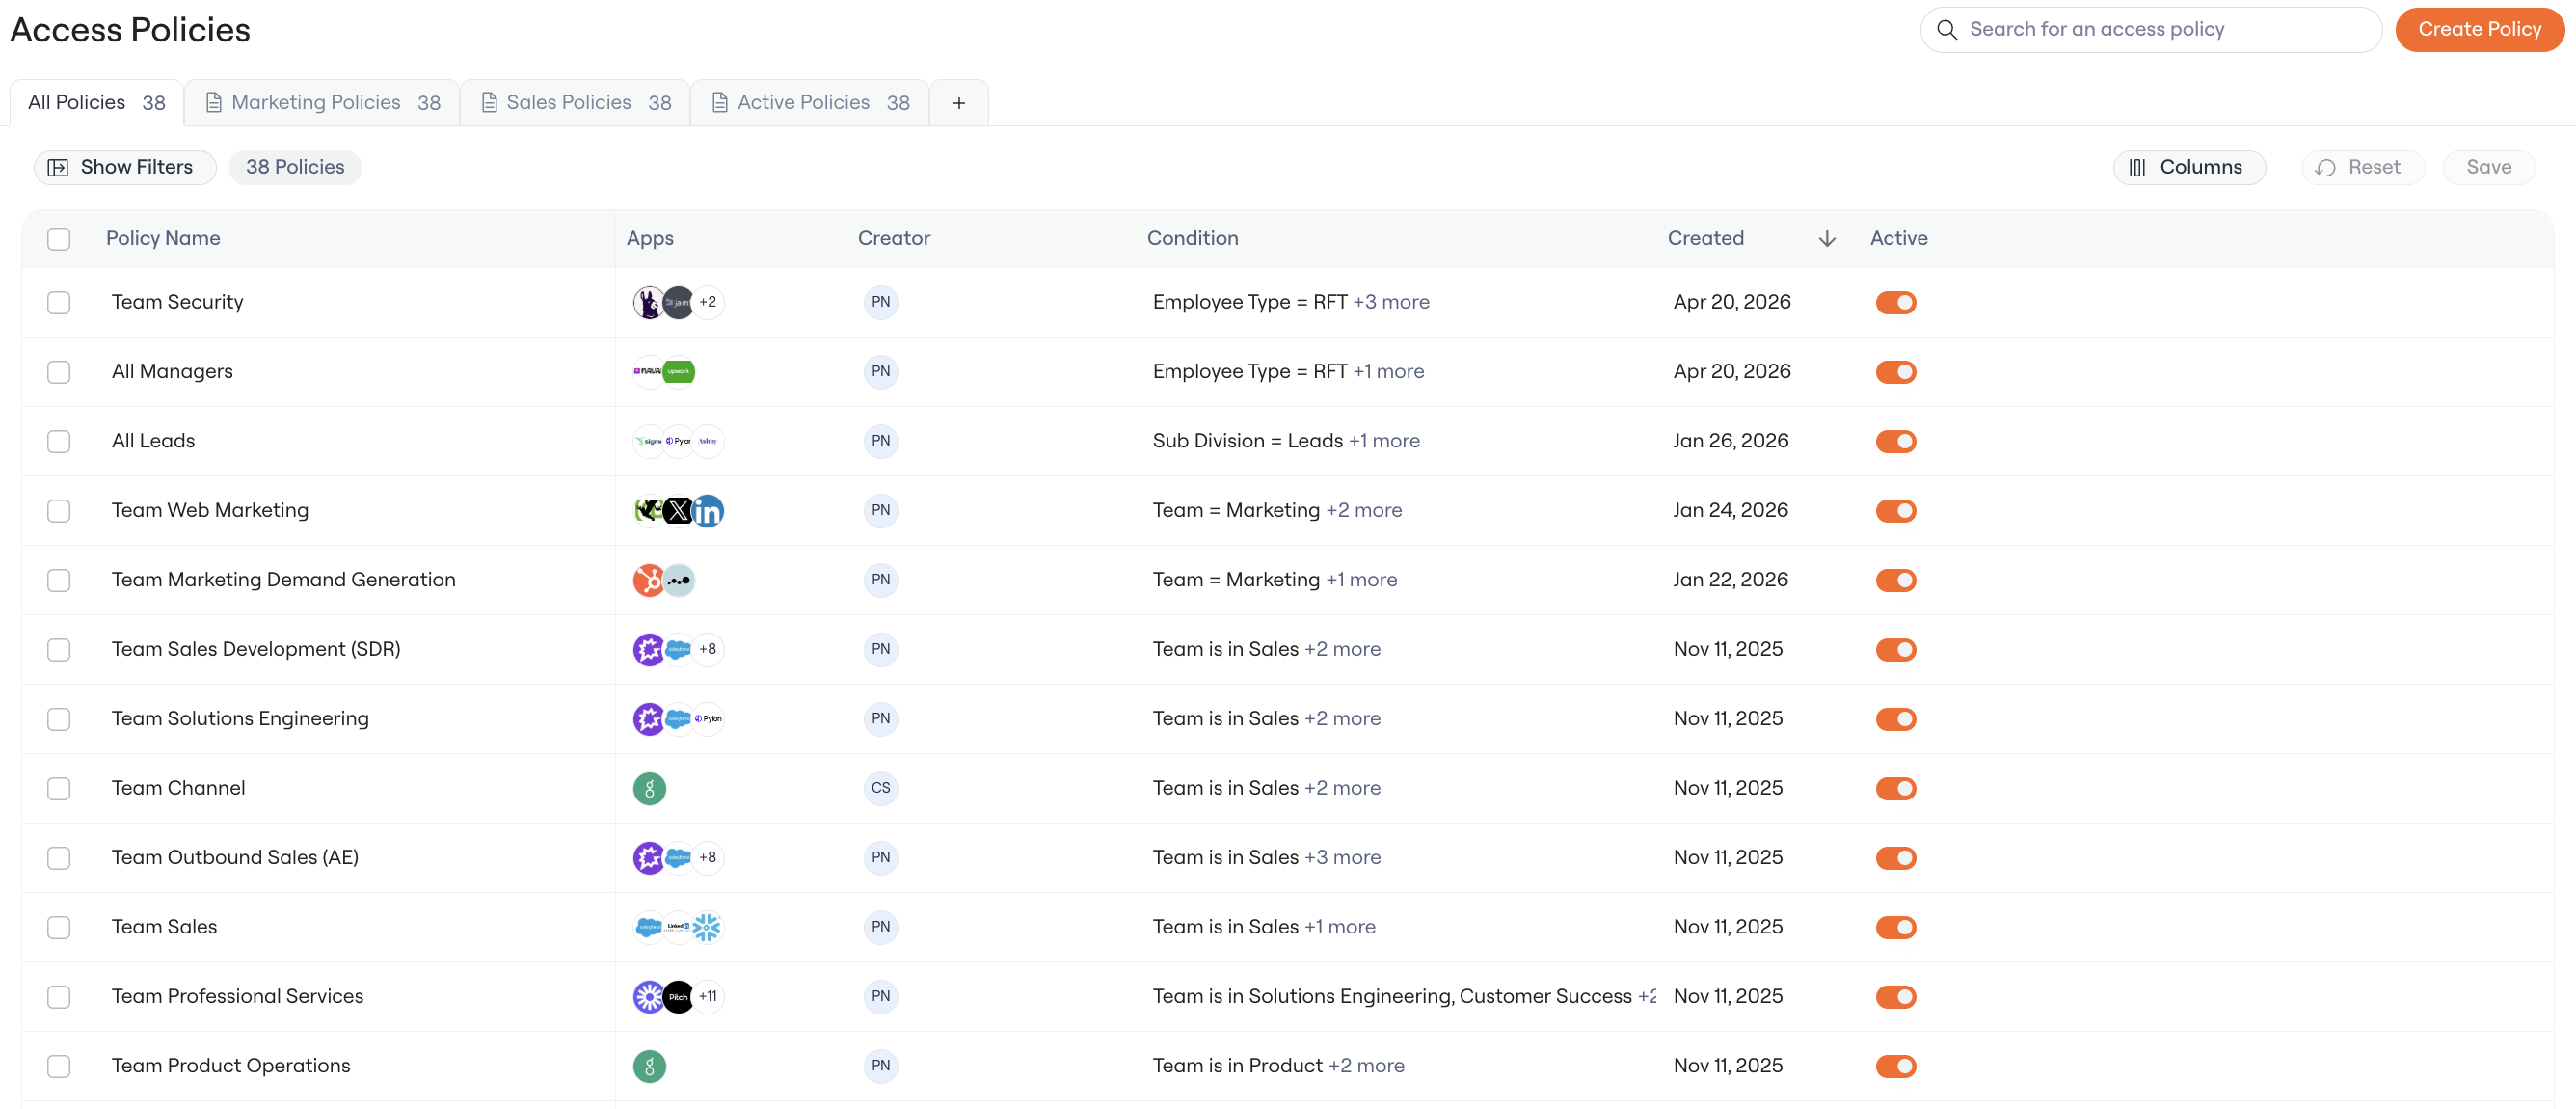
Step 1: Confirm the Access Policy is Active
Access Policies can be set to Active or Inactive which determines if they will be assessed during Onboarding.- Active: Policy will apply to any future onboardings
-
Inactive: Policy will not apply to any future onboardings
Step 2: Identify Affected Apps
Before diving into troubleshooting, you’ll need to know which applications or permissions the employee should have received but didn’t. Common examples include:- Core productivity tools (Microsoft 365, Google Workspace, Slack)
- Department-specific applications (Salesforce for Sales, GitHub for Engineering)
- Role-based permissions within applications
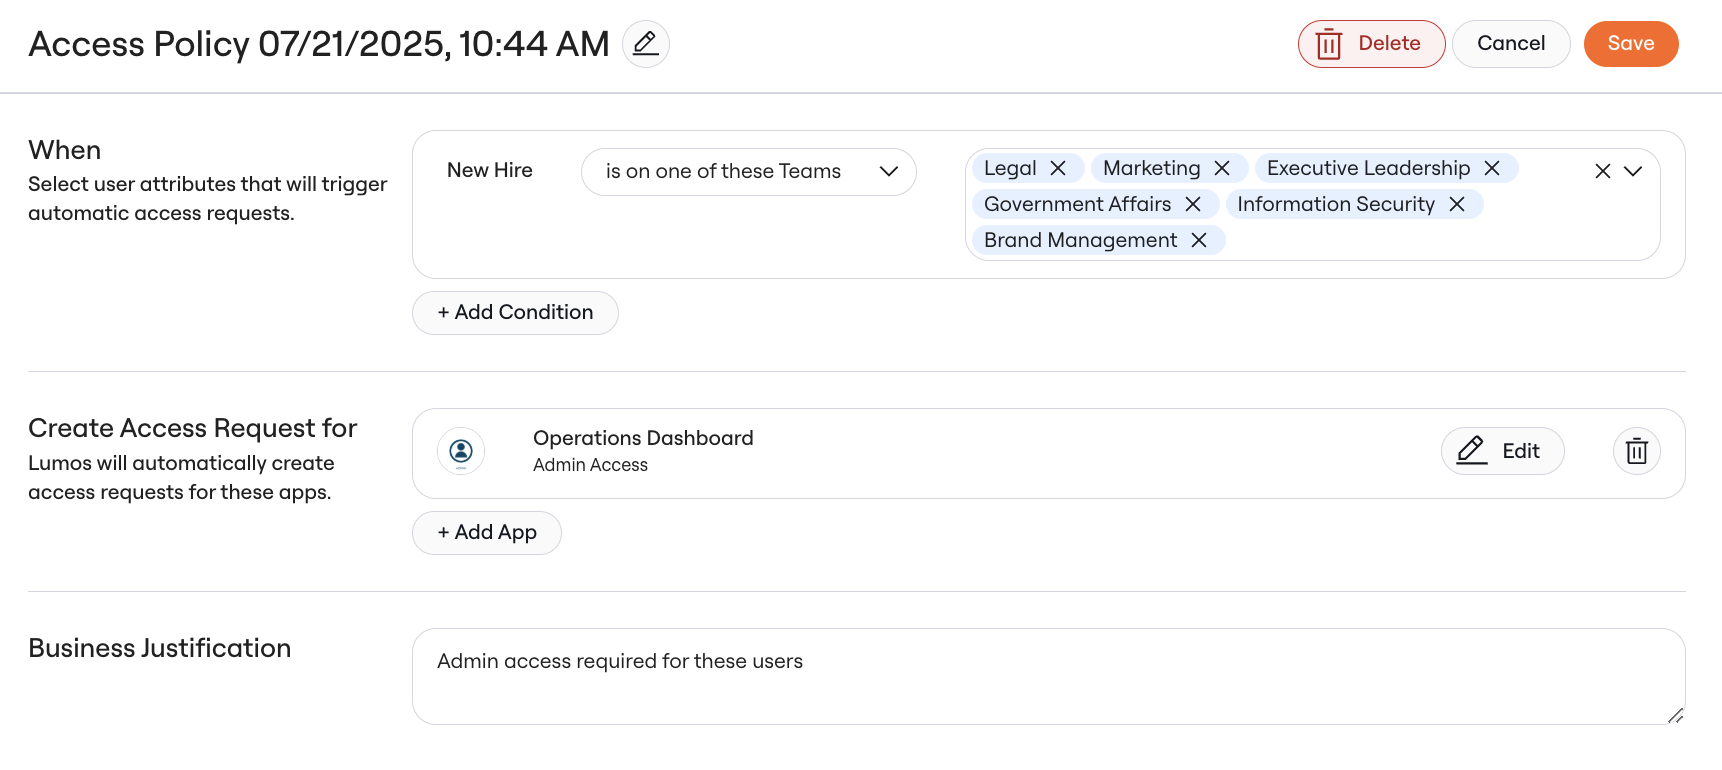
Step 3: Review Access Policy Conditions
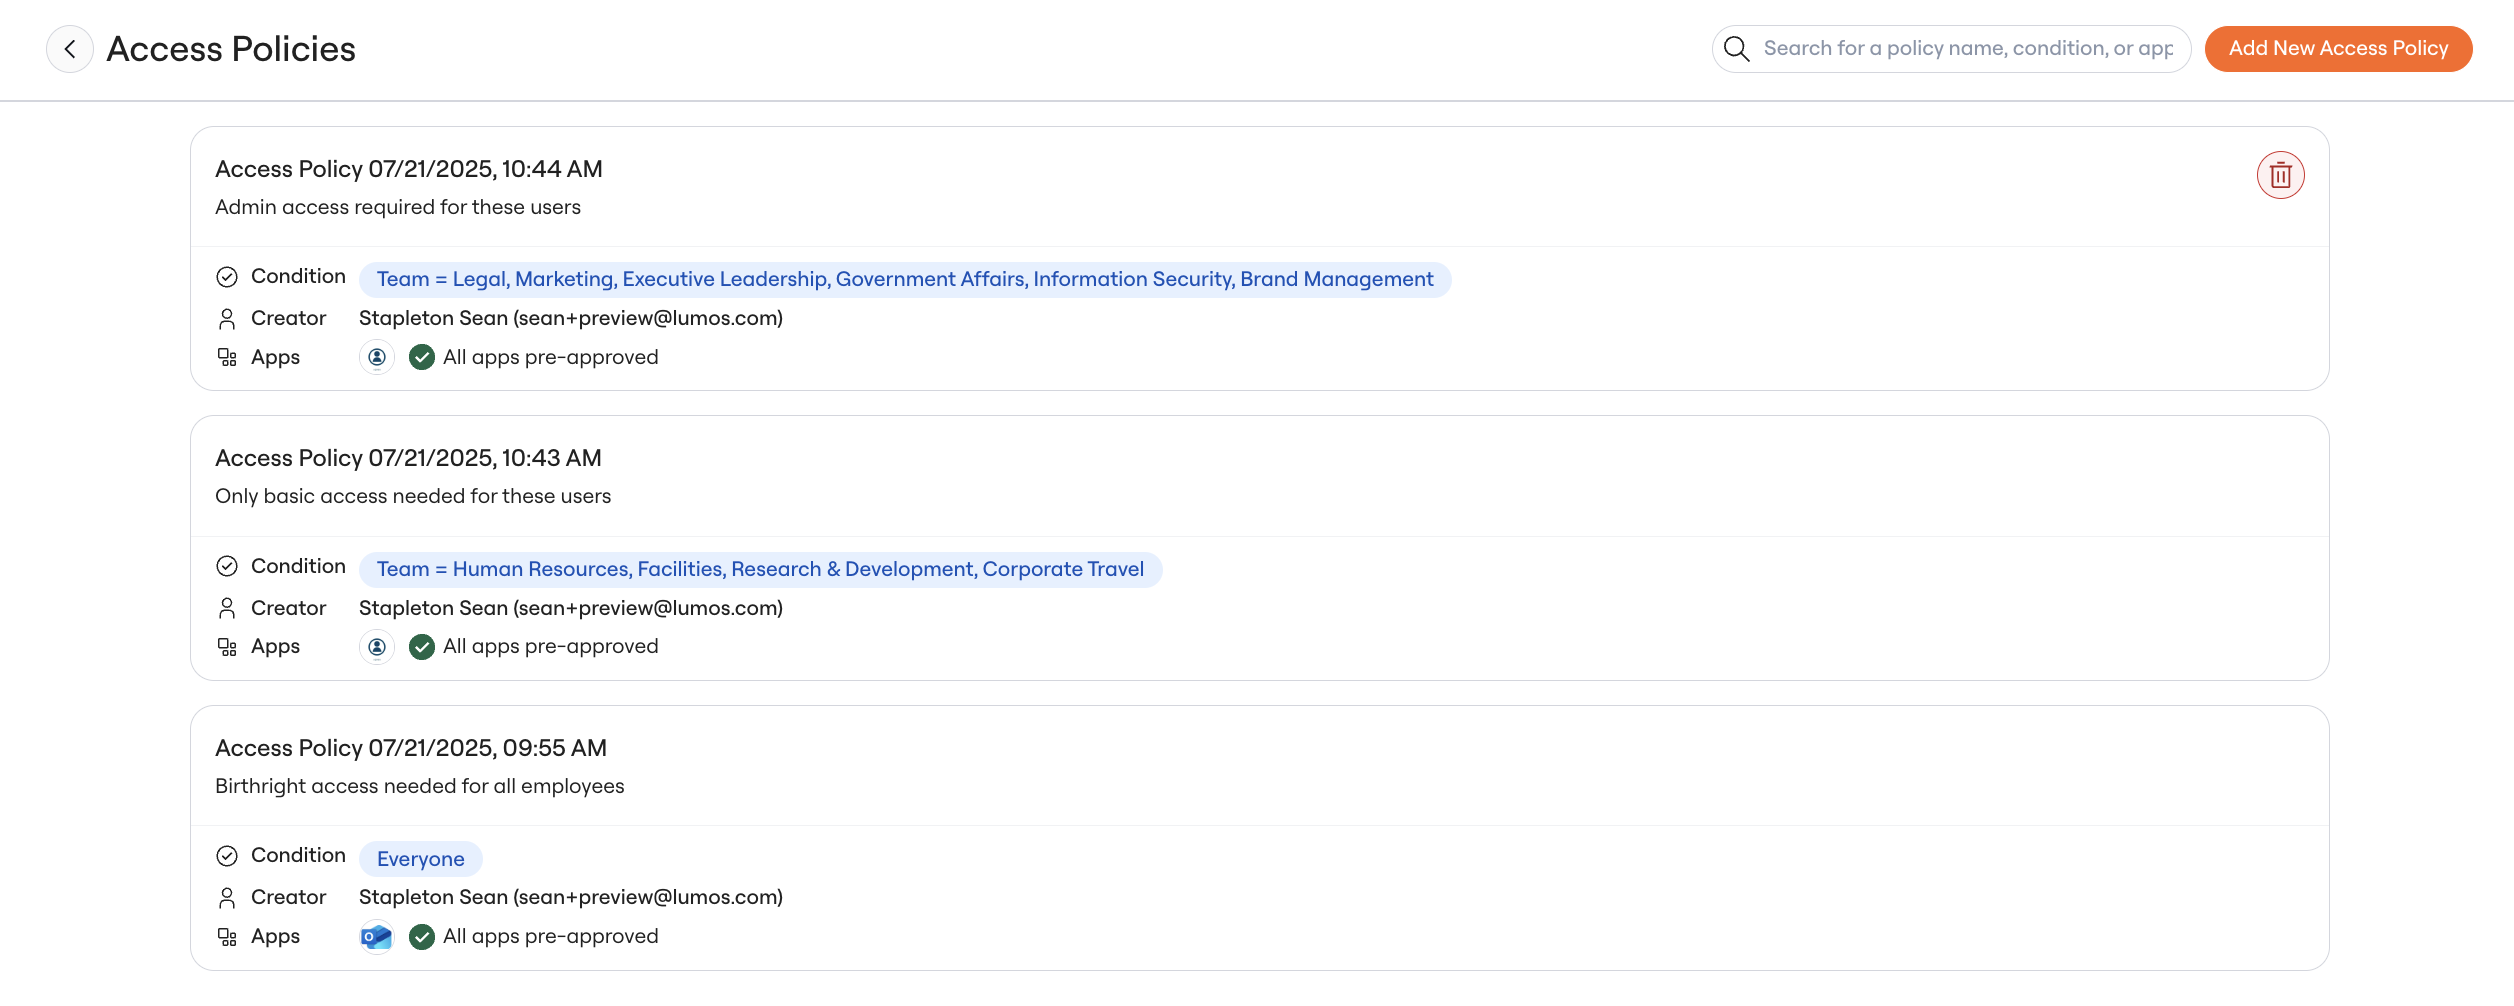
Next, you’ll want to identify the access policies that should have granted the user access. To do this, visit the Employee Lifecycle > Onboarding page and select “Manage Access Policies”. You should see a page like the one below: For each application where access wasn’t granted, examine the conditions that determine when access should be provisioned.- Navigate to the Employee Lifecycle > Onboarding page and select “Manage Access Policies”
- Use the search bar to find policies by application name (e.g., search “Slack” to find all Slack-related policies)
- Click on each relevant policy to review its conditions
- Department - Employee must belong to specific departments (e.g., “Engineering”, “Sales”)
- Job Title - Employee must have certain job titles or title patterns
- Location - Employee must be based in specific offices or regions
- Employment Type - Employee must be full-time, contractor, etc.
- Manager - Employee must report to specific managers or management chains
- Start Date - Employee must have started after a certain date
Step 4: Examine the Employee’s Attributes
Next, verify whether the employee’s Identity in Lumos contains the correct attributes to match your access policies.- Navigate to the Apps table in your Lumos admin panel
- Select the application that represents your primary User Source in Lumos (usually your HRIS but in some cases may be your IDP)
- Search for the employee by name or email
- Missing Attributes: Are any required fields completely blank?
-
Incorrect Values: Do the attribute values exactly match what the policy expects? Look for issues such as:
- Spelling variations (“Engineering” vs “Eng” vs “Engineering Dept”)
- Case sensitivity (“sales” vs “Sales”)
- Extra spaces or special characters
Step 5: Investigate Timing Issues
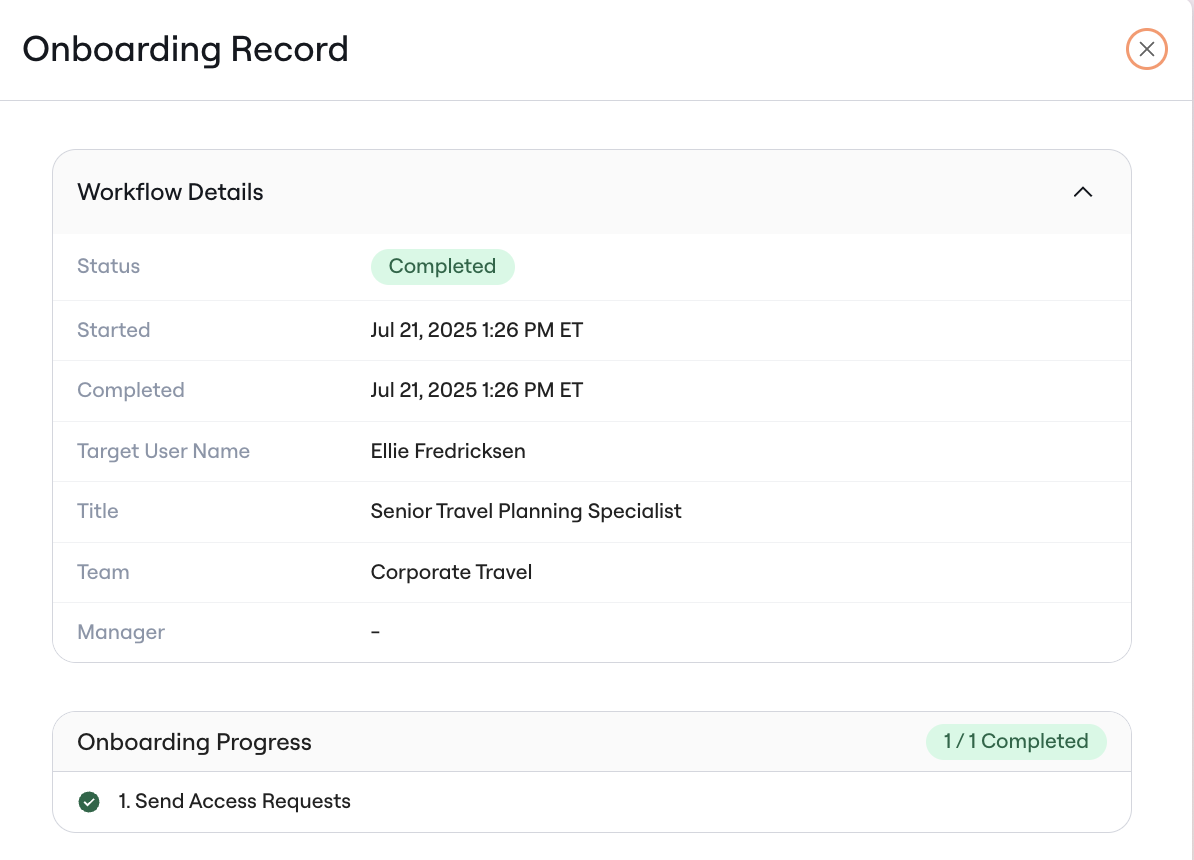
If the employee has all the correct attributes, the issue might be related to timing. Onboarding workflows run at a specific point in time, and if the employee attributes were populated after that time, it can lead to missing or incorrect access requests. Check when onboarding ran- Navigate to Onboarding in your admin panel
- Click on the Completed tab
- Search for the employee by name or email
- Note the date and time when their onboarding workflow completed
- Navigate to Mover Events in your admin panel
- Filter the events to show only events tied to the employee whose access was not provisioned
- Filter the events to show only events tied to the attributes used in the affected access policy
- Look for events that show when each attribute was populated or updated
- Pay attention to the timestamp of each event
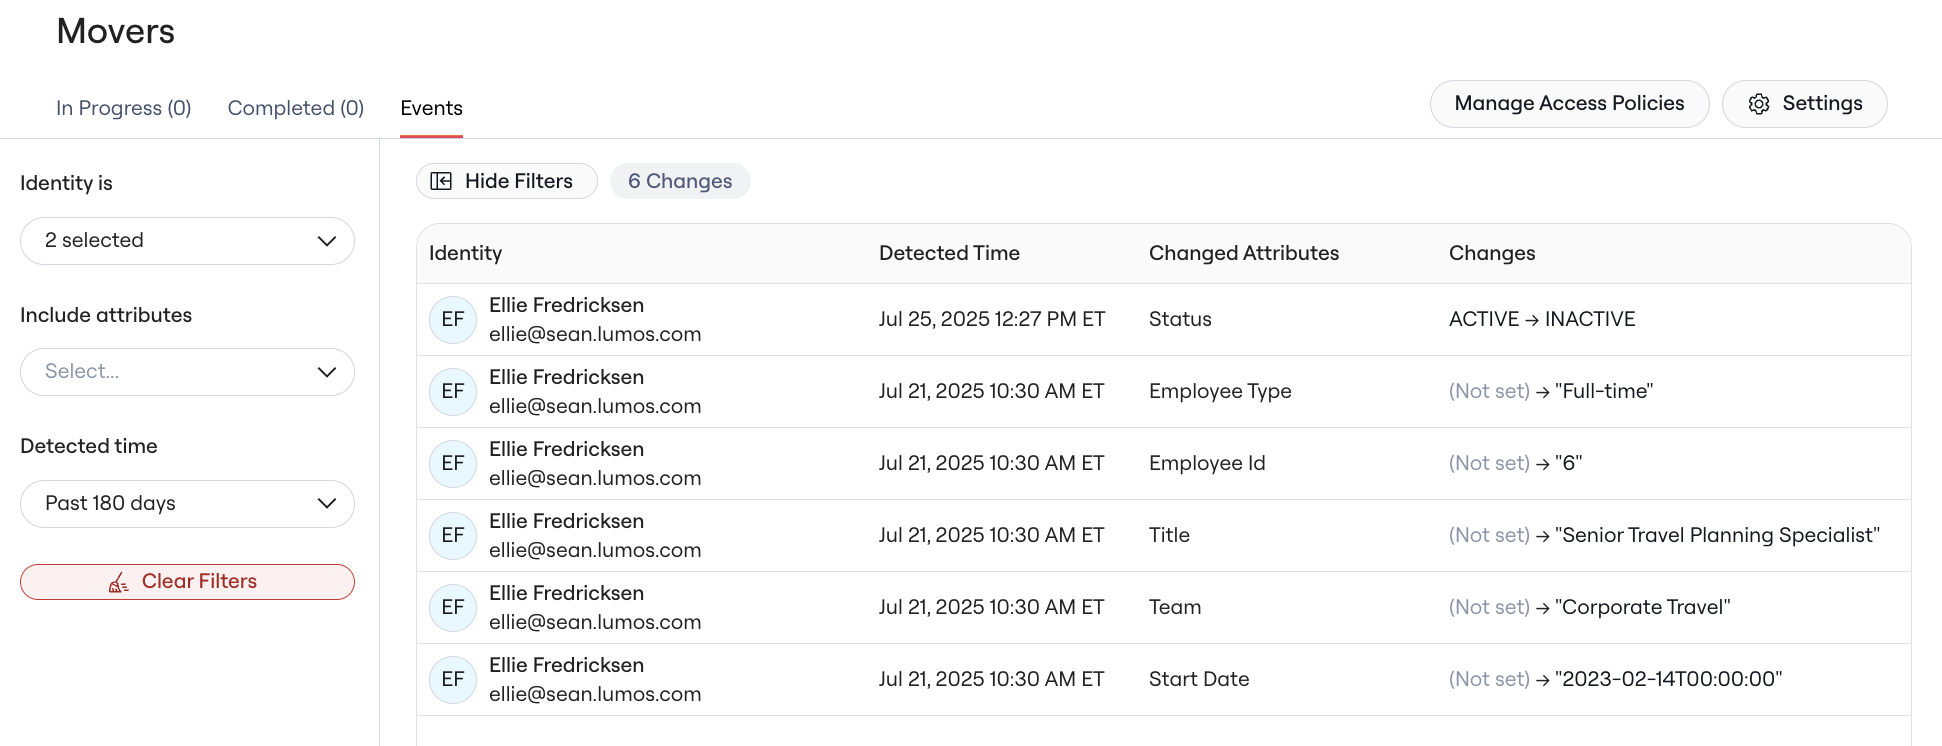
- Onboarding completed at 9:30 AM
- Department was updated to “Engineering” at 10:45 AM
- Access policy requires Department = “Engineering”
- Result: Access request wasn’t generated because the condition wasn’t met at 9:30 AM
Step 6: Resolve the Issue
Once you’ve identified the root cause, you can take action to fix it for both the current employee and prevent future occurrences.For the Current Employee
Grant Immediate Access: Since the automated workflow didn’t trigger, you’ll need to manually provision access. You can do this either by re-triggering an onboarding, or by directly requesting access for the user in the AppStore. For the latter:- Navigate to your AppStore
- Find the application the employee needs, and select the tile in the AppStore
- Click the “Access For” dropdown, and select the employee who needs access
- Click Request Access and submit the request on behalf of the employee
For Future Employees
In order to ensure that the root cause does not occur again for future employees, you can follow some of the below mitigation plans:-
If key Identity attributes were missing or incorrect:
-
Work with your HR team to ensure:
- Critical attributes are populated before or immediately after employee start dates
- Attribute values follow consistent naming conventions
- Required fields are marked as mandatory in your HRIS system
-
Update your Access Policy conditions to capture more users
- Include both lowercase and uppercase versions of titles
- Rely on more standardized fields such as job code, instead of directly relying on titles
- Include more conditions in your policies
-
Work with your HR team to ensure:
-
If attributes were updated in the HRIS after the onboarding kicked off:
- Add a “Wait” step at the beginning of your workflow to ensure that onboarding runs after all HRIS changes are made
- Configure Mover Workflows to capture changes made after an employee’s first day