

Background
Access policies define who gets access to what, based on attributes you already maintain (team, title, department, group membership, and so on). Lumos uses them to grant access automatically during onboarding and mover workflows. All new policies start as Drafts, so you can review and iterate before a policy affects real users.Overview
Access policies in Lumos now follow a three-stage lifecycle:- Draft: Newly created policies start here. Drafts are editable, deletable, and not active. They never apply to onboarding or mover workflows until you publish them.
- Published + Inactive: A draft policy is published but inactive. It won’t apply to future onboardings or mover workflows.
- Published + Active: The policy is live and applies to future onboarding and mover workflows.
Steps
1. Go to the Access Policies Table
If you have access to Employee Lifecycle Lumos, you’ll see the Access Policies table under Inventory in your nav bar as a Lumos admin. From here you can create, view, and edit all of your Access Policies.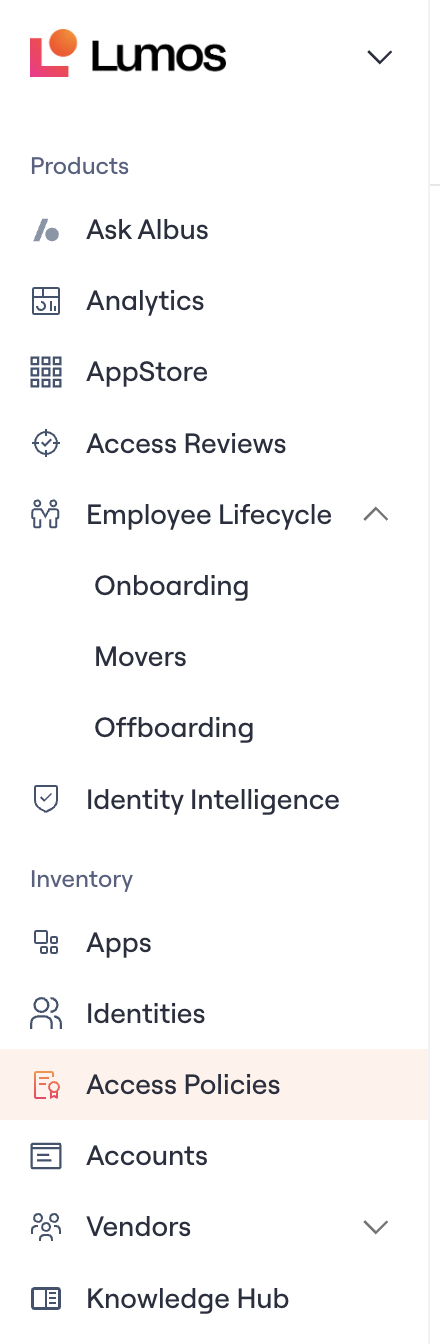
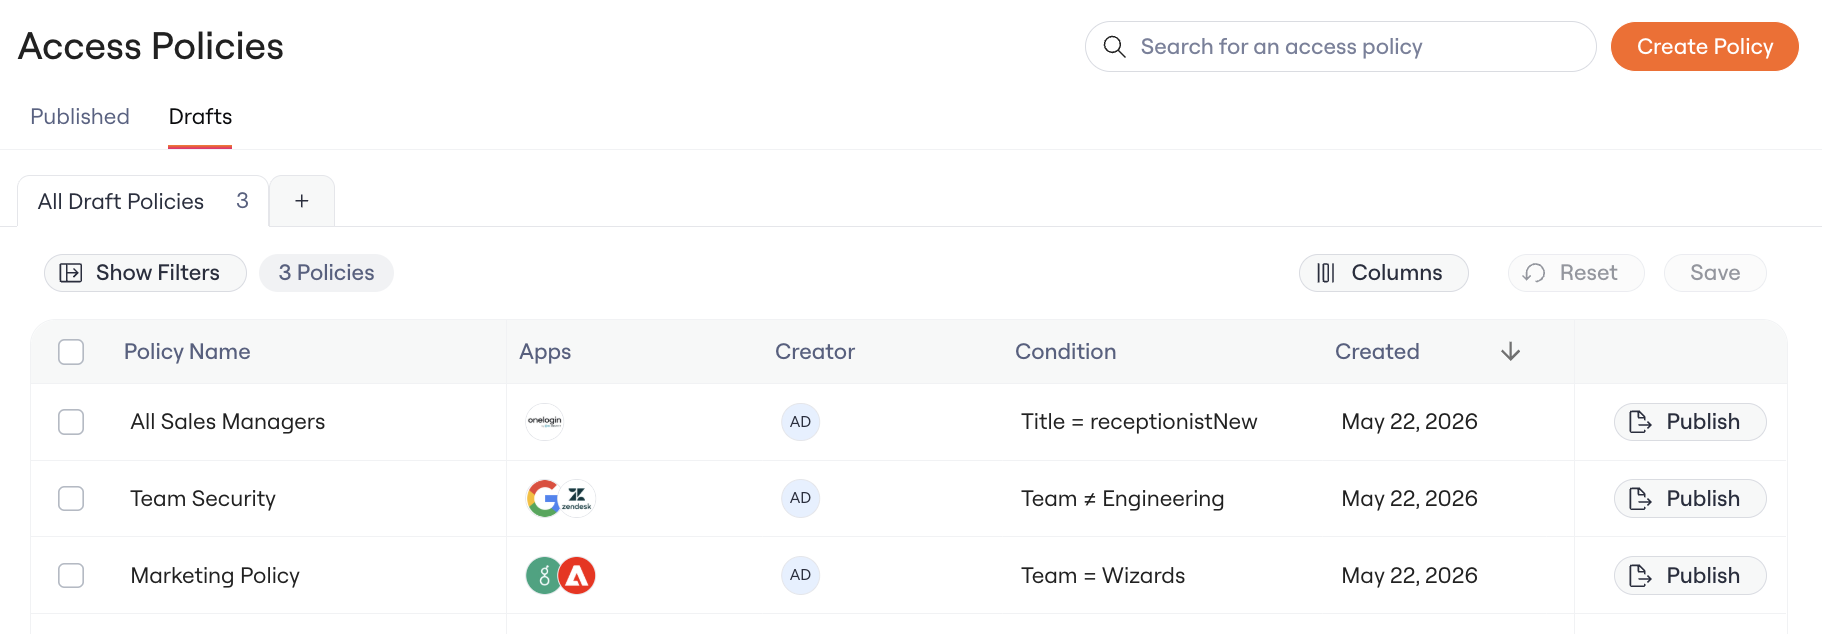
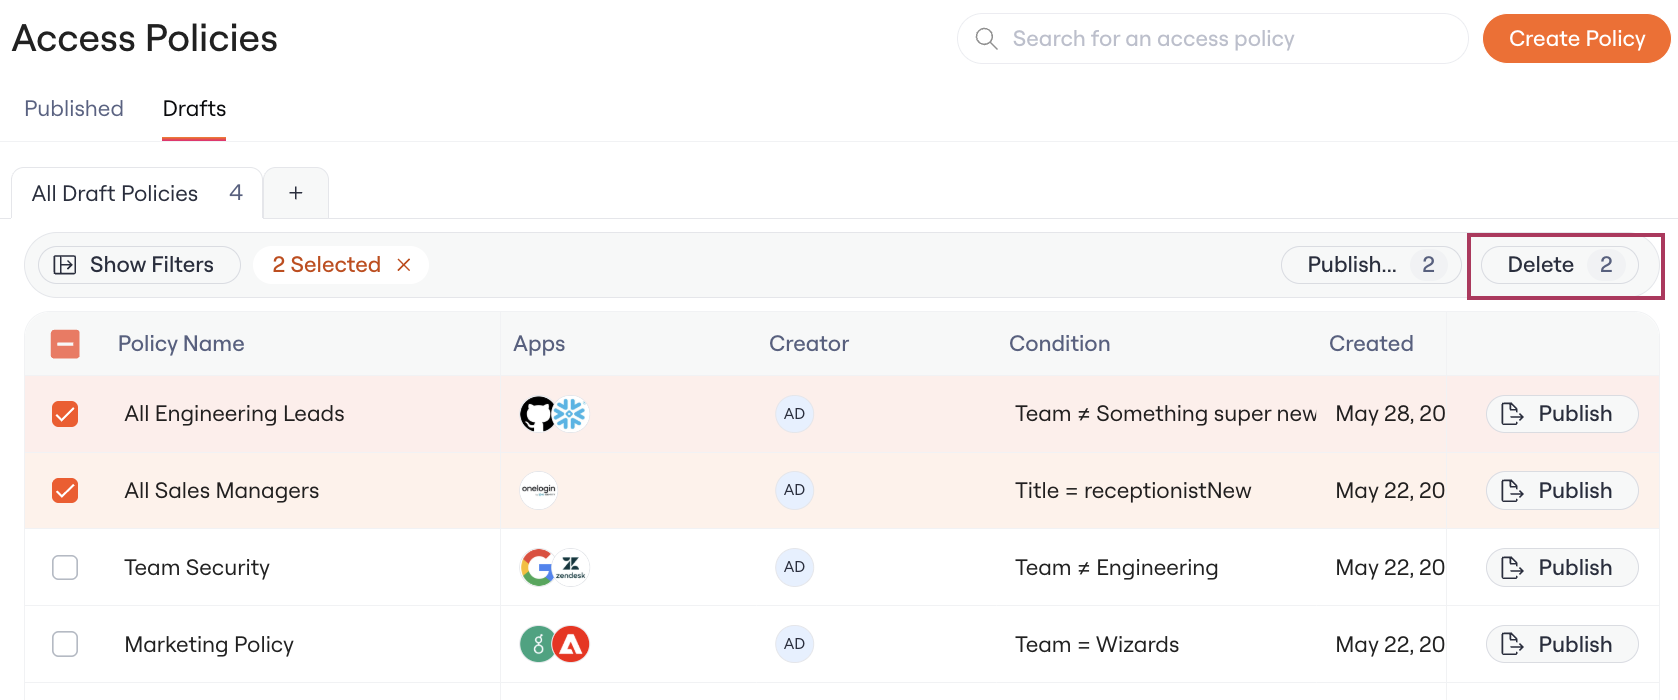
- Drafts: All draft policies you’re still iterating on. New policies appear here by default.
- Published: Policies that have been published (whether currently Active or Inactive).
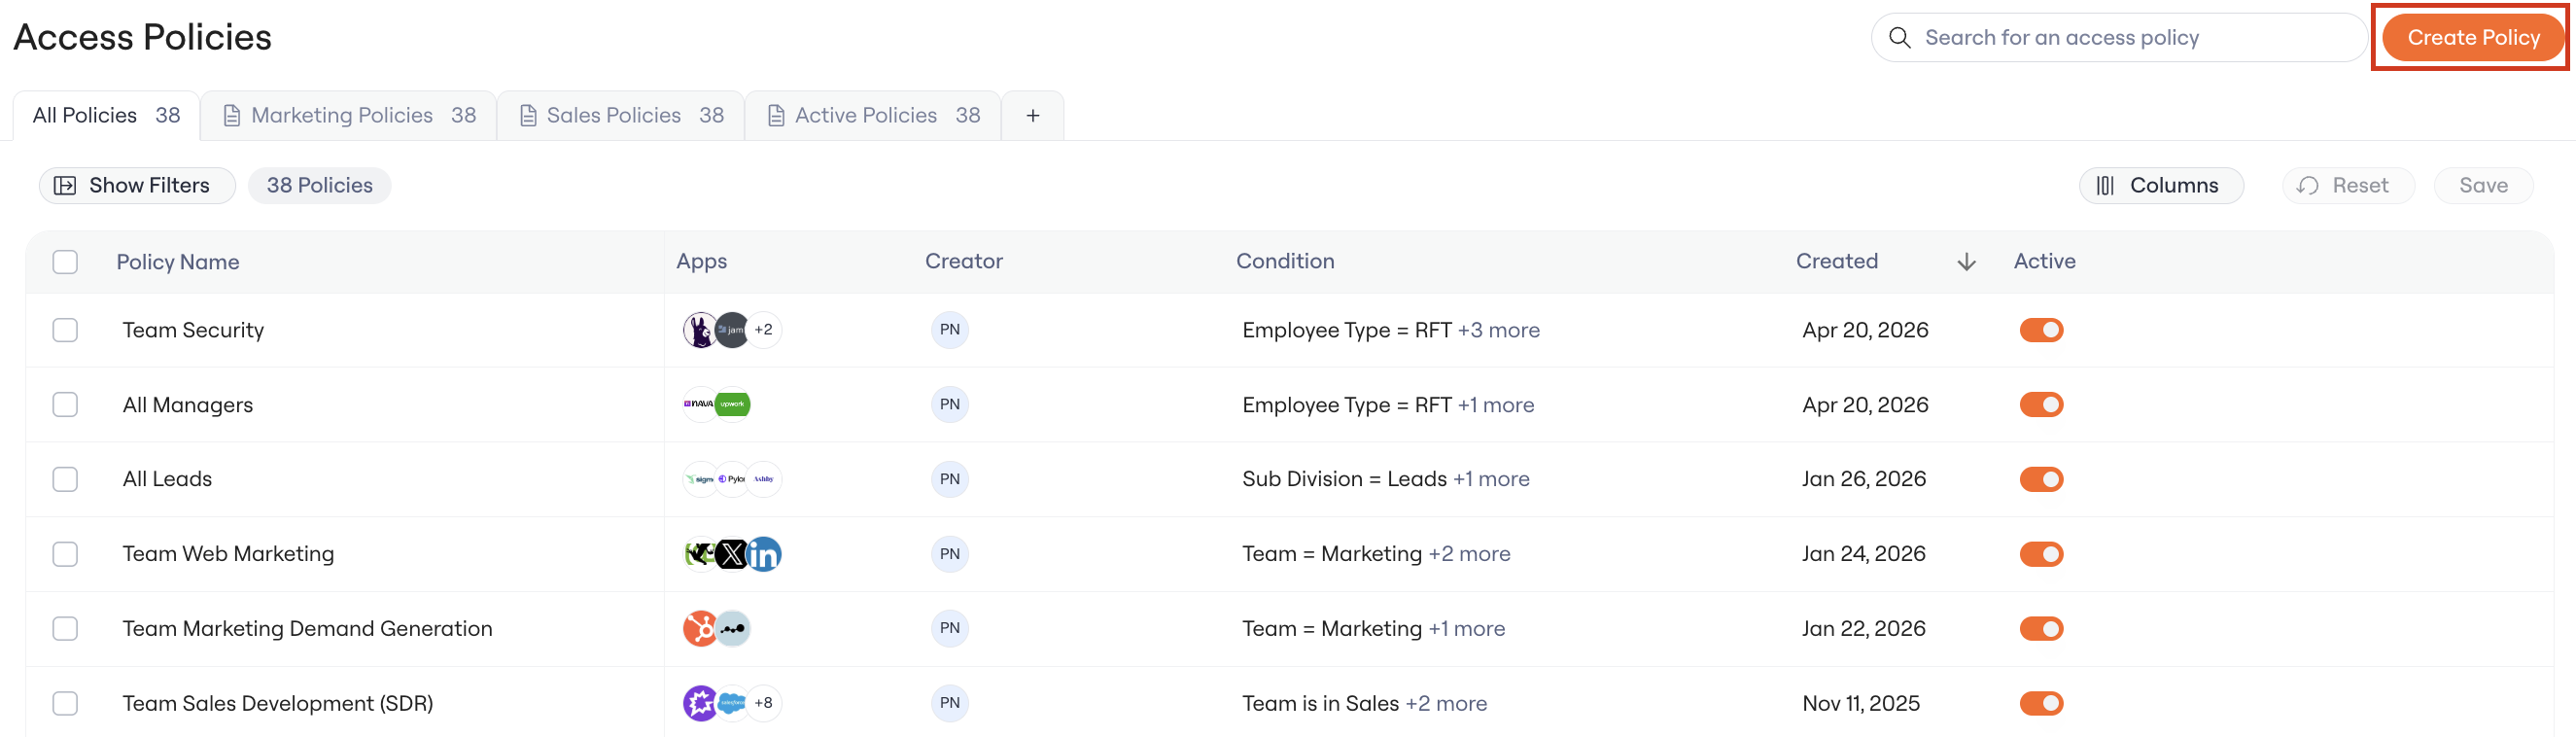
2. Click “Create Policy”
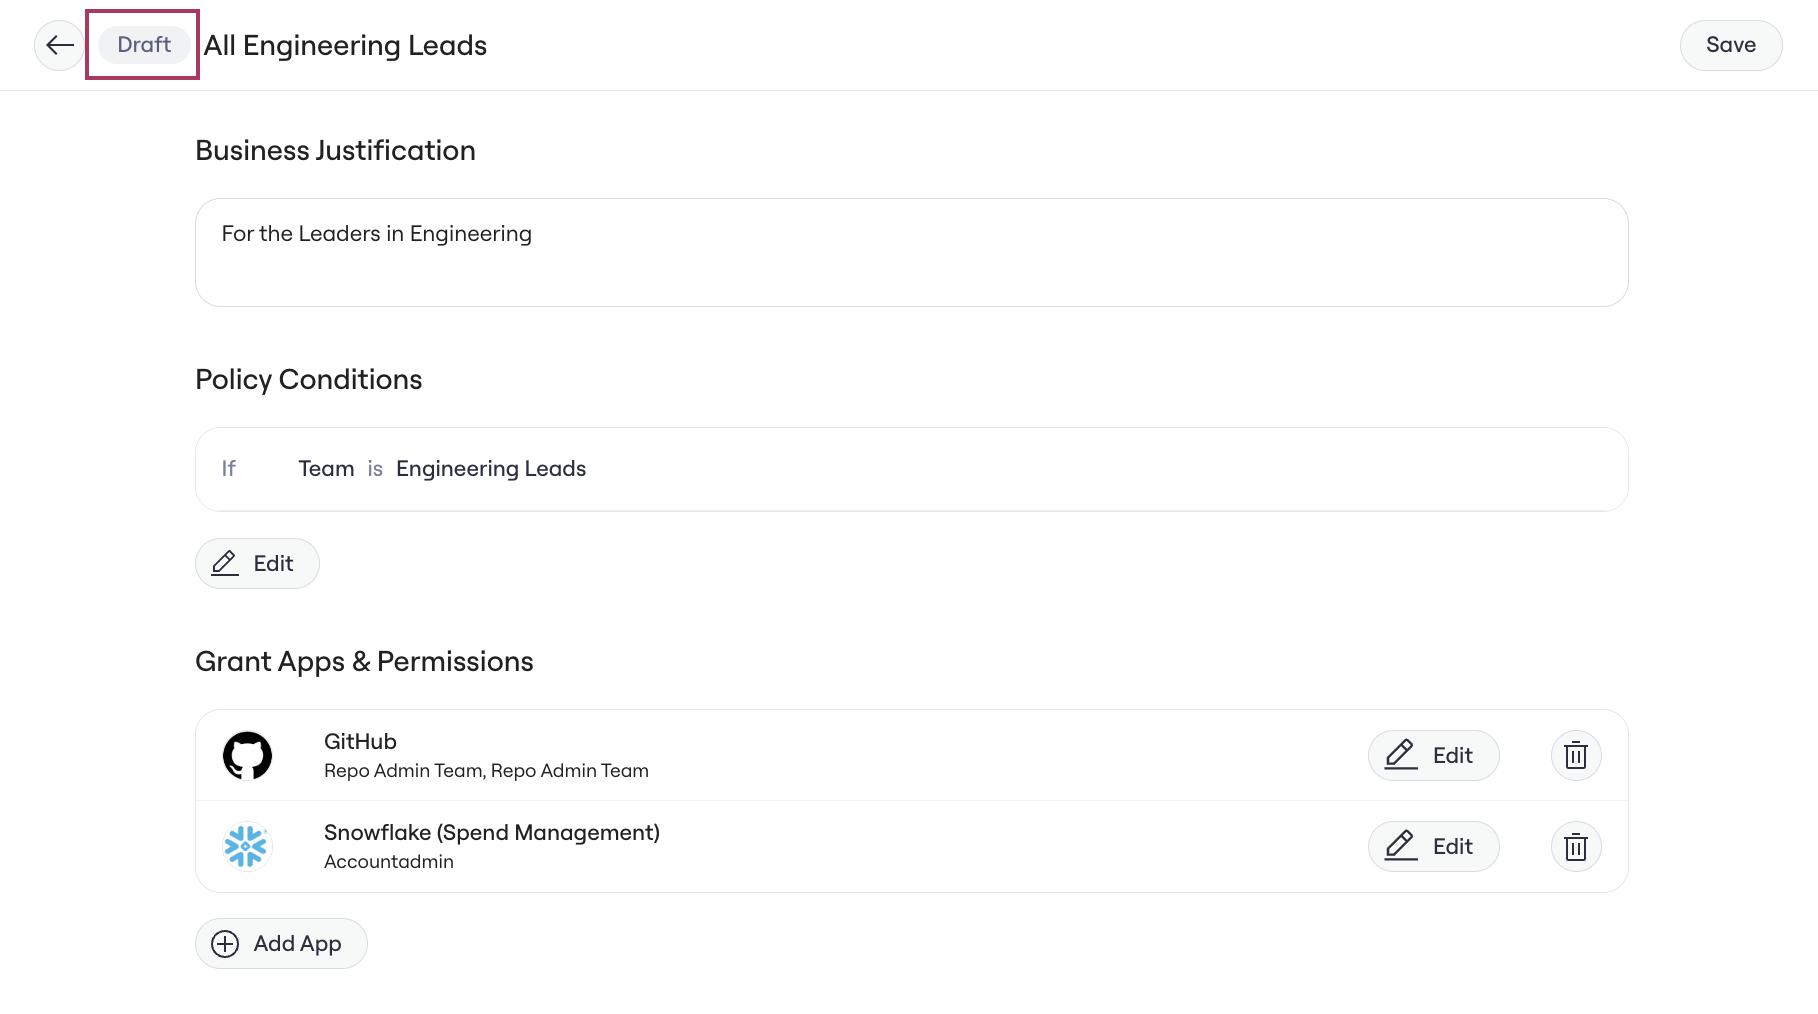
3. Configure your policy
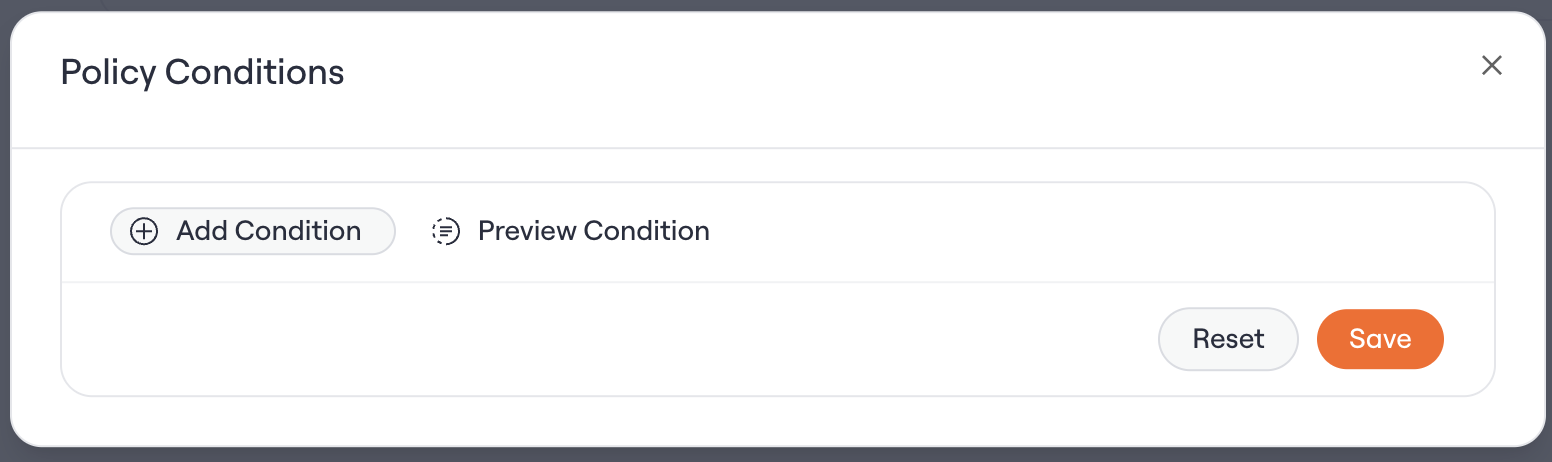
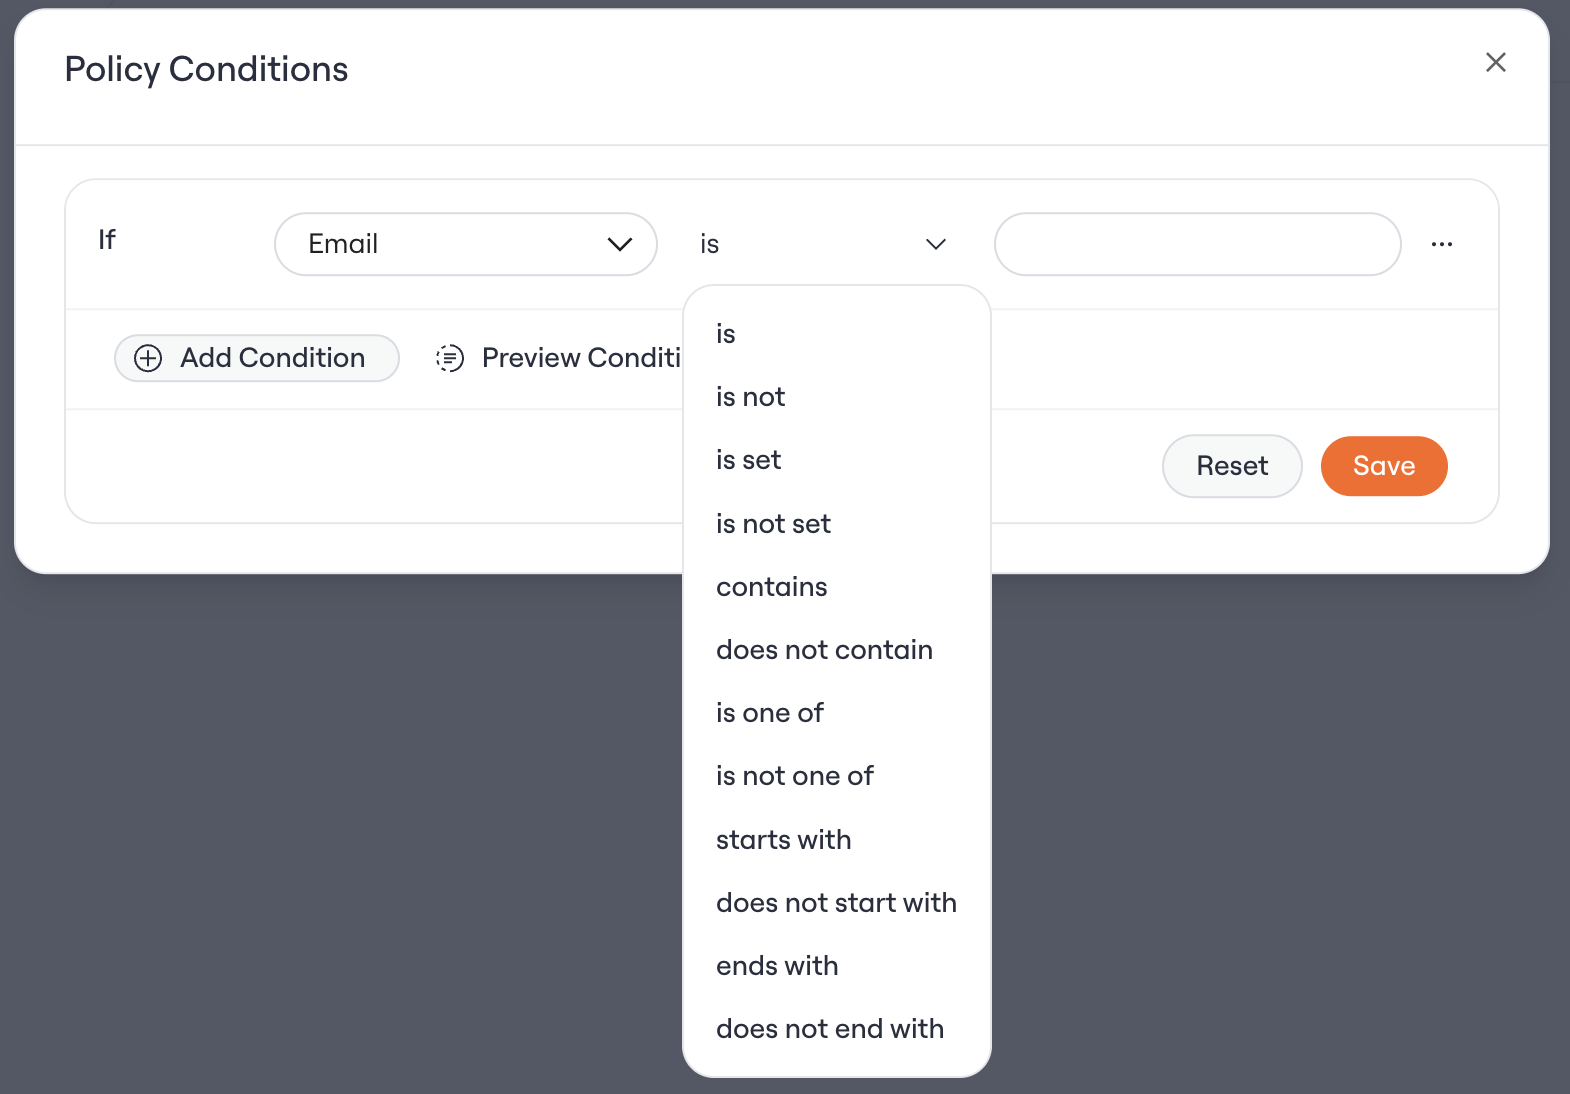
You’ll find that you can configure policies based on User based attributes (e.g. Team, Title, Groups, Everyone). Team, Title, and other custom attributes will be sourced from your Source of Truth settings, and Groups refer to Okta, Google, or Microsoft Entra ID groups pulled in via direct integration. Read more on your Lumos Source of Truth here Source of Truth Note: If you select the “Everyone” rule, you will not be able to add any other attributes. Rules support limited OR logic, so you’ll be able to create a rule that applies to multiple titles, teams, custom attributes, or groups.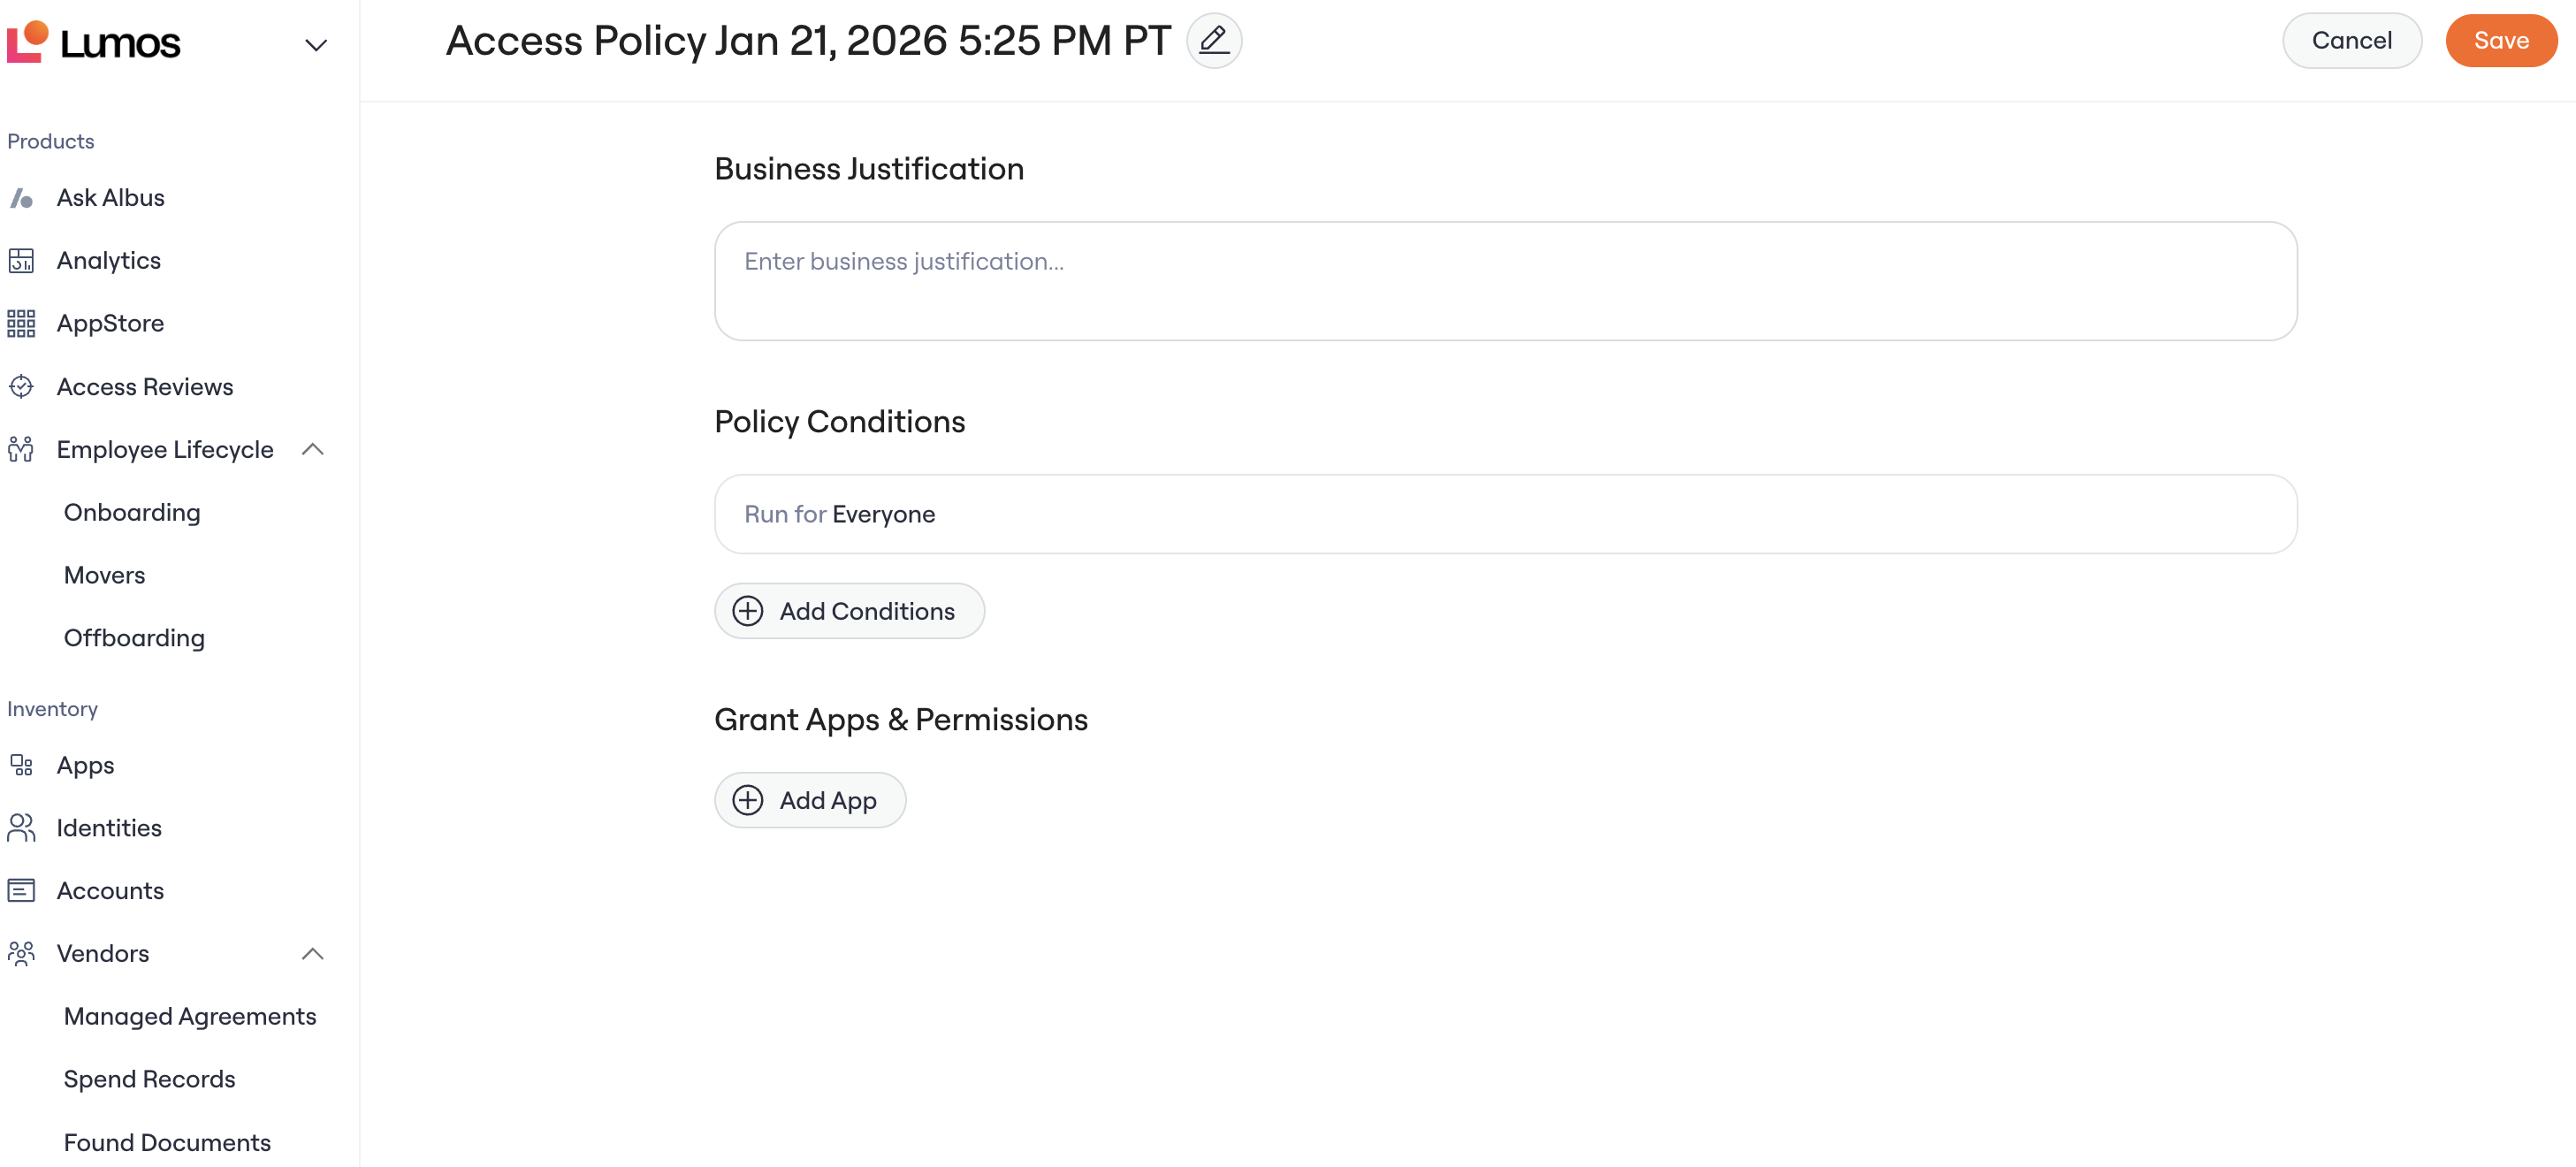
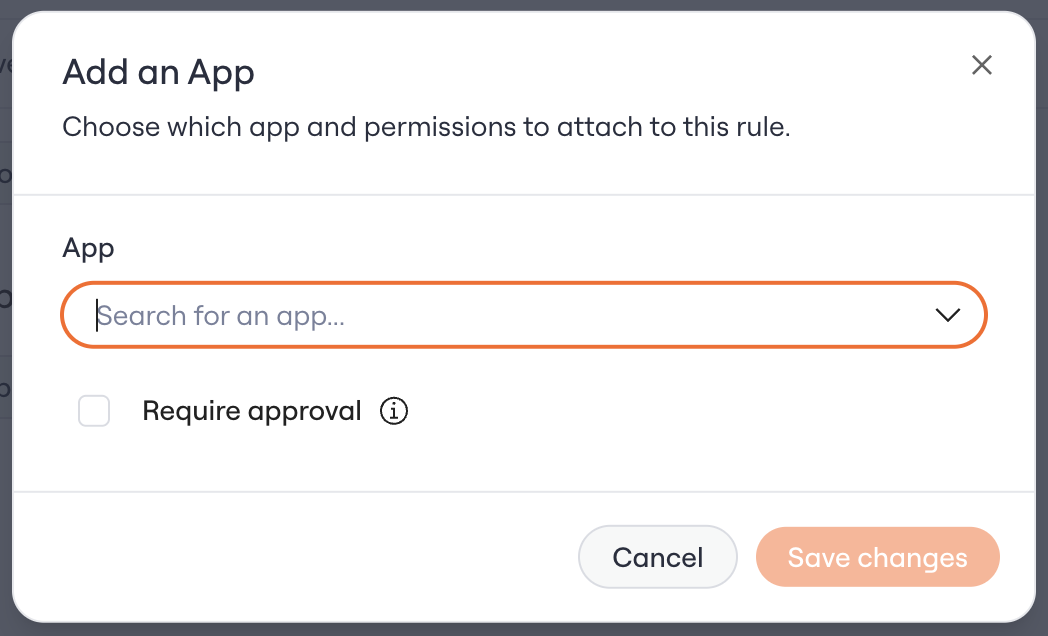
 Below that, you’ll be able to select what access requests will be created - this will determine _what_access the new hire will get if they fulfill the conditions.
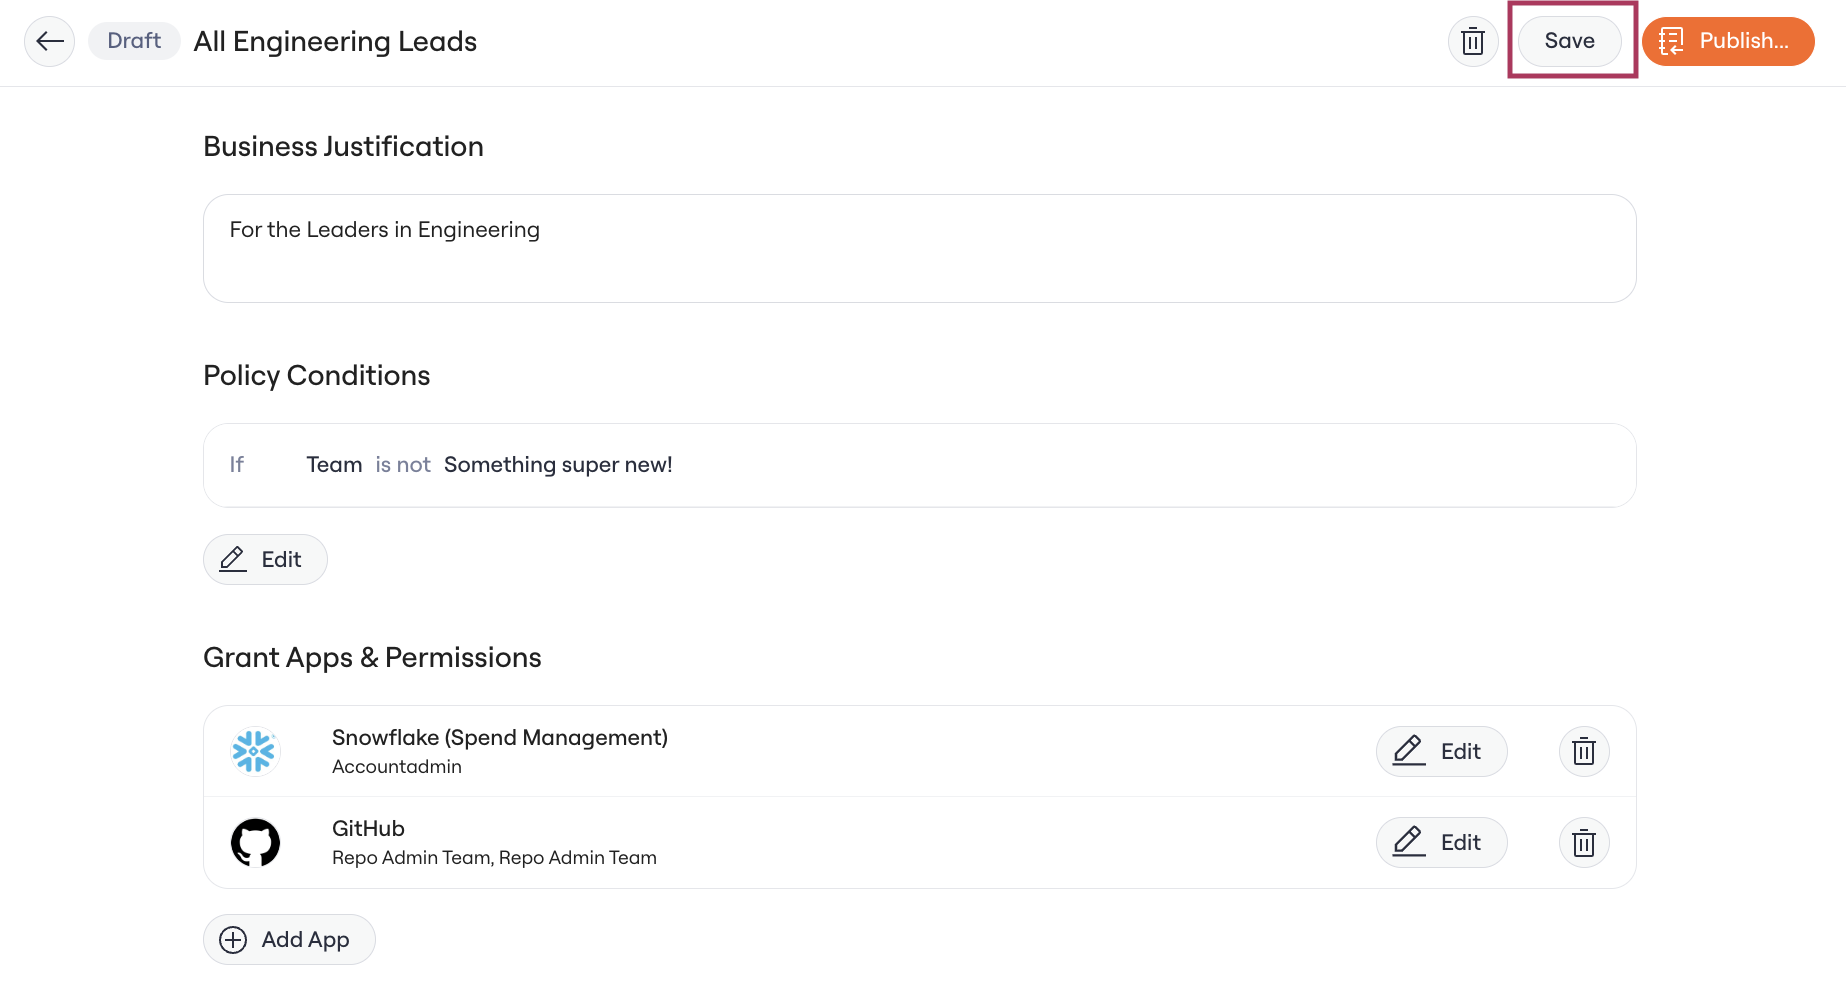
4. Hit “Save”
Save your draft. Saving keeps your policy in the Drafts tab so you can keep iterating. The policy is not yet enforced at this stage. You can come back and edit or delete the draft at any time before publishing.5. Find and Edit your Draft
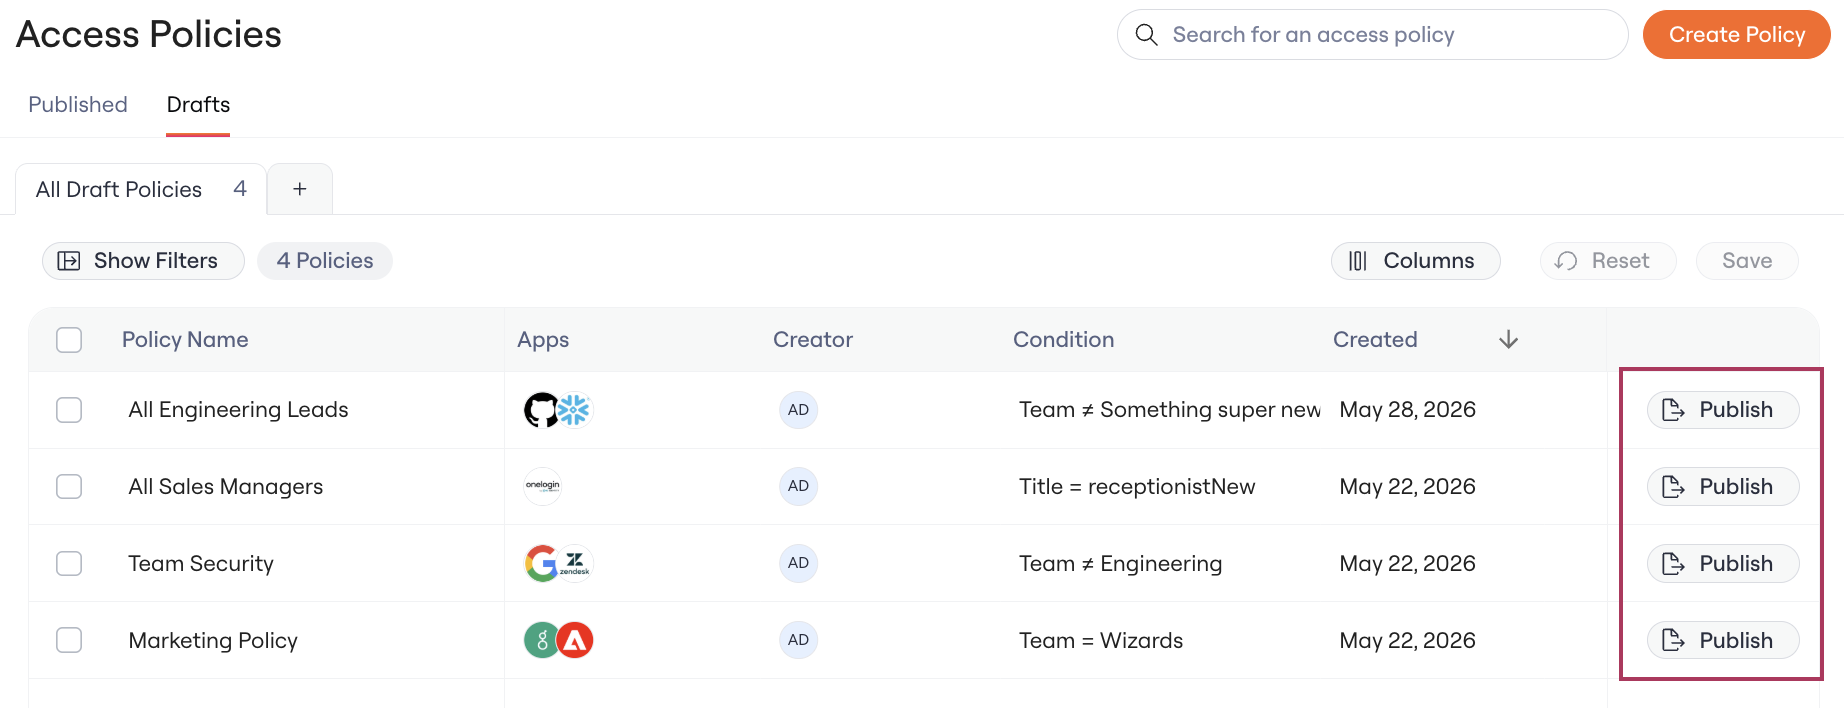
Go to the Drafts tab of the Access Policies table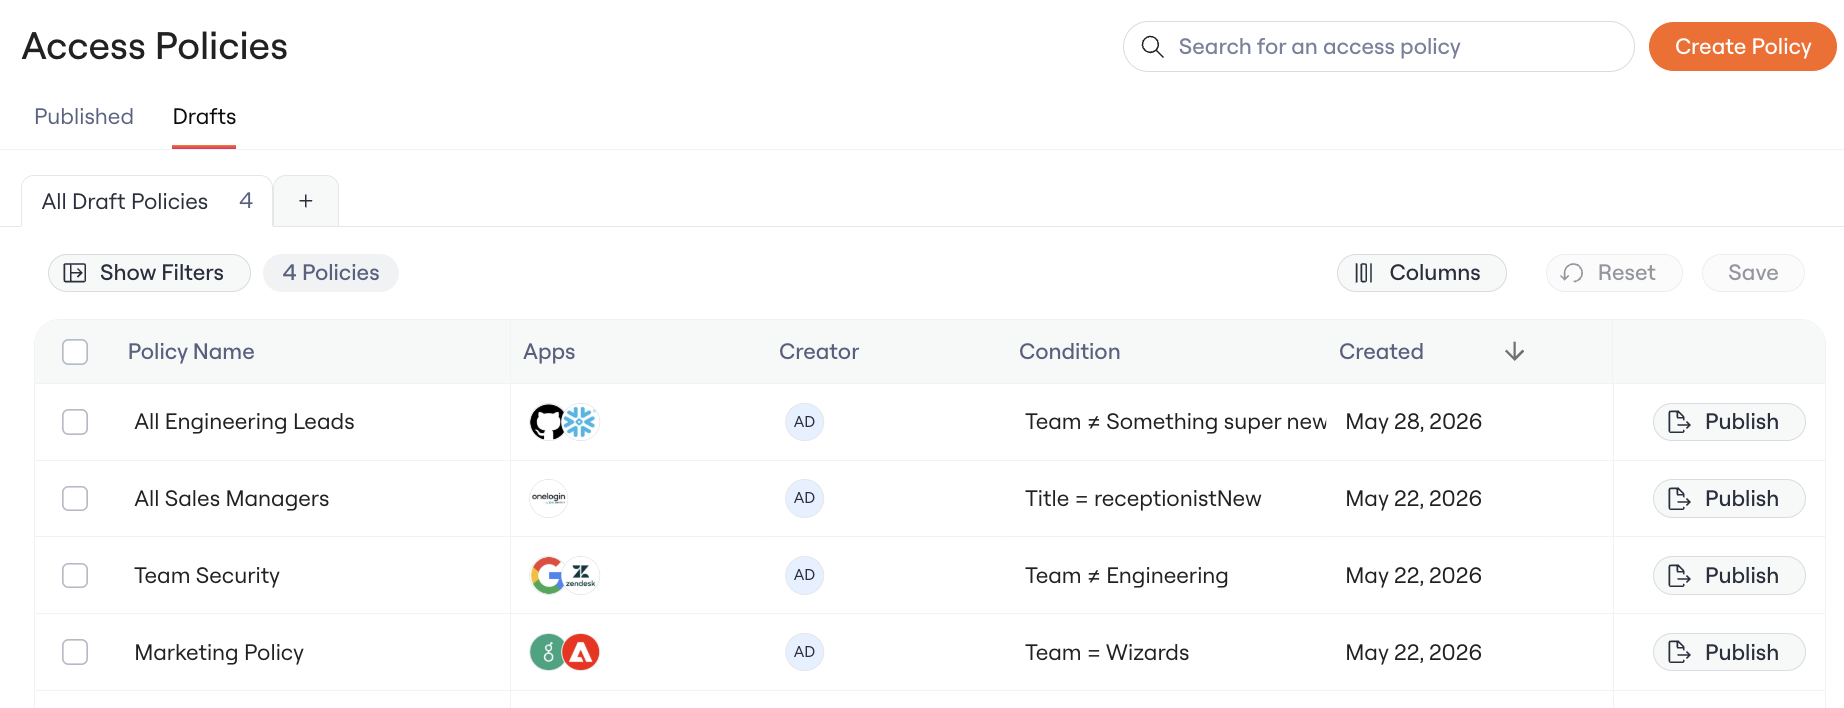
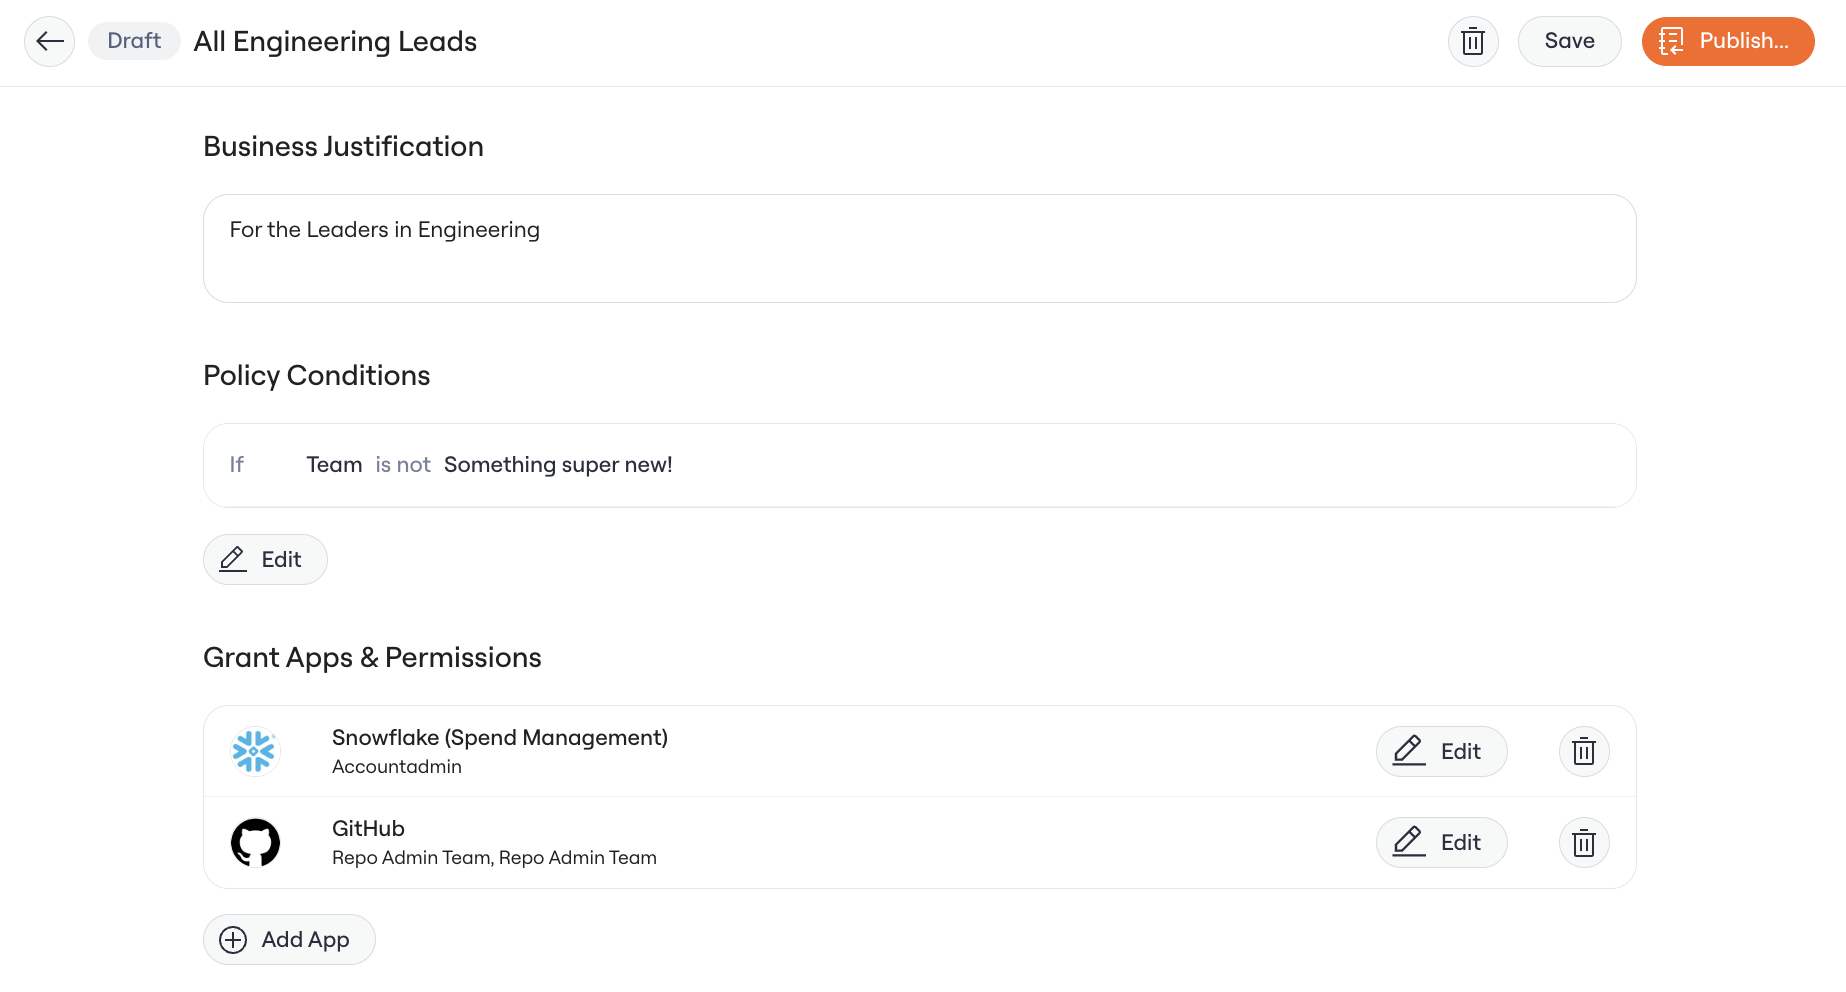
6. Publish your Policy
When the policy is ready to go live, click Publish in the policy detail page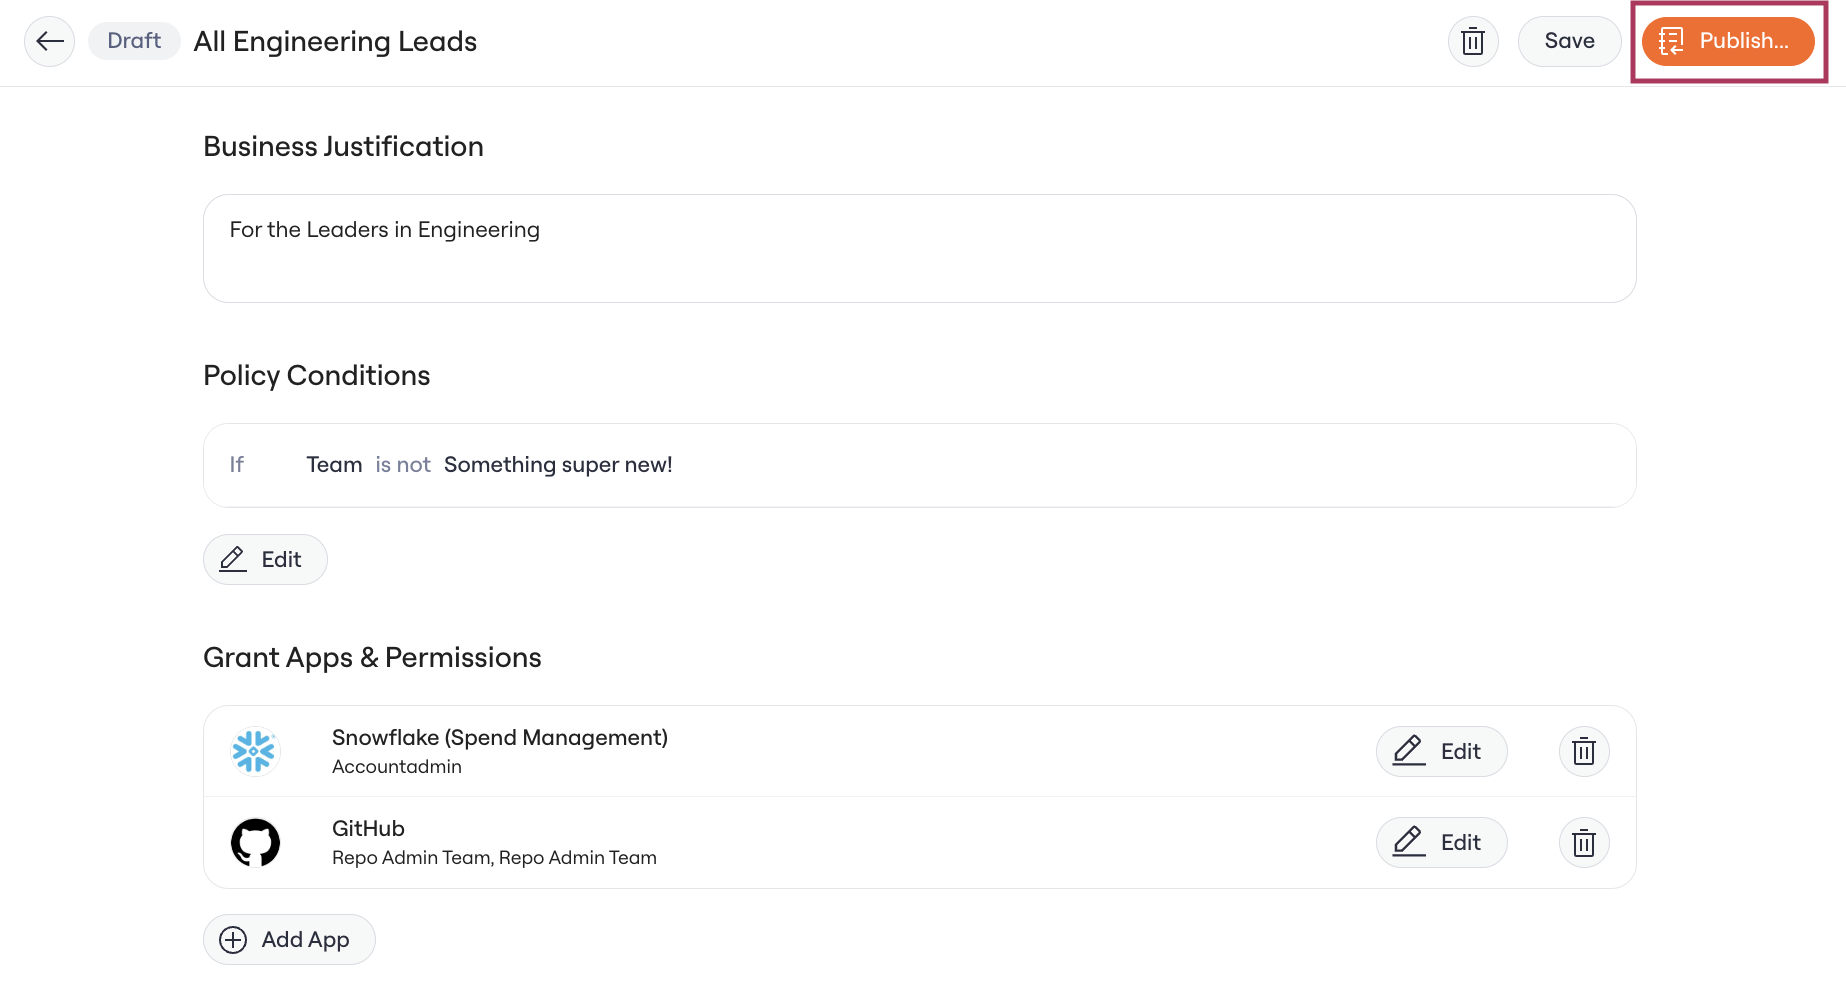
7. Publish your Policies in Bulk
Navigate to the Drafts tab Select the Policies you want to Publish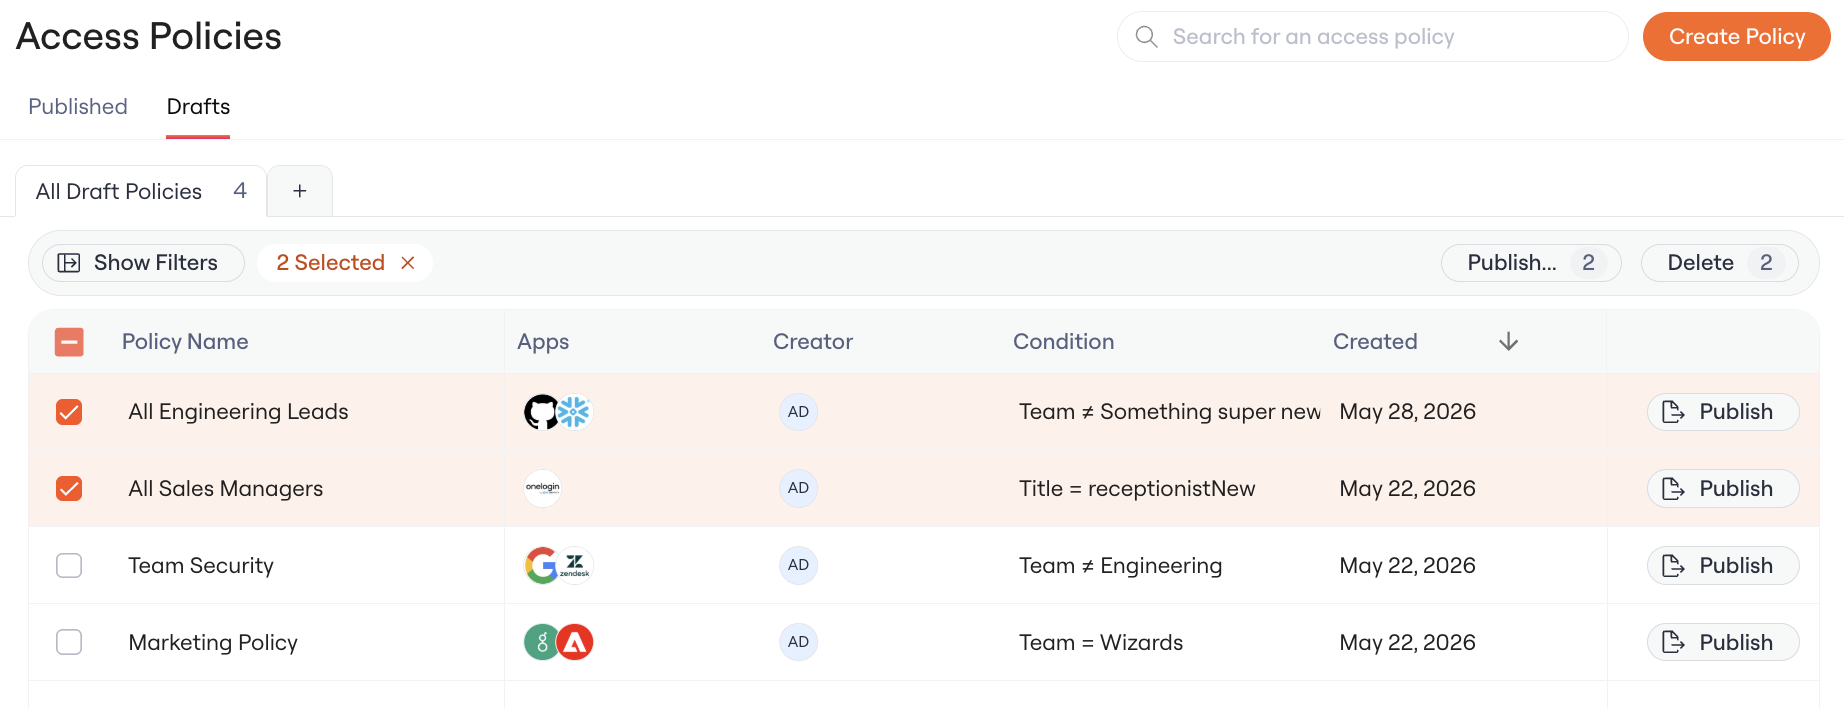
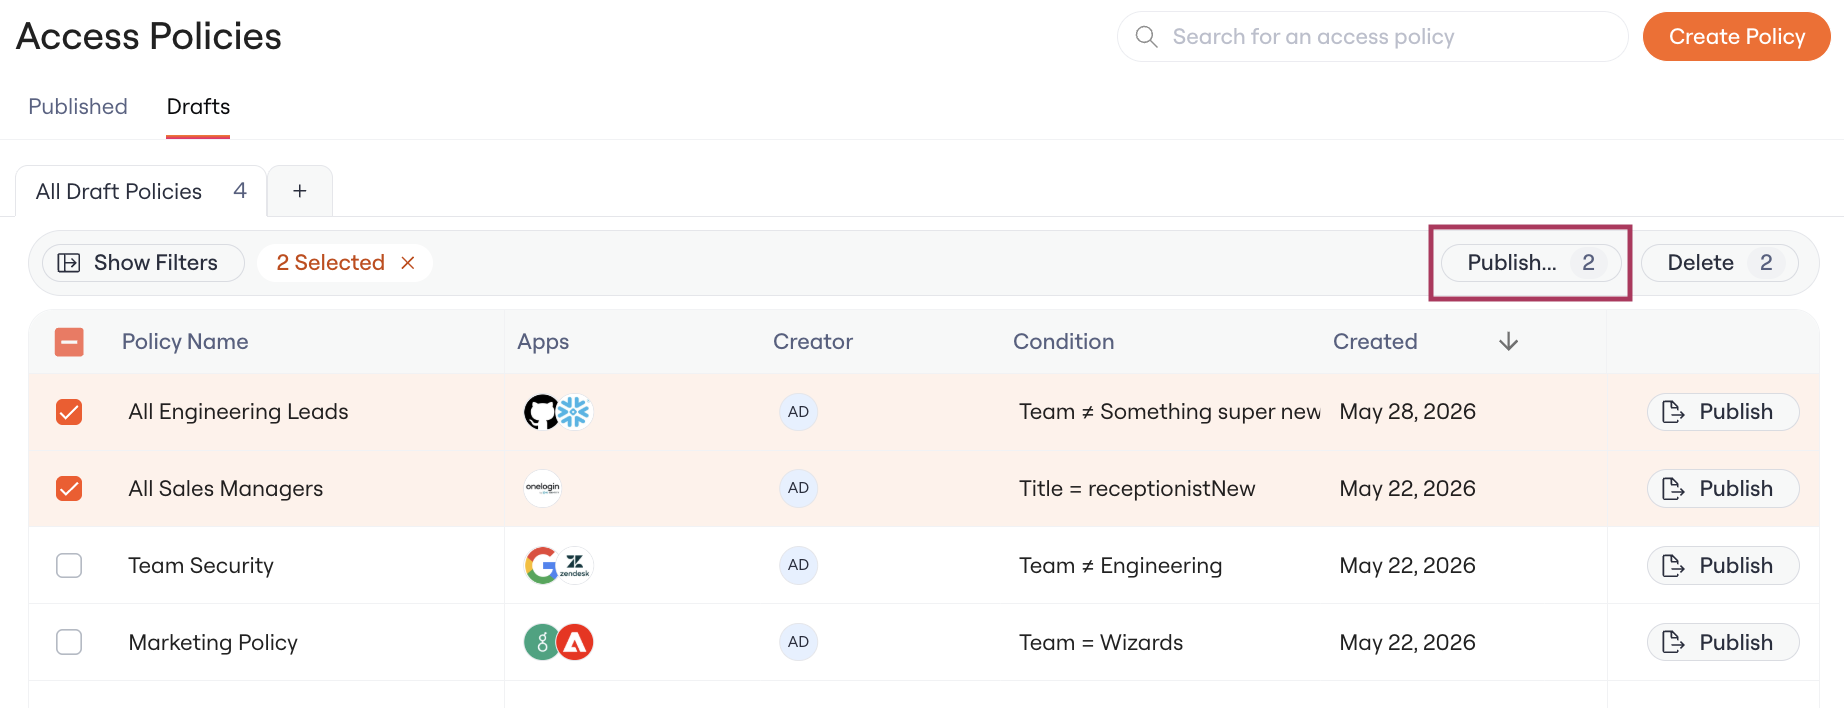
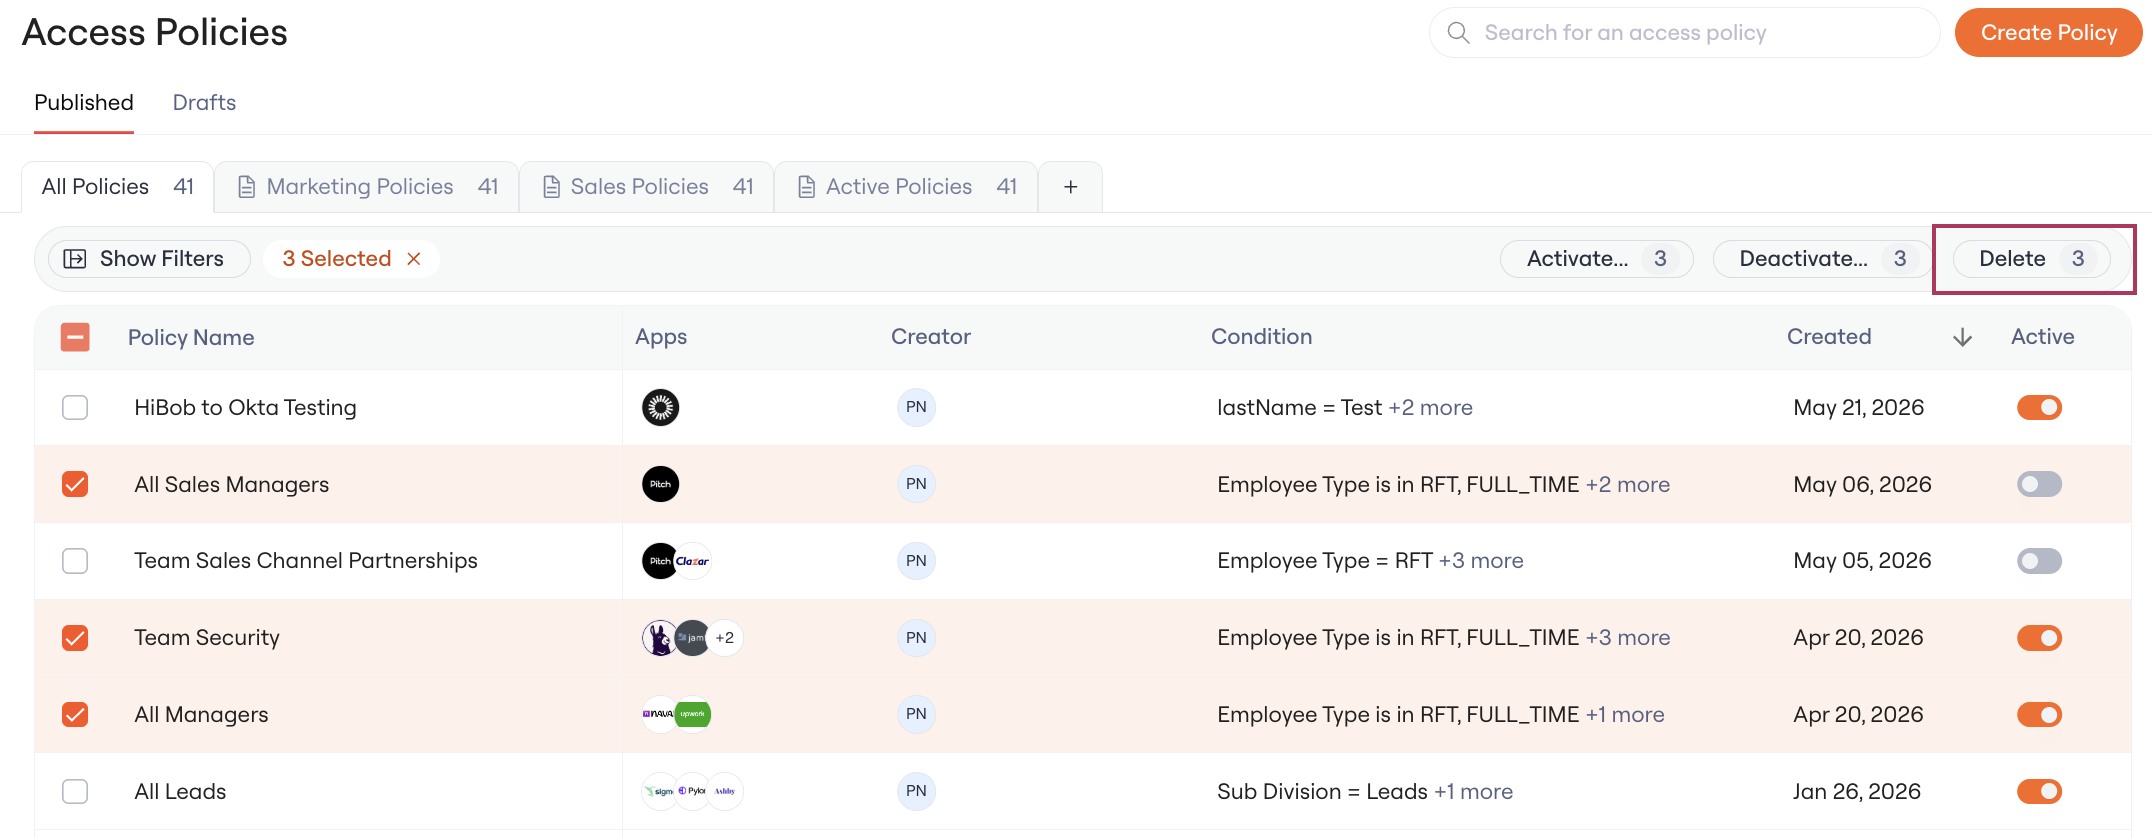
8. View your Published Policies
Find your Published Policies in the Published Tab of the Access Policies Table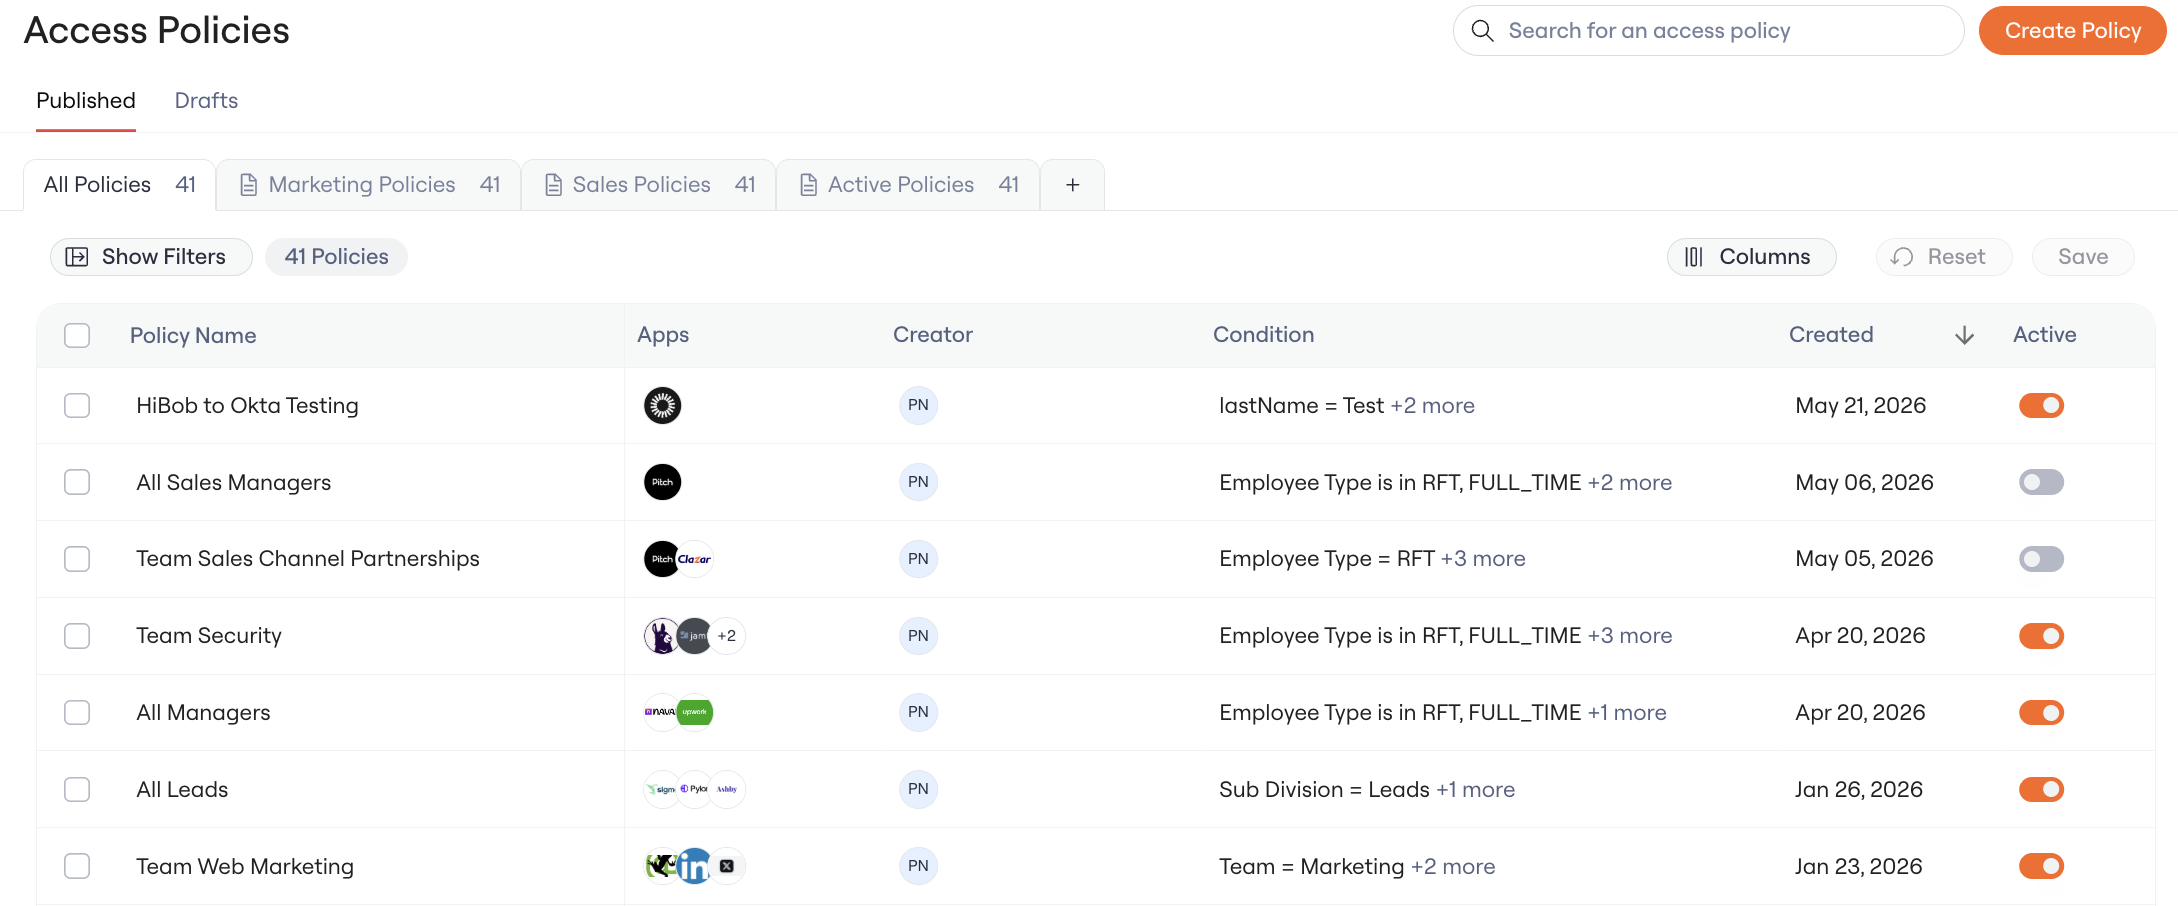
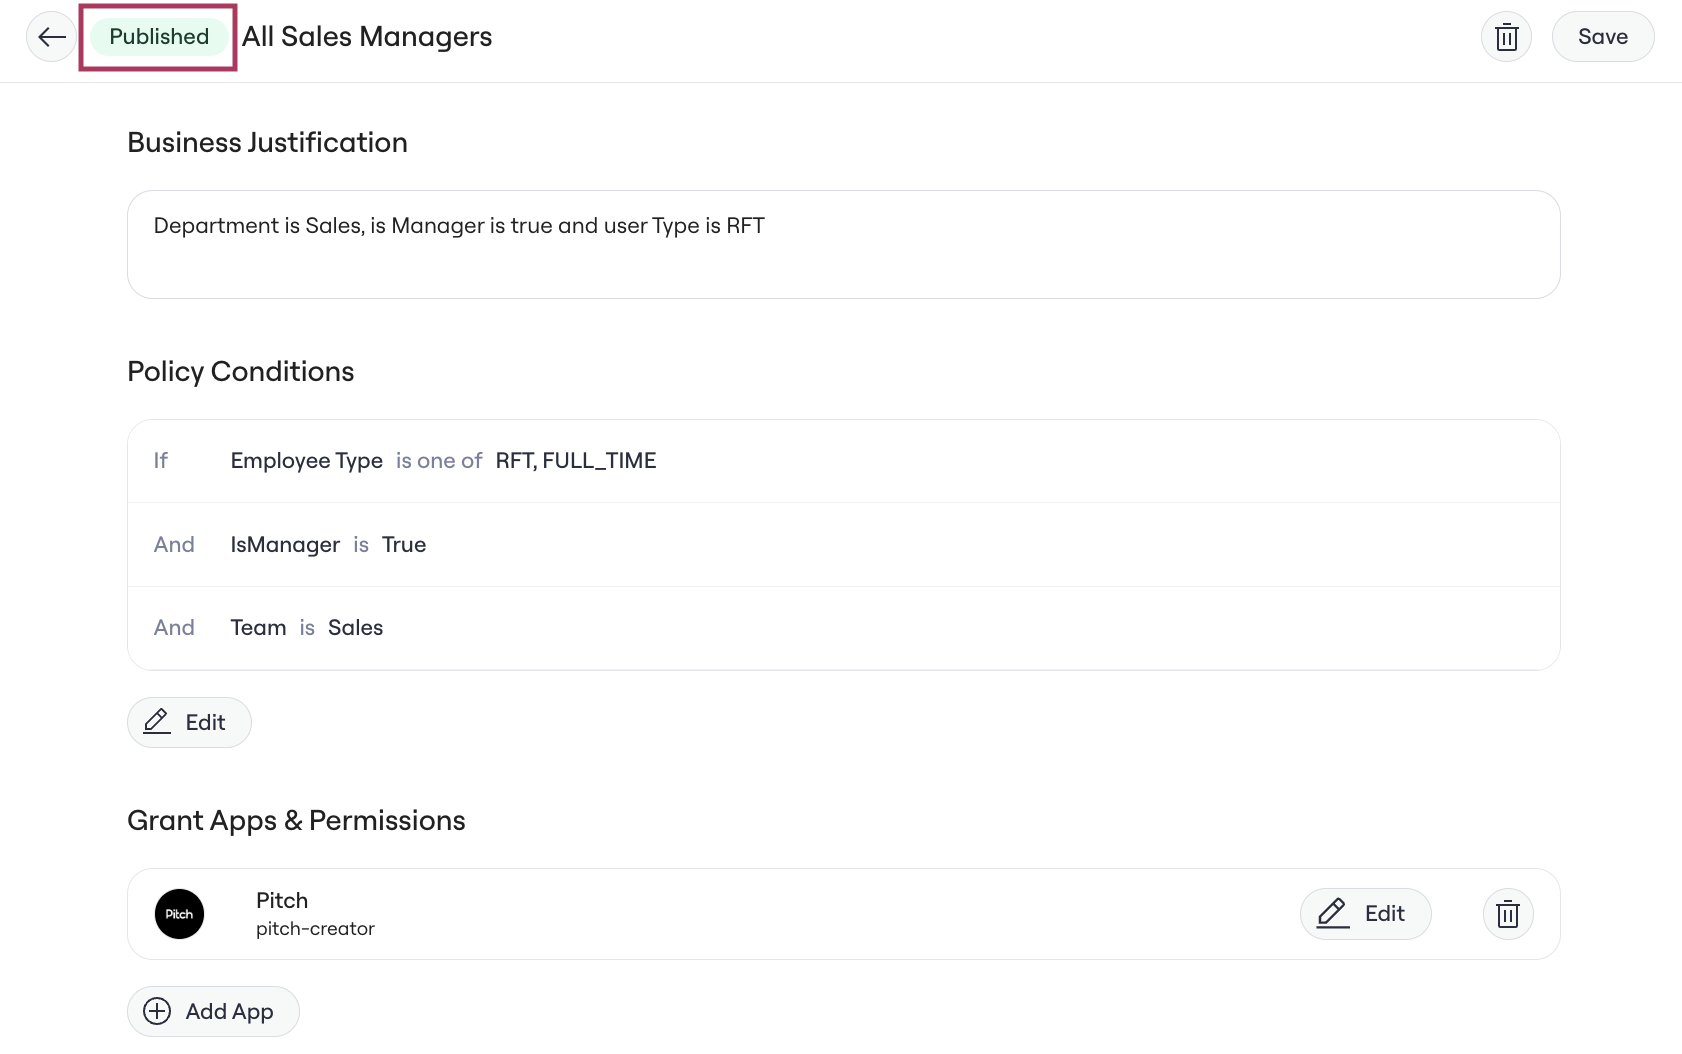
9. Set your Policy to Active
By default, any newly created Policies are set toInactive . Set them to Active for them to be evaluated as part of your Onboarding Workflows
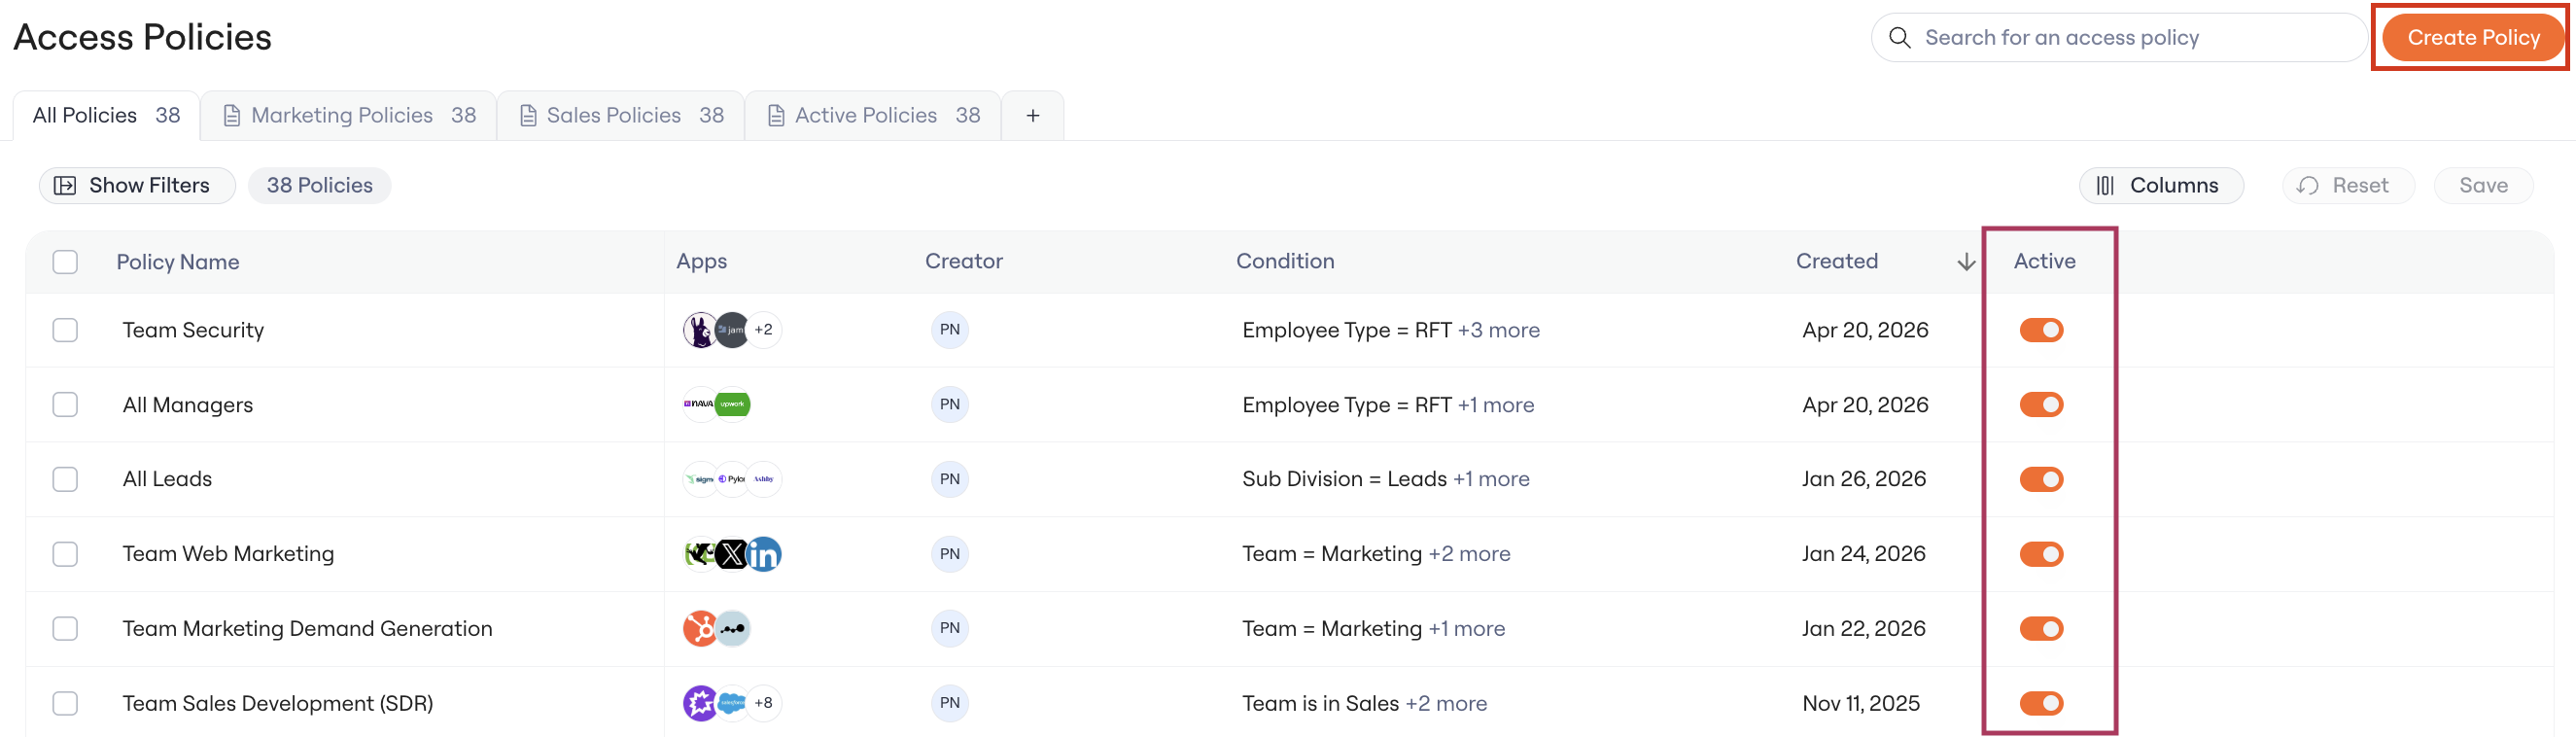
10. Setup complete
Additional Configurations
[Optional] Set the policy to be pre-approved
You may have approvals configured for these apps but not want these onboarding requests to go through the regular approval requirements. If you select the checkbox “Make these birthright access”, these requests bypass all approvals.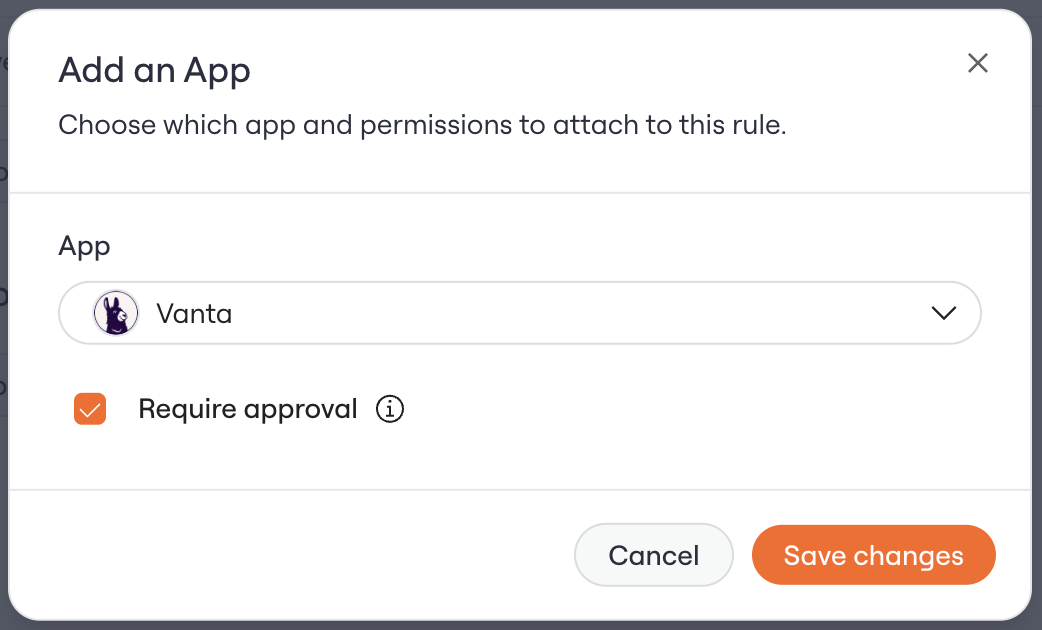

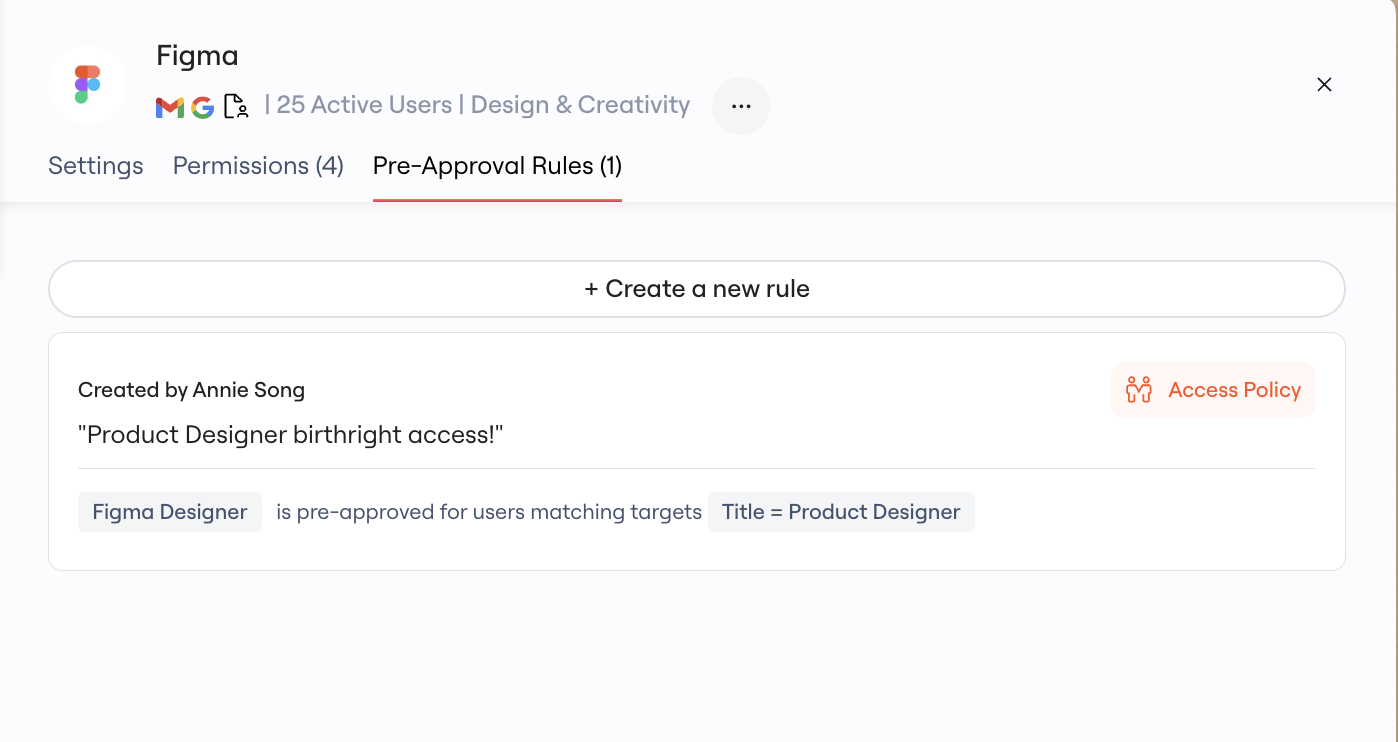
[Optional] Rename your policy
By default, your Access Policies will be named with the current timestamp, but you can rename this by clicking on the policy to type in a new name.
How do I edit a draft policy?
Click into a draft policy on the Access Policies table > Drafts tab Edit and click “Save” up at the top right.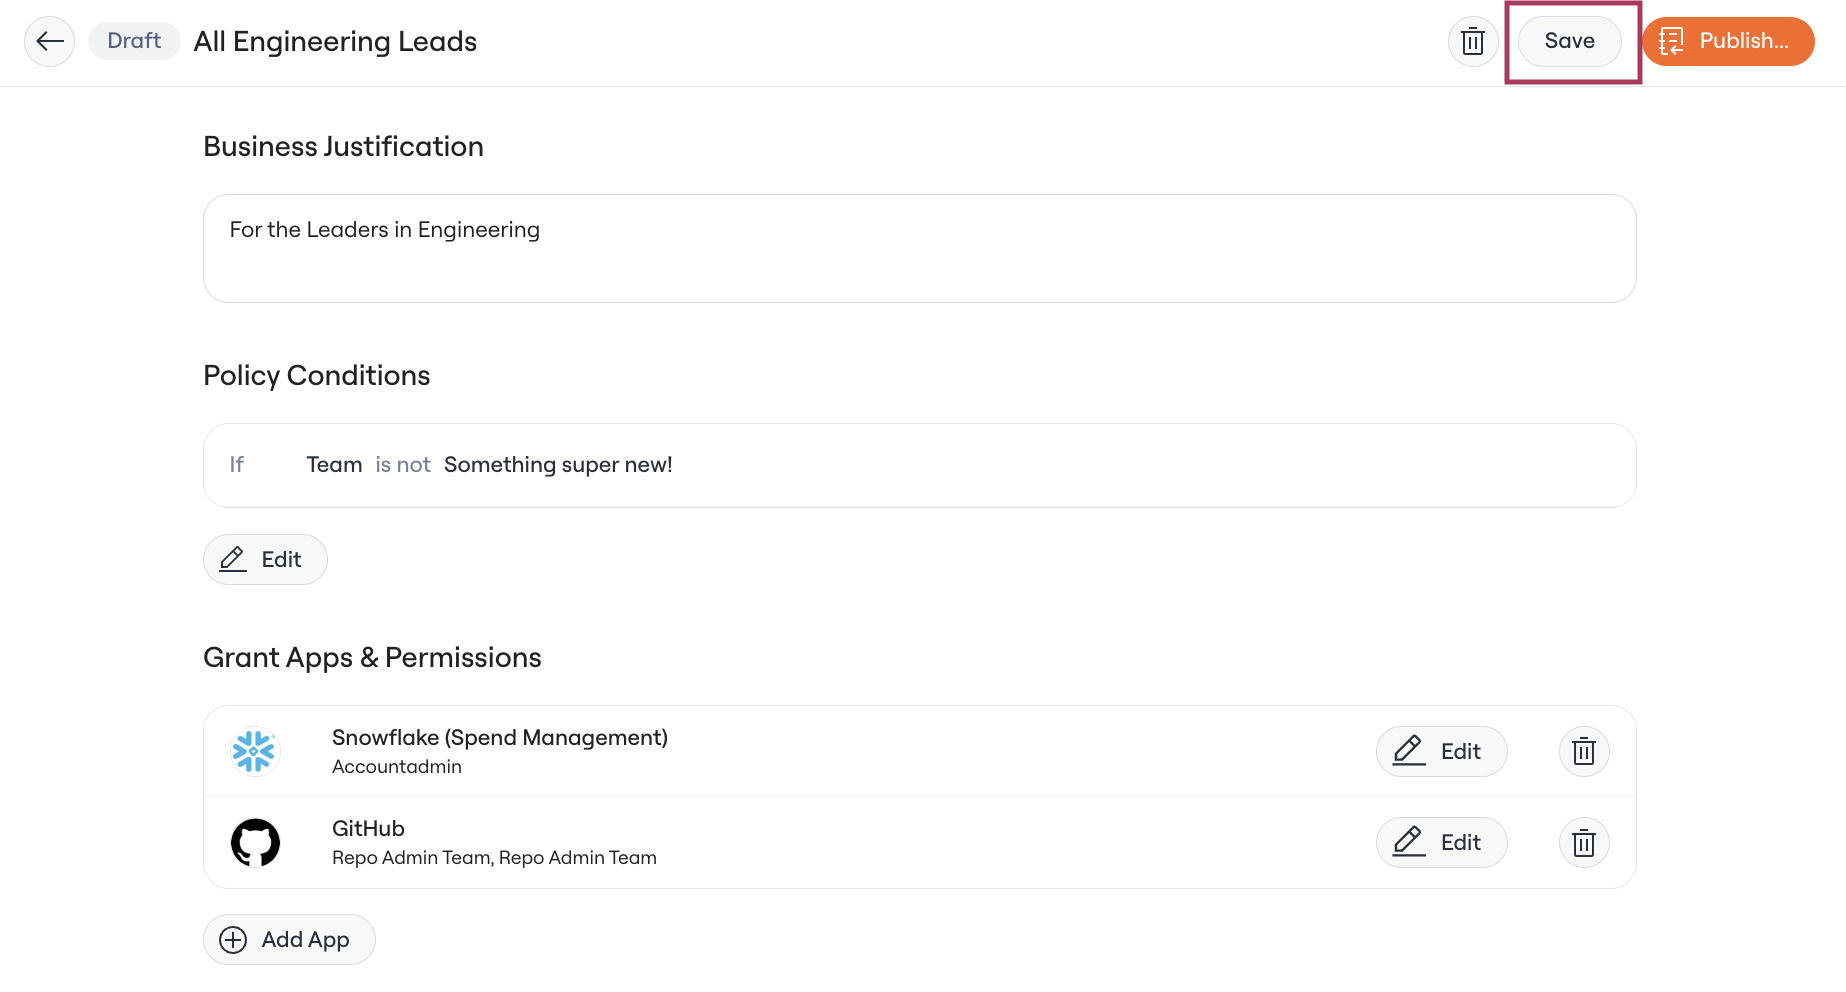
How do I delete a draft policy?
Navigate to a draft policy on the Access Policies table > Drafts tab Delete via the Trash icon on the top right.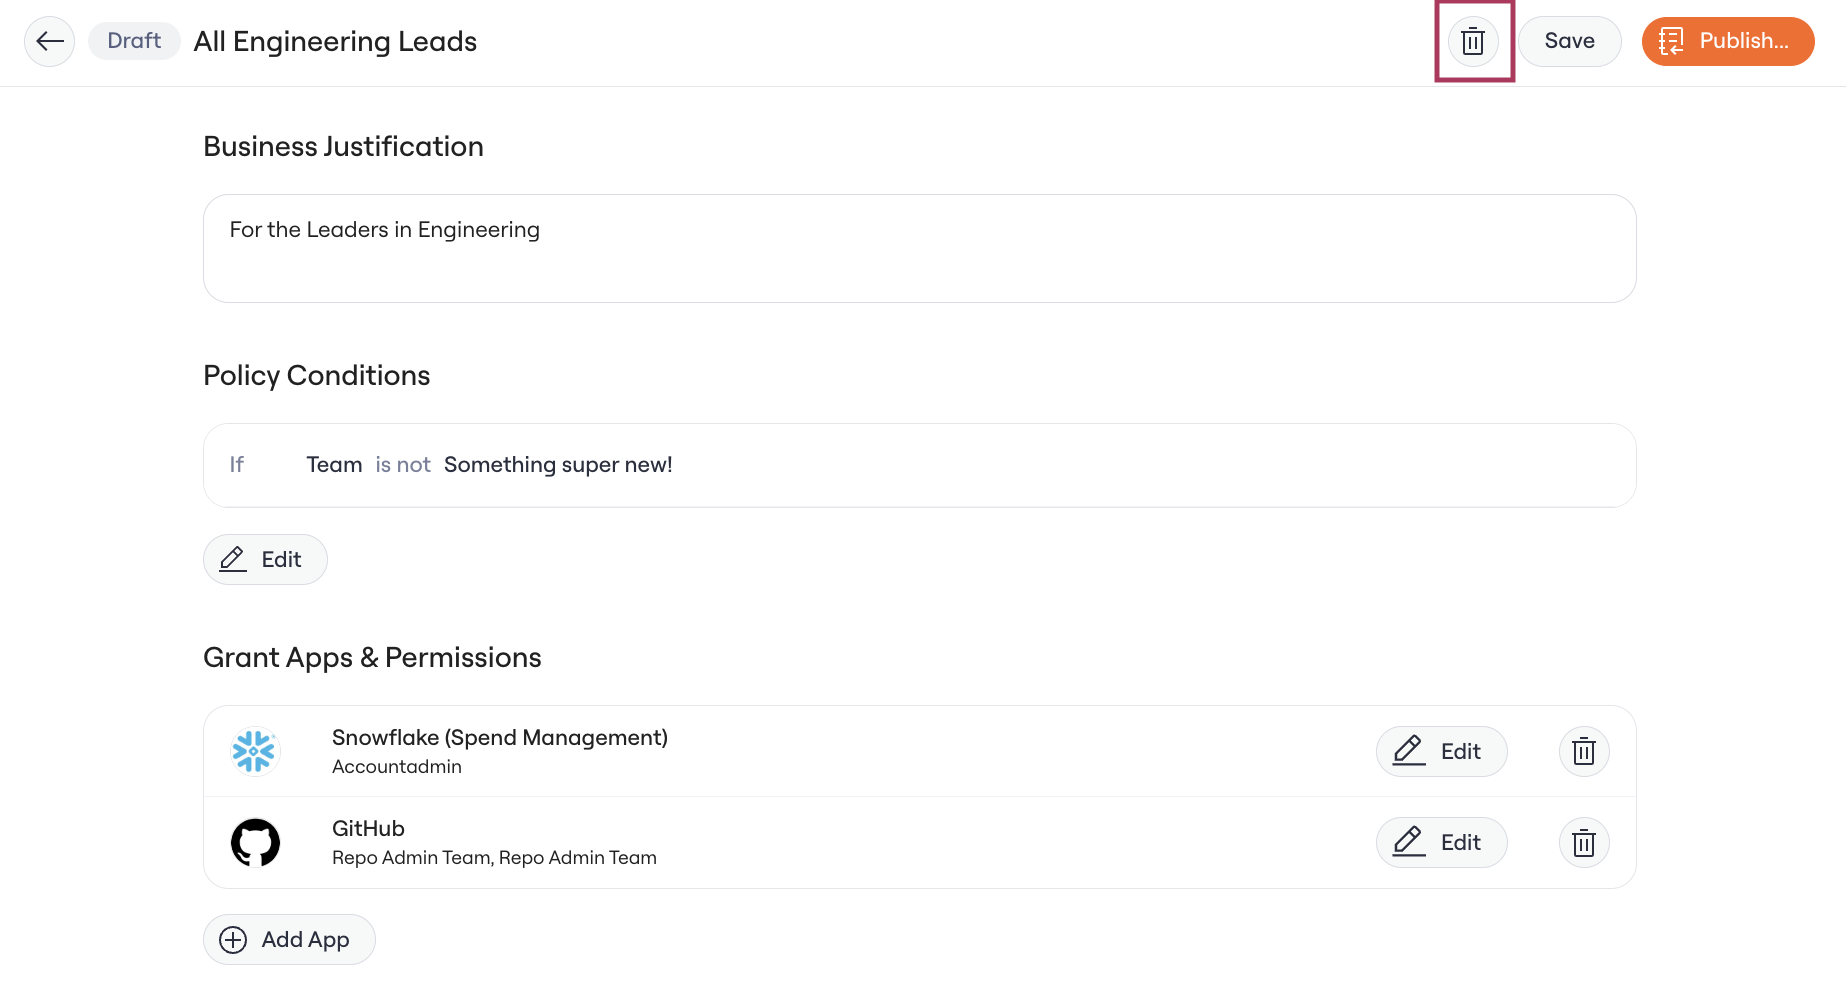
How do I edit a Published policy?
Create a draft from the published policy. The draft doesn’t affect the published policy until you publish it. See Editing Published Access Policies.How do I delete a policy?
Click into a published policy on the Access Policies table > Published tab Delete via the Trash icon on the top right.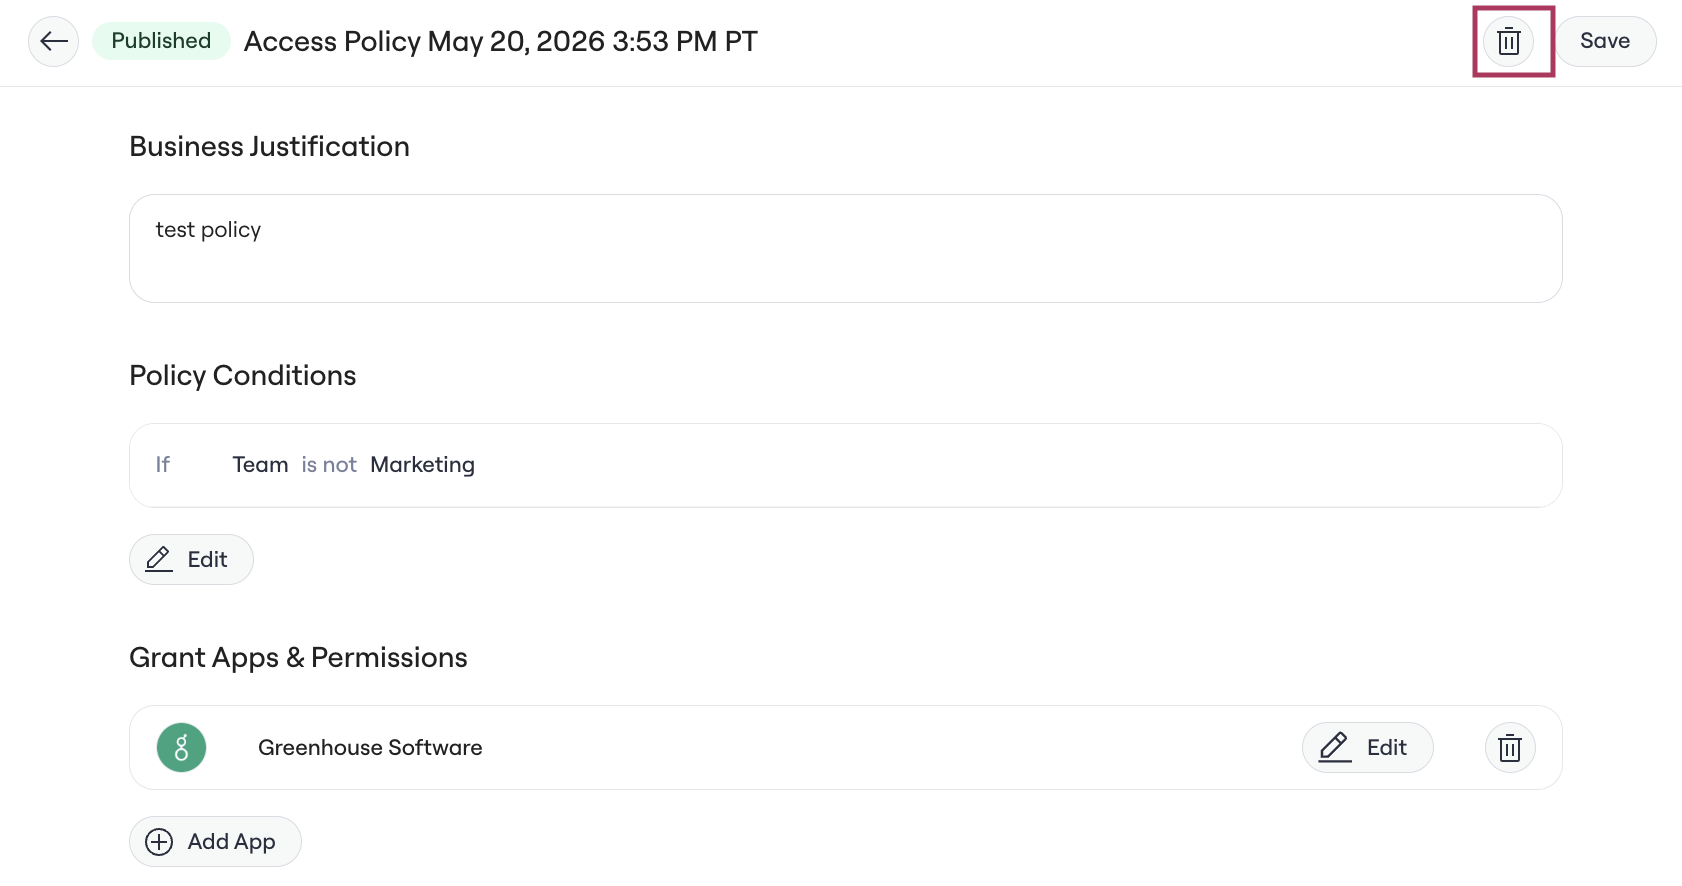
Albus and the API
- Albus-generated policies always land as drafts. Whether created through Albus chat or the Albus UI, the policy will appear in the Drafts tab so an admin can review it before publishing and activating.
- The API creates drafts by default. If you want the API to create a published policy directly, you can override this by setting the
statusparameter on the request.