

Background
This article shows you how to test an inactivity workflow before you roll it out. For an overview of inactivity workflows, see Inactivity Workflows 101.Steps
A great way to test your inactivity workflow is to try it on accounts with very long inactivity times. A user who hasn’t logged into a service for 365+ days, for example, likely won’t complain if their access is removed and should be safe to use for testing scenarios. Below are the steps for testing your workflow on these types of accounts.1. Go to the Accounts tab for the app you want to test.
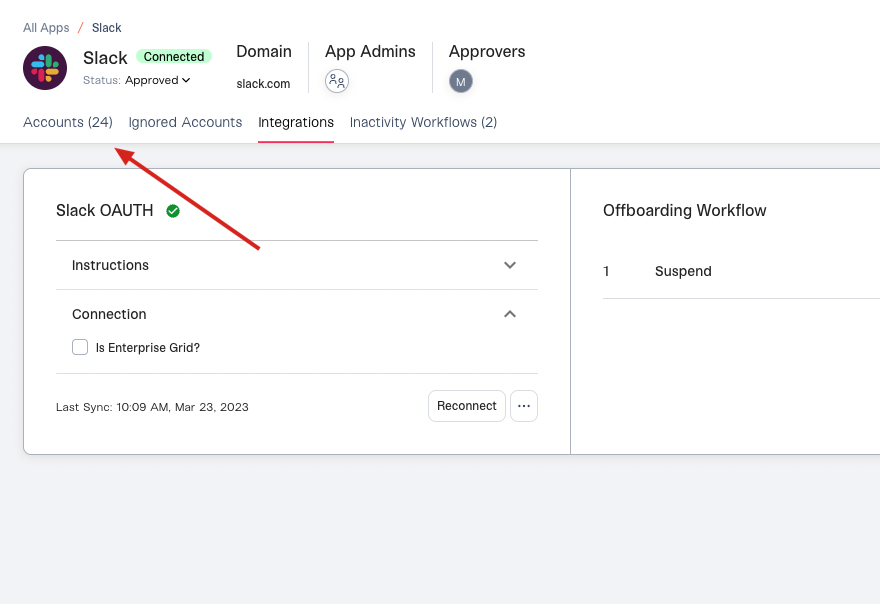
2. Filter the Account Status column to “Active”, then click on the Last Login column header to sort by last login and find accounts with the longest inactivity window.
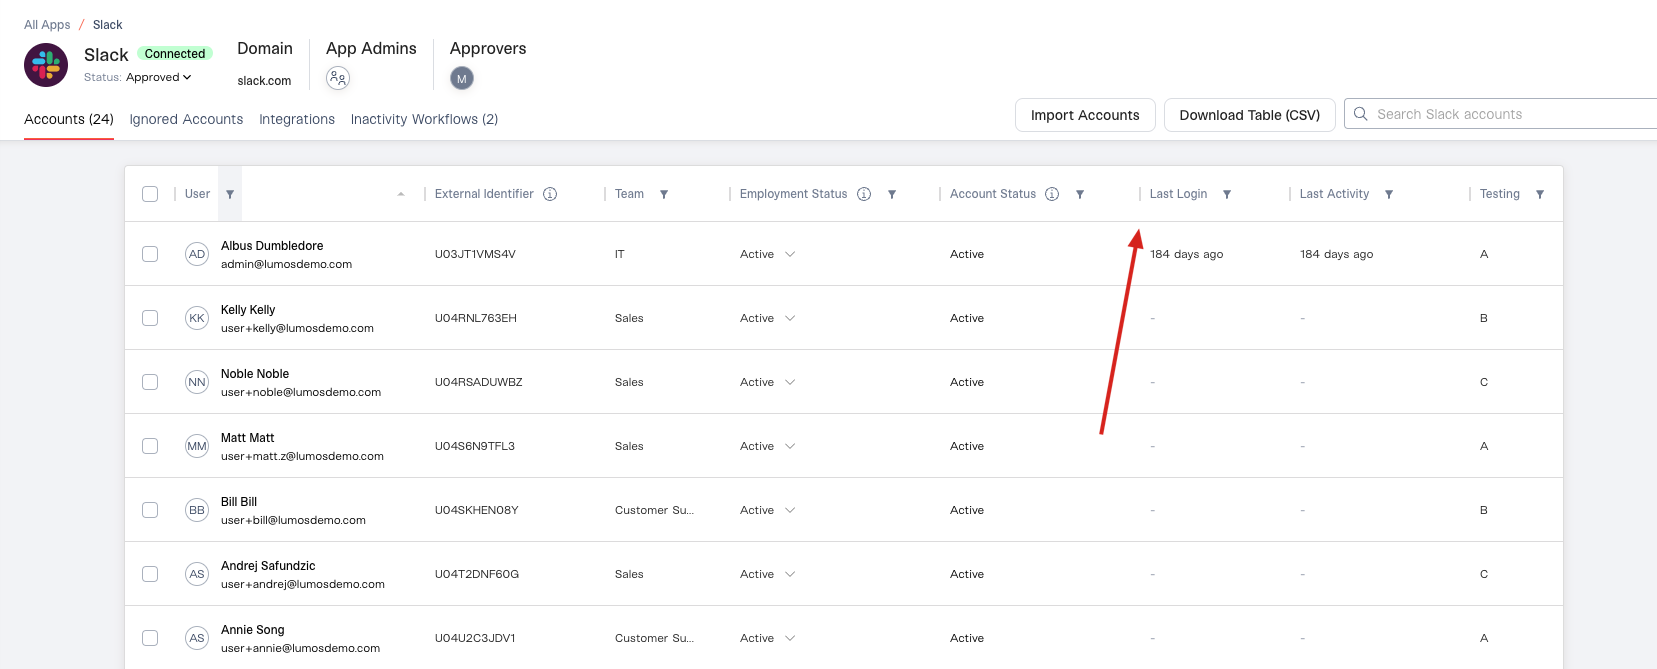
3. Find the inactivity threshold you want to use for testing.
As an example, if you see only 2 accounts with inactivity greater than 180 days and you want to use those for testing, then your threshold will be 180 days.4. Adjust the following settings for your inactivity workflow.
- Excluded Users: Remove any application or service accounts that may not log into the service ever, to ensure these aren’t accidentally removed or deactivated. Consider removing executives as well.
- Notification Flow: Set this to “Workflow Reviewer”.
- Workflow Reviewer: Set this to yourself, or any other teammates who want to test the alerts.
- Inactivity Time: Set it to the value you determined above in step 3.