Background
When employees leave, they need to be removed from their SaaS apps. This article covers the key steps to configure and run one-click offboarding in Lumos.Pre-Work: Configure Your Removal Actions
If you connected integrations in Lumos to use automated removal workflows, you can configure the removal actions ahead of running your first offboarding. Navigate to your Integrations page:1. If you haven’t already, connect your integrations by clicking on the card from the list of available integrations.
2. Once connected, click on the integration and navigate to the ‘Integrations’ tab.
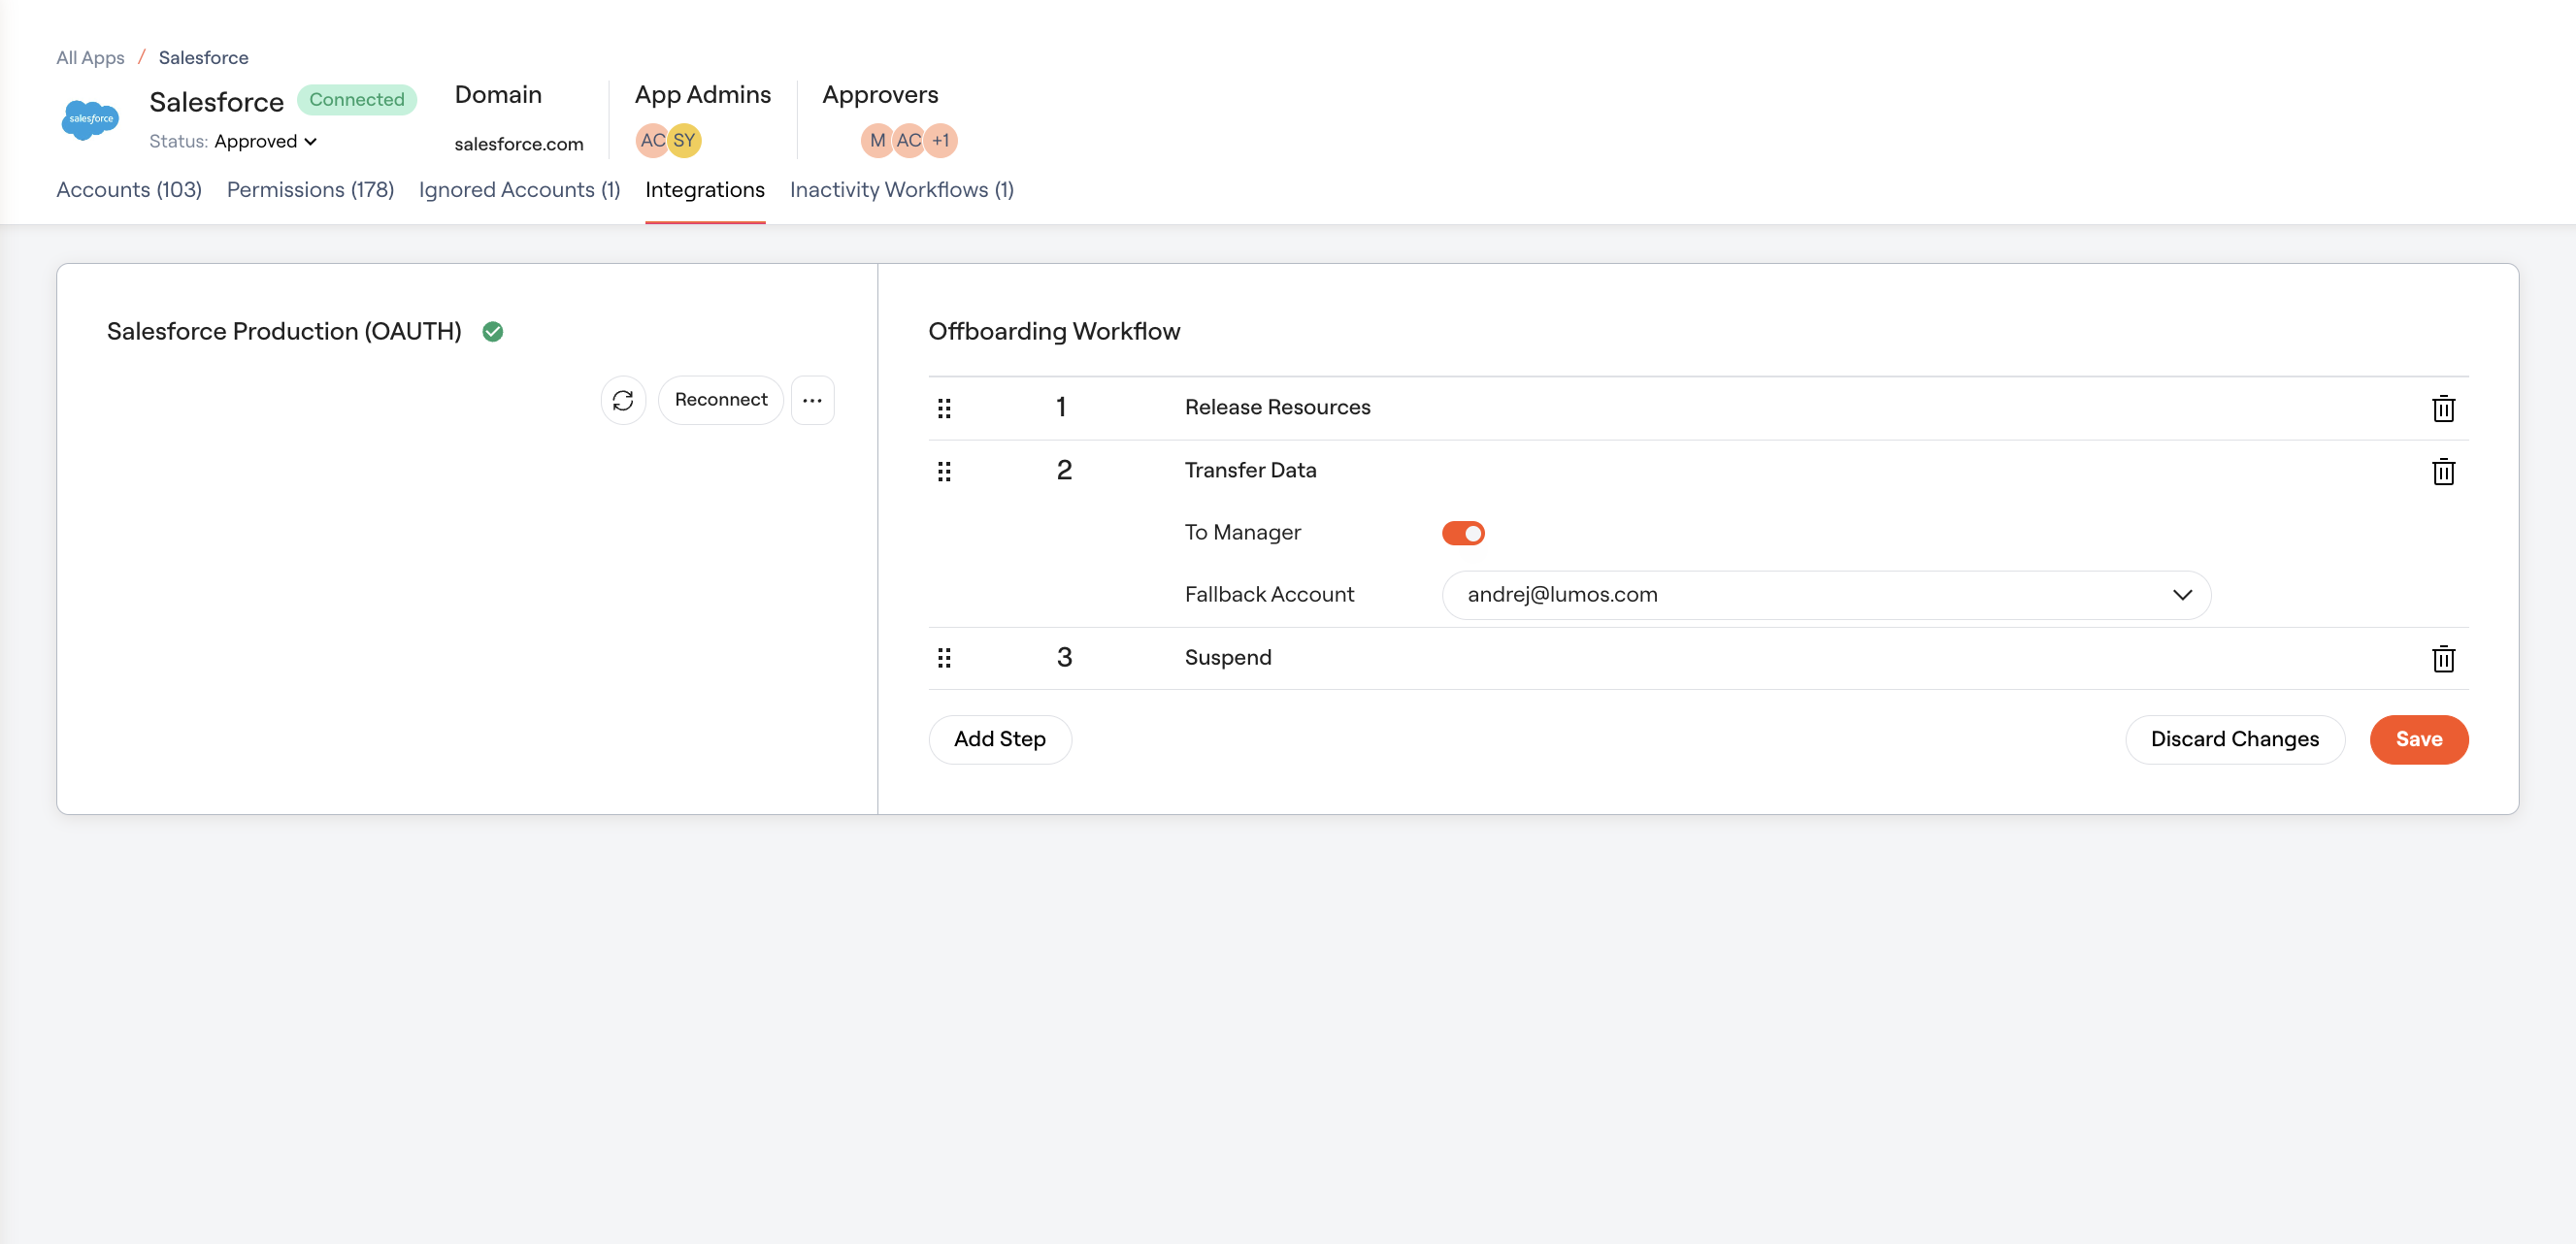
3. Configure the removal actions you want to run during offboardings and click ‘Save Changes’.
If empty, this means that Lumos will not run any actions when running an offboarding. (Note: This will set your “domain-wide” offboarding settings, but you can always edit these configurations if running an offboarding one-off). For certain actions, like Transfer Data, you’ll be able to configure a user on the step - this can be a named individual or manager, where applicable. You can also drag to reorder these steps.4. [Optional] Configure manual removals (with instructions) for non-Lumos integrated applications.
Any application will support removal configurations - please note that if no steps are configured, these apps will be excluded from offboardings.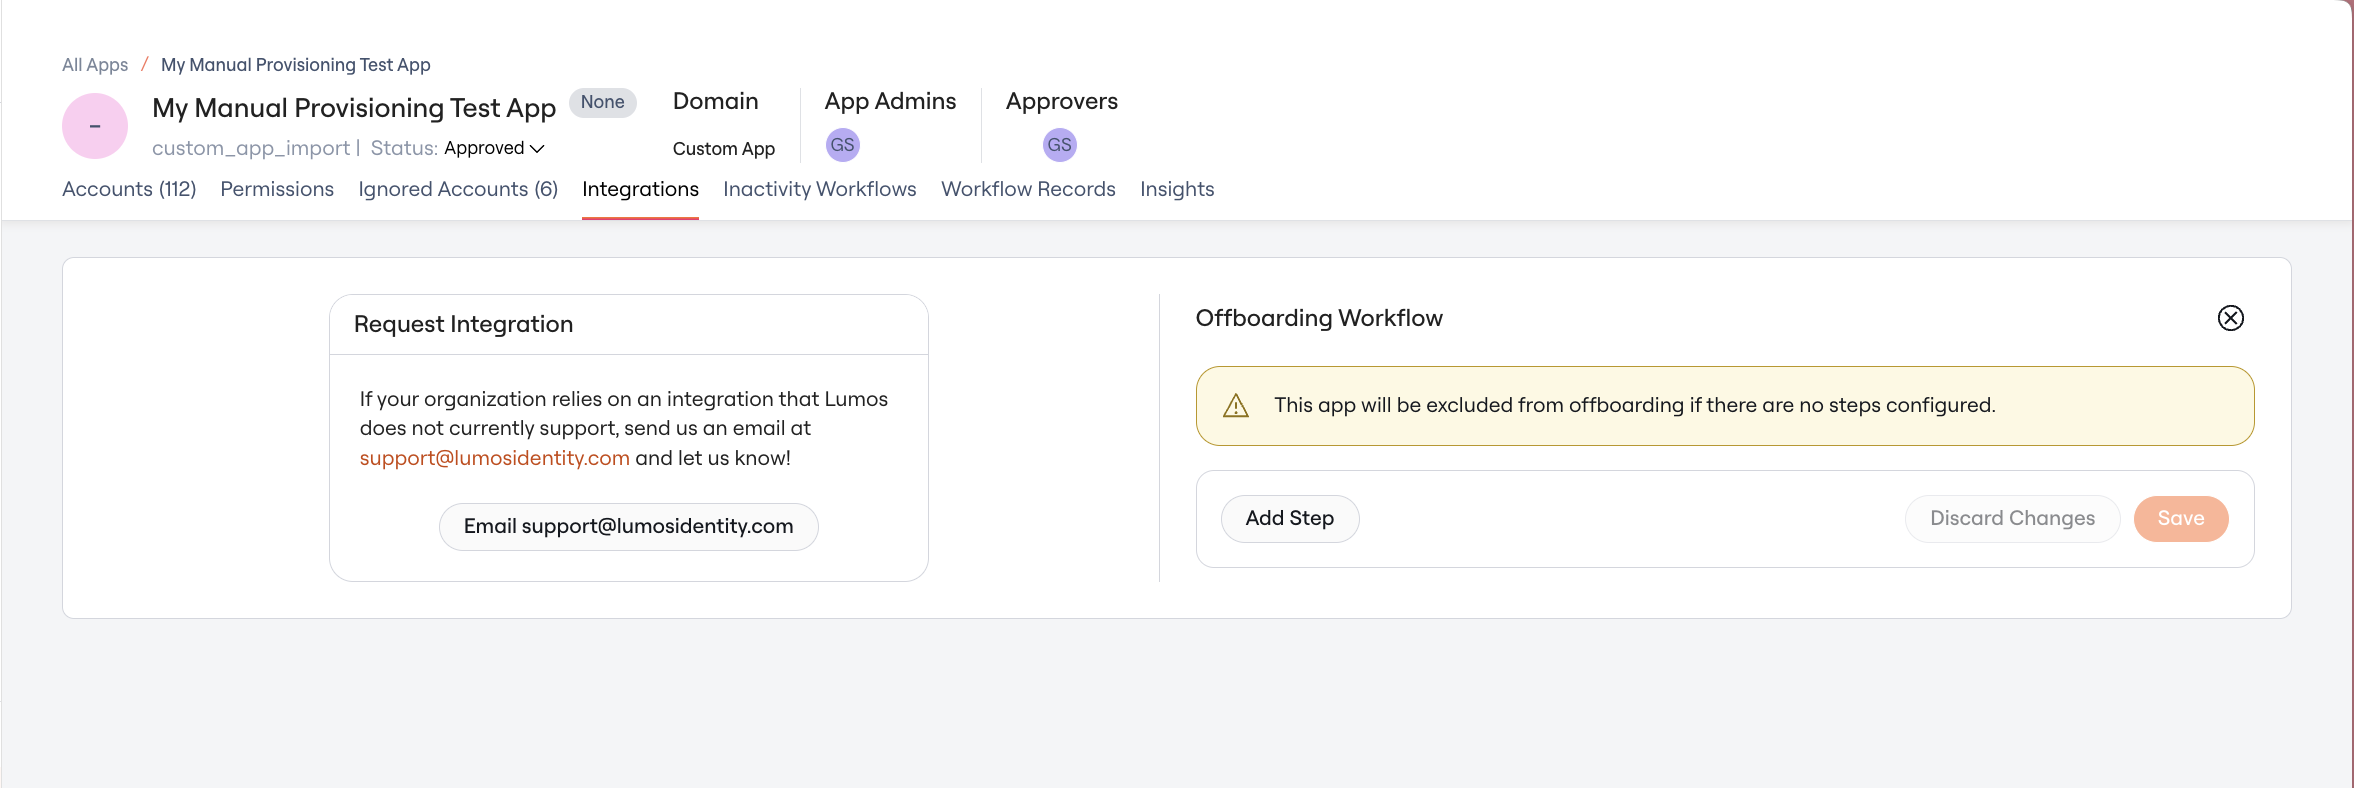
Pre-Work: Configure App Admins
Lumos automates removals for certain apps, but some applications require manual action from app owners to deprovision users. You can configure these as you’re running an offboarding, but you can also configure app admins ahead of time by navigating to the Apps table, clicking into an app, and naming an app admin by clicking the circle under “App Admins”.
[Optional] Pre-Work: Configure Automated Offboarding Settings
If you visit your Lifecycle Management Settings, you should see an option to configure Automated Offboarding. You can configure your Offboardings to run immediately upon deactivation. This means that upon detection of status change for a User account (I.e. Active status -> Inactive status), Lumos will trigger an offboarding to run. You can optionally choose to opt-out suspended accounts from triggering an automated offboarding, if you use this for LoAs or short term holds. [This will not be exactly in real time and you may see a delay for up to 1 hour post-detection in Lumos.]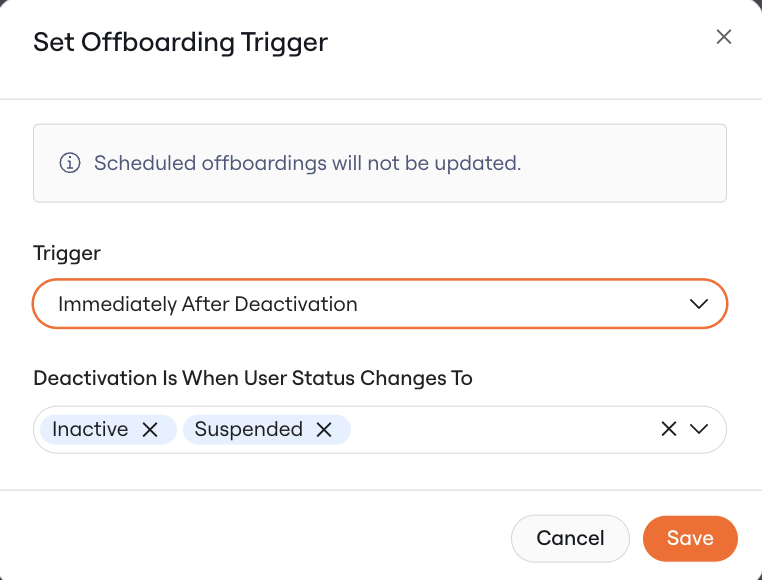
- X Days After End Date — Lumos looks at the user’s End Date. Any user whose end date falls within the past 7 days of the specified date will be matched.
- Immediately After Deactivation — Lumos starts an offboarding at the moment it detects a user’s status changing from active to deactivated/suspended during a sync. Users who were already deactivated in Lumos before you enabled the workflow will not be picked up, no matter how recently they were deactivated.
Step 1: Go to the Identities Tab
So you’ve received the news from HR that an employee is leaving the company. It’s their last day, and at 5pm, you’re ready to offboard them. In Lumos, go to the Identities tab and click on the name of the user you want to offboard.Step 2: Click “Start Offboarding”
Where is the button? The button is at the top right of the Users individual page. Before selecting this, you will see a table with all the apps that this user may need to be removed from. You can run this Now or Schedule it for a particular time in the future. Once you select “Start Offboarding”, you should see your accounts for that terminated employee split into two buckets:-
Accounts to Remove (“Included” Accounts)
-
These are apps where Lumos has configured removal steps (automated via integration and/or manual tasks routed to the app admin). These also are configured automatically via Apps to Include in your Lifecycle Management Settings here.
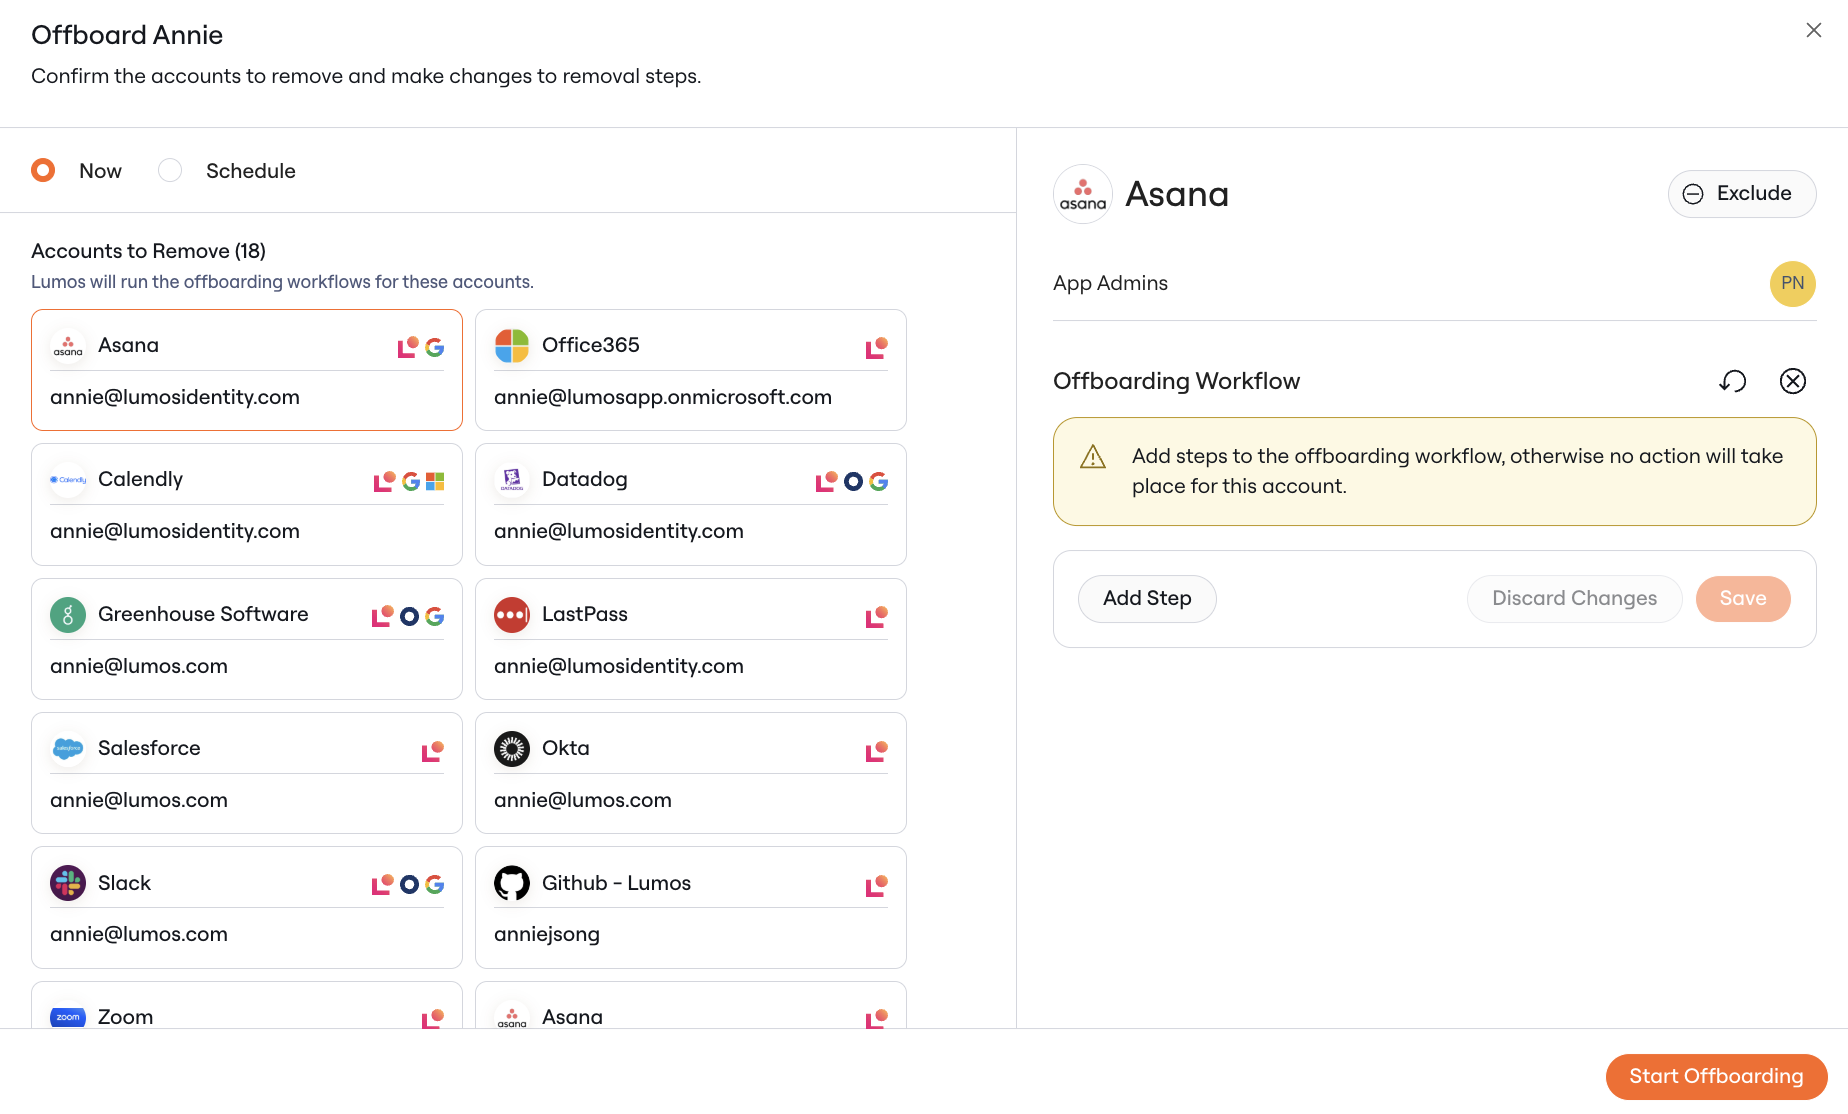
-
These are apps where Lumos has configured removal steps (automated via integration and/or manual tasks routed to the app admin). These also are configured automatically via Apps to Include in your Lifecycle Management Settings here.
-
Excluded Accounts
-
These are apps that Lumos will ignore as part of the offboarding workflow. These apps are under Excluded based on your company’s Offboarding Policy and will additionally include Ignored Apps. Also, if you have no removal steps configured for the account, Lumos takes no action and will exclude the account as part of the offboarding.
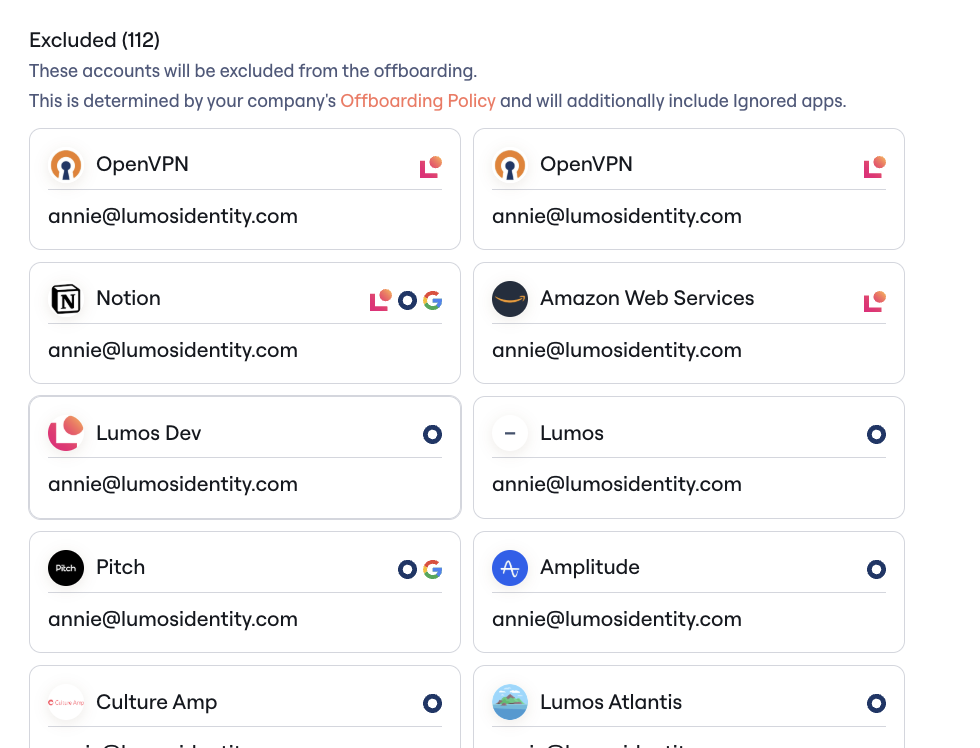
-
These are apps that Lumos will ignore as part of the offboarding workflow. These apps are under Excluded based on your company’s Offboarding Policy and will additionally include Ignored Apps. Also, if you have no removal steps configured for the account, Lumos takes no action and will exclude the account as part of the offboarding.
Go through your accounts and ensure that the accounts you want removals to run for are included and have removal workflows configured on the app. To ignore an app, exclude it from your offboarding.
Please remember that you can configure how you want to conduct the removal from the Single app page > Integrations tab, but you can always make edits directly in the modal for one-off offboarding configurations. Click ‘Save’ to keep your changes.Step 4: Run the offboarding
Click “Start Offboarding”. Lumos offboards apps automatically. All Manual apps should automatically kick off deprovisioning requests to app admins.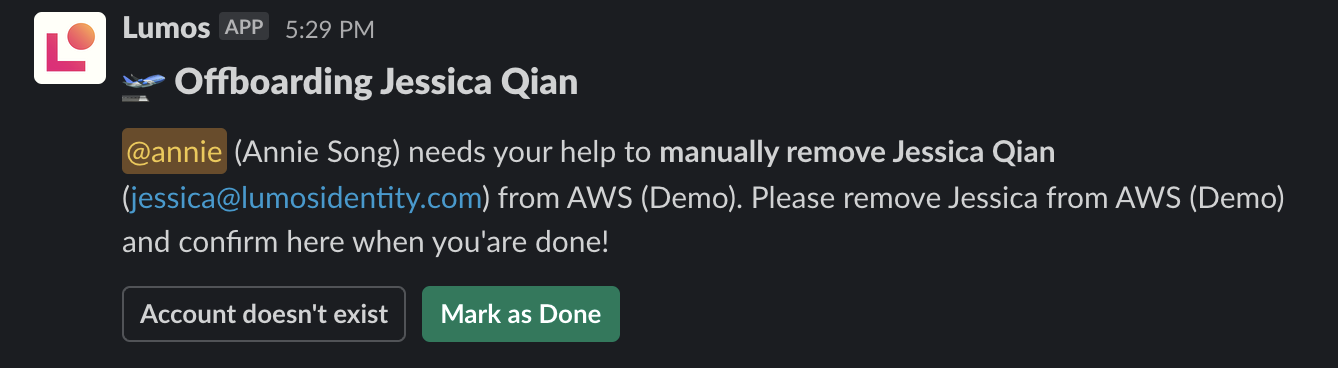

Step 5: Complete offboarding
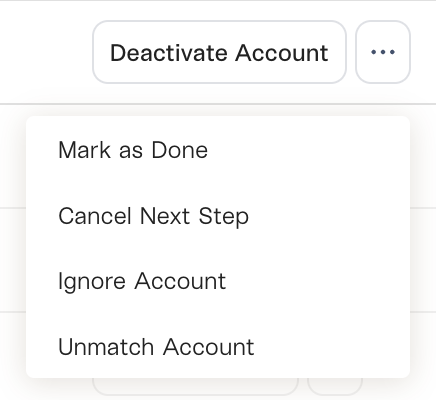
When all the tasks that have been generated as part of offboarding have completed, your offboarding will automatically complete. However, if you want to manually force it into a completed state, you can click “Complete Offboarding” at the top right of the User’s page to mark it as complete. Note: This will mark the In Progress apps as Manually Removed, so complete this process only when you’ve completed all the removals.Bonus tip
If you already have an offboarding workflow in place, such as automated workflows that revoke access through your IdP when an employee leaves: Run one-click offboarding afterwards from Lumos. This shows you anything your existing workflow missed.FAQs
Why did one of my Manual accounts not kick off a removal task?
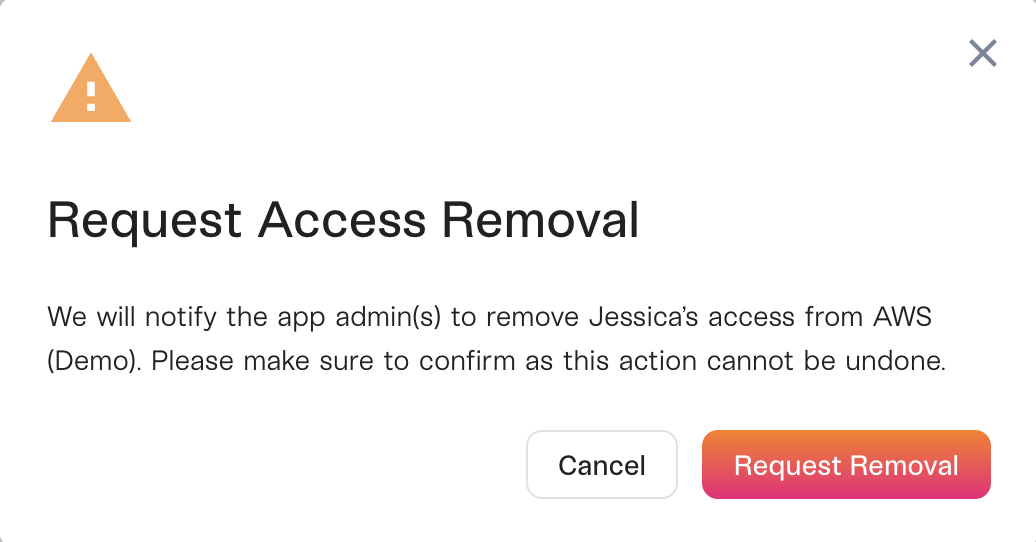
Please check to see if there’s an app admin set on that application. If there isn’t, you can update the app to set an app admin. You should see a button that says Request Removal for that account. (You can do this from the “Request Removal” button or select multiple accounts and click “Request Removal” in bulk.) This will change the Account Status to “Waiting manual removal” and will notify the app admin(s) on the app to confirm that they’ve removed the user from that app.