

Why this matters
Apps can have dozens, hundreds, or thousands of permissions with different naming conventions, which makes it difficult to know which ones are high-risk or in scope for audits. Permission Tags let you categorize permissions so that you can:- Scope Reviews quickly and accurately - select tags to scope the associated permissions into the review instead of selecting them one by one
- Give Reviewers context - make it obvious which permissions carry privilege or compliance relevance
- Support audit clarity - show which tags (and associated entitlements) were included when defining review scope
- SOC2
- SOX
- ISO27001
- PCI
- HITRUST
- Privileged (see details here)
1. Navigate to the Apps table > Single App > Permissions Tab
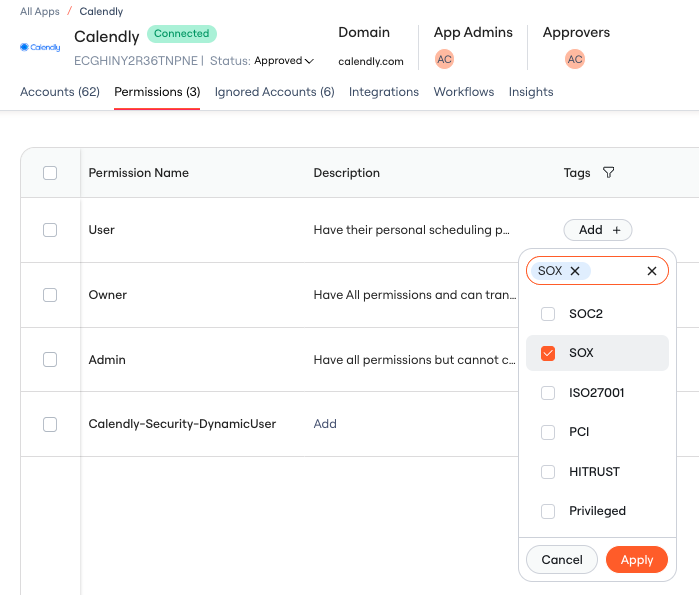
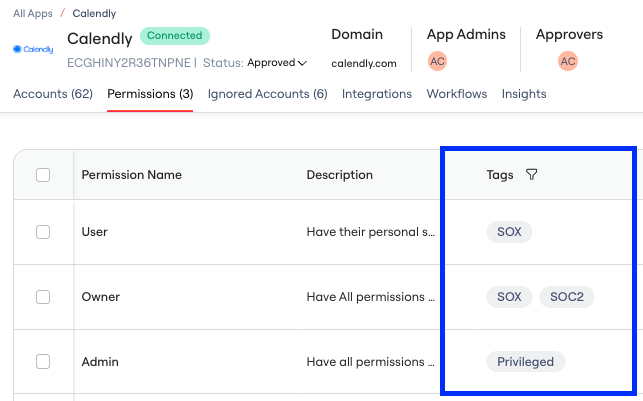
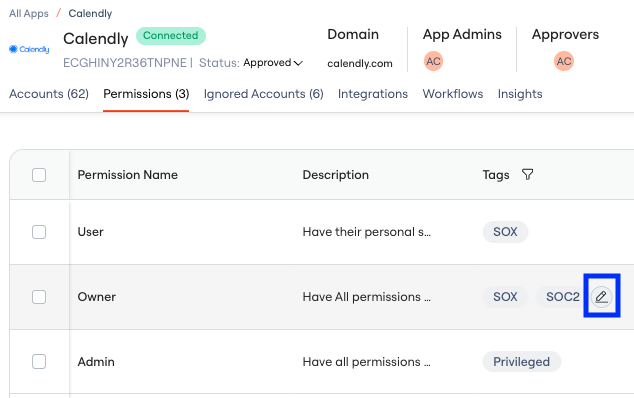
2. Add Tags to Permissions
Why am I already seeing thePrivileged Tag on some of my Permissions? See here.
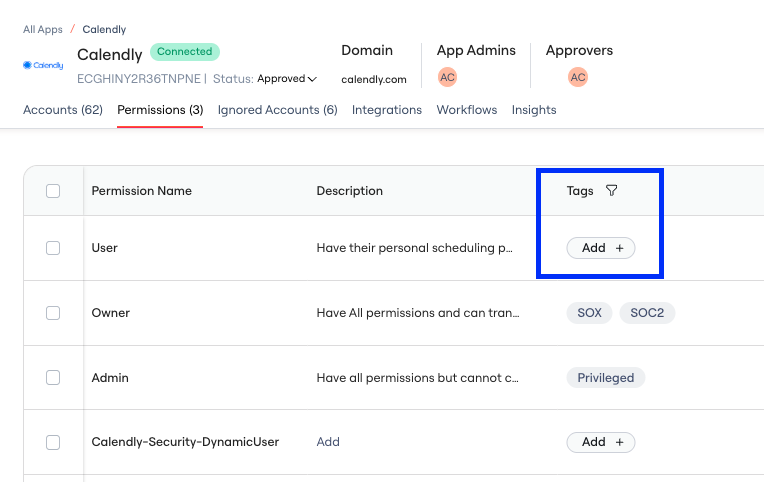
Navigate to the Tags column for a specific permission
Click on Add
3. Add Tags to Permissions in bulk
Multi-select Permissions to add Tags in bulk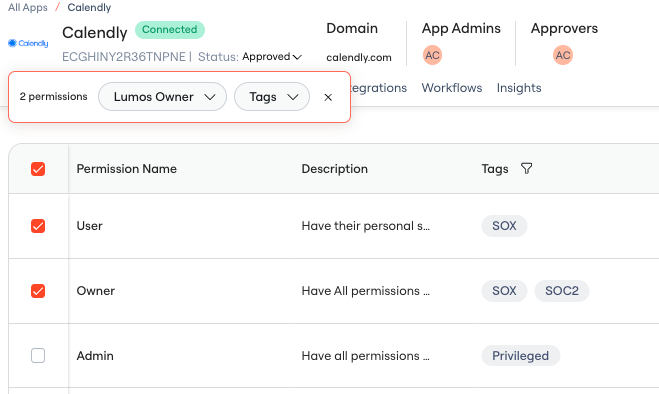
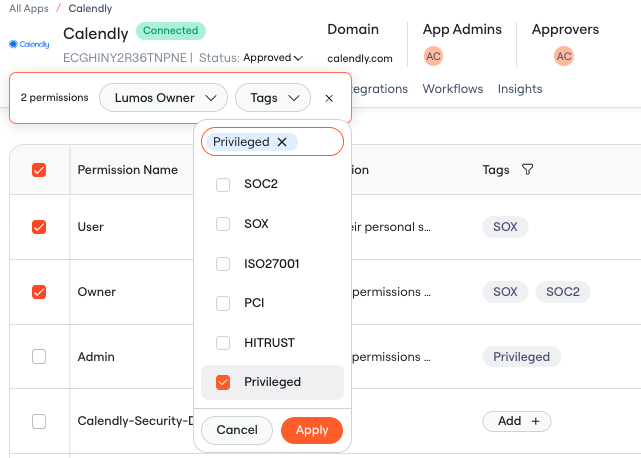
3. Add Tags to Permissions via CSV upload
Download CSV via the CSV download icon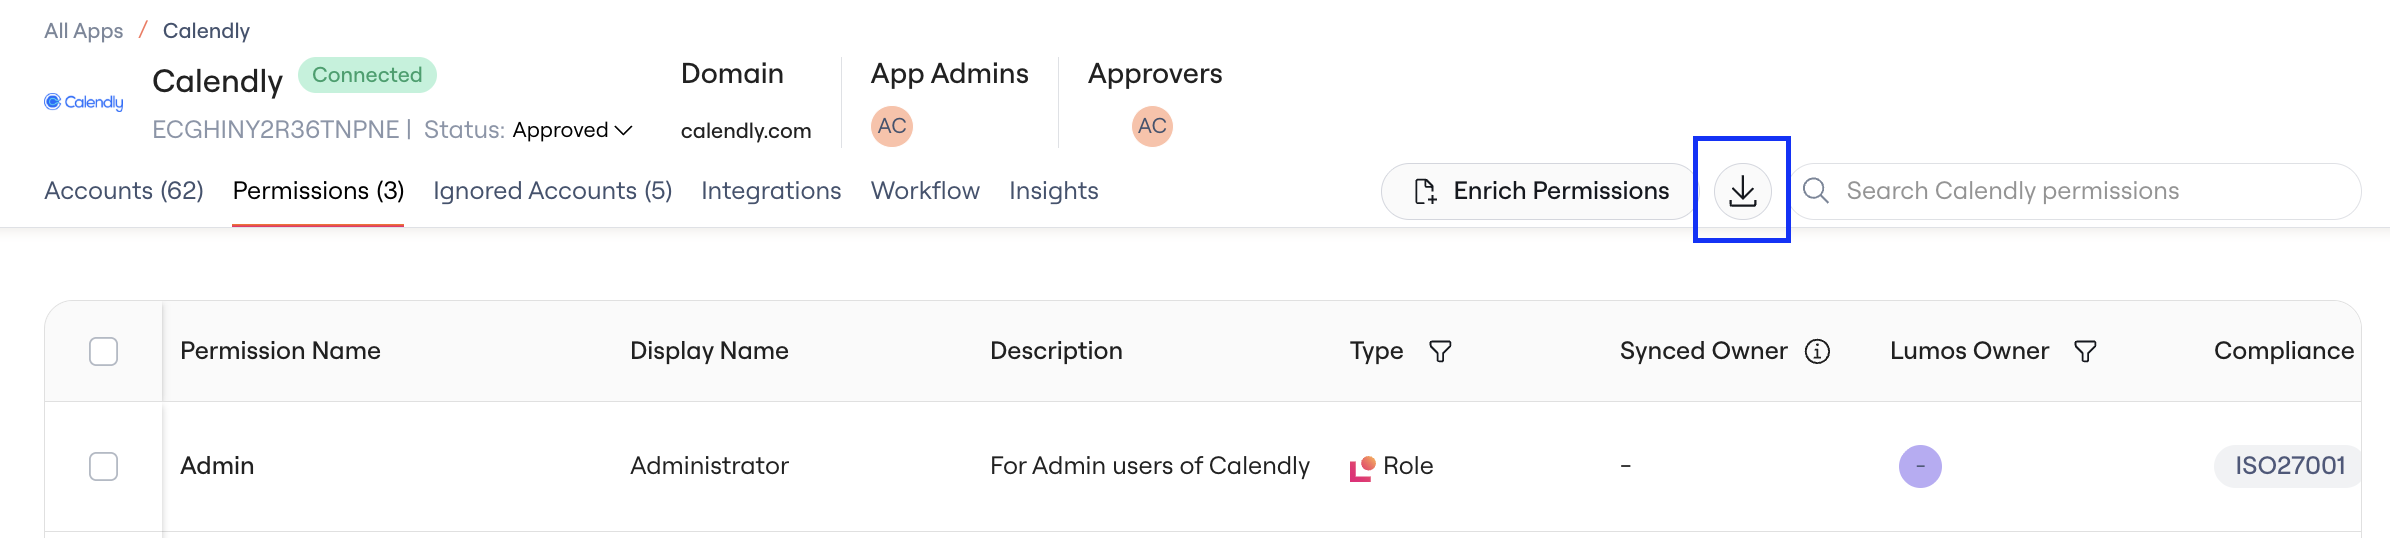
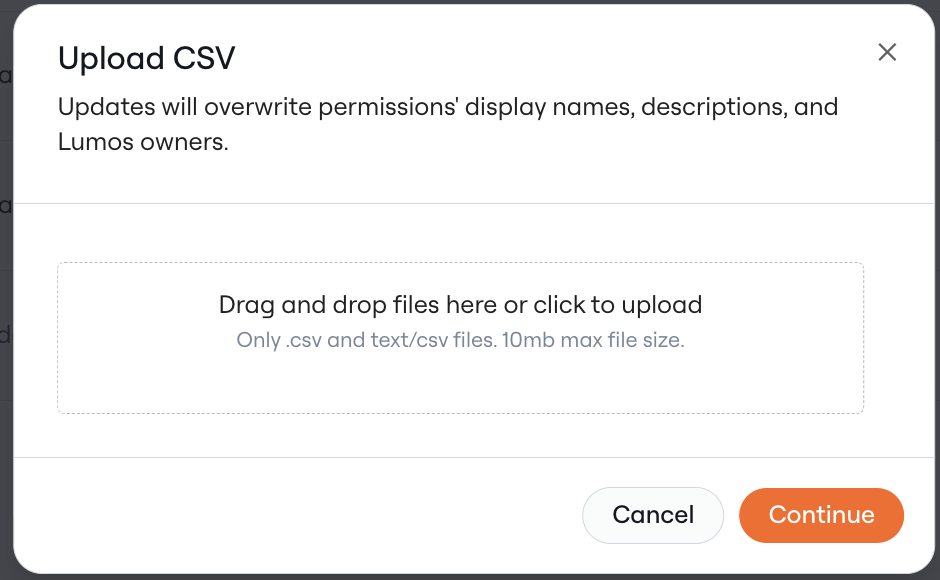
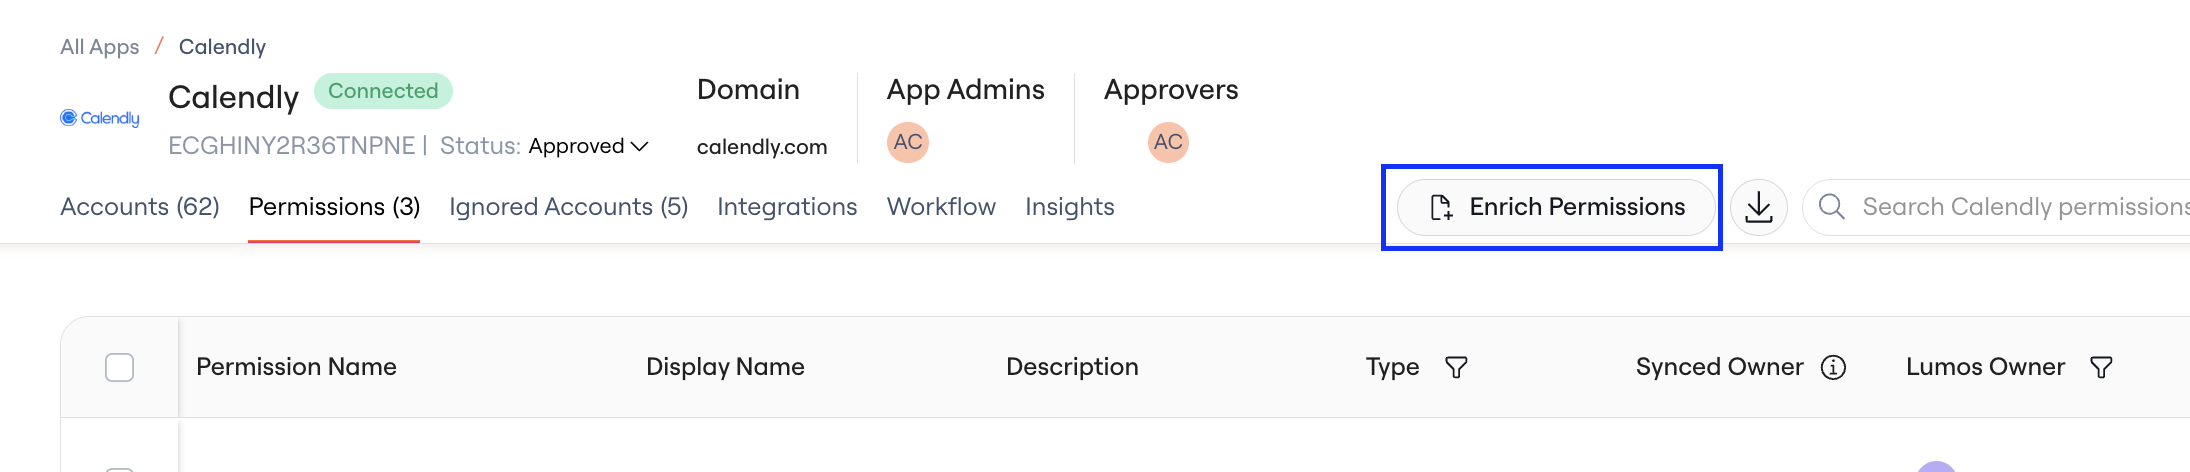 Select the appropriate CSV file (max size of 10 MB supported)
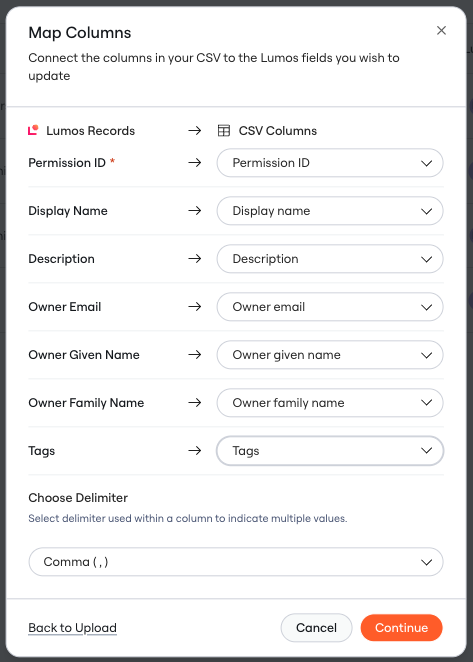
 Map your CSV columns and specify the delimiter used
Scoping Access Reviews using Tags
See Choosing Access Review Appsand Scoping Your Access ReviewPrivileged Tag
- Lumos will auto-add the
Privilegedtag to Permissions where it detects keywords like"Admin","SuperUser", or"Super User" - You can manually remove this Tag and can manually add it to Permissions
- Once it is manually removed from a Permission, it will not be auto re-added to that Permission
- The
PrivilegedTag from the Permissions tab will be reflected in the Categories column in the Access Review. See Understanding Categories in the Access Review