Why this matters
Ever looked at a permission like AWS-538697941105-AAD-platformengineers and thought, “What is that?” You’re not alone. Permission names are often cryptic and do not provide enough context as to what access that permission grants. That’s a problem when reviewers are asked to approve or revoke access without knowing what the access actually does. Lumos enables you to add display names and descriptions to your permissions. This helps Reviewers make better decisions during Access Reviews and reduces manual sharing of external links. You have 2 ways in which you can add Permission Display Names and Permissions- Active Directory Sync
- CSV upload
Syncing Display Names and Permissions from Active Directory
- Setup your Active Directory Integration Connecting Active Directory
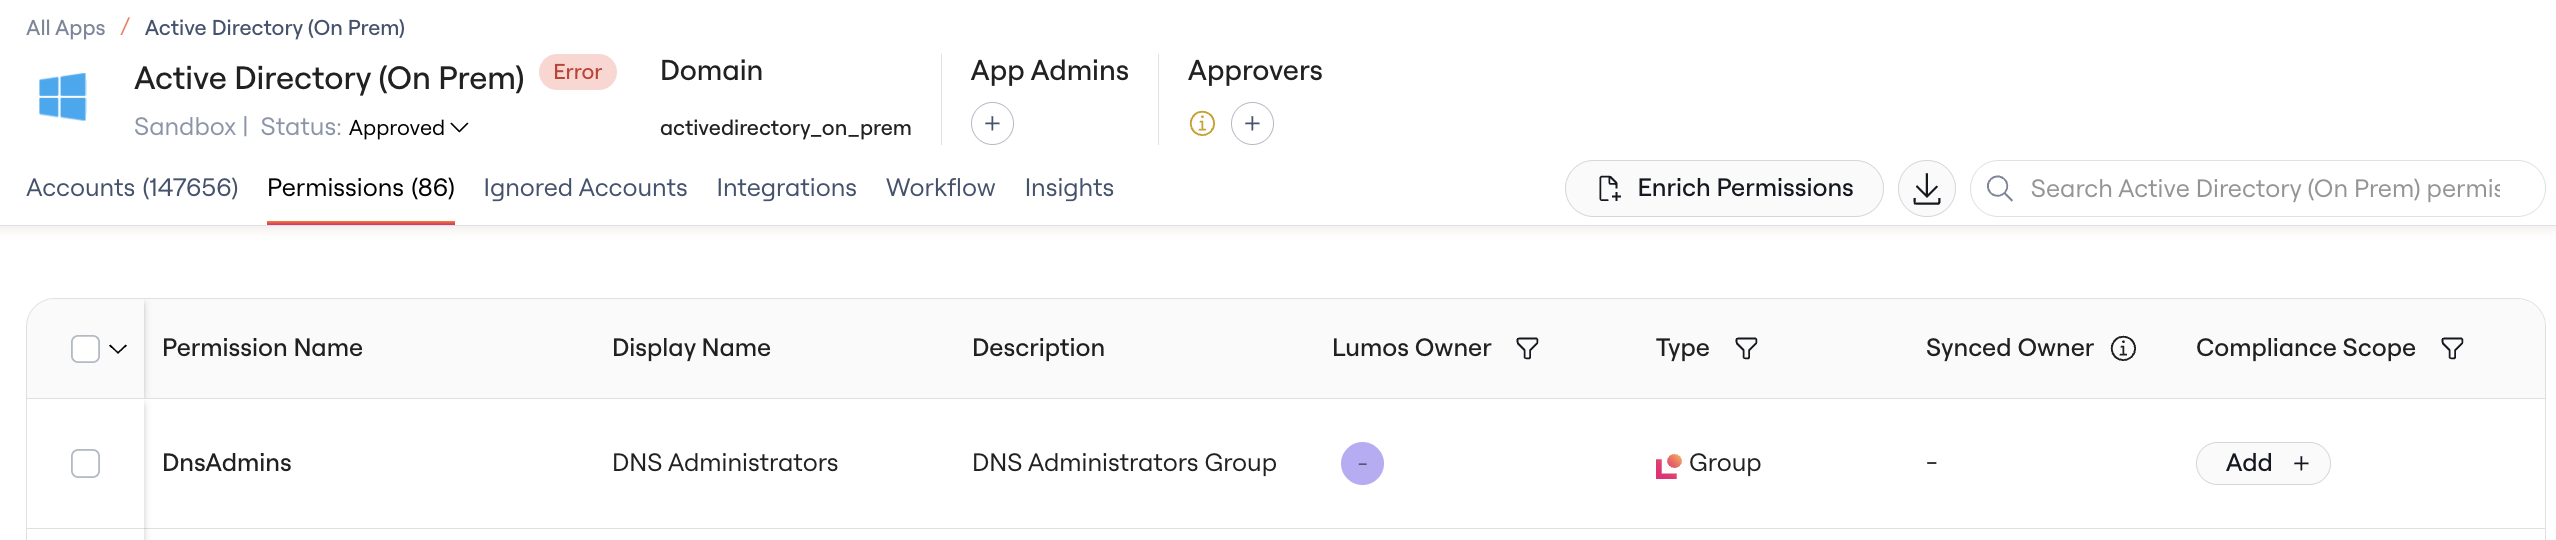
- Navigate to the Apps table > Single App > Permissions Tab
- View synced Display Names and Descriptions in the Permissions Tab
Uploading Display Names and Permissions via CSV
1. Download the CSV files with Permissions data
Click on the download CSV icon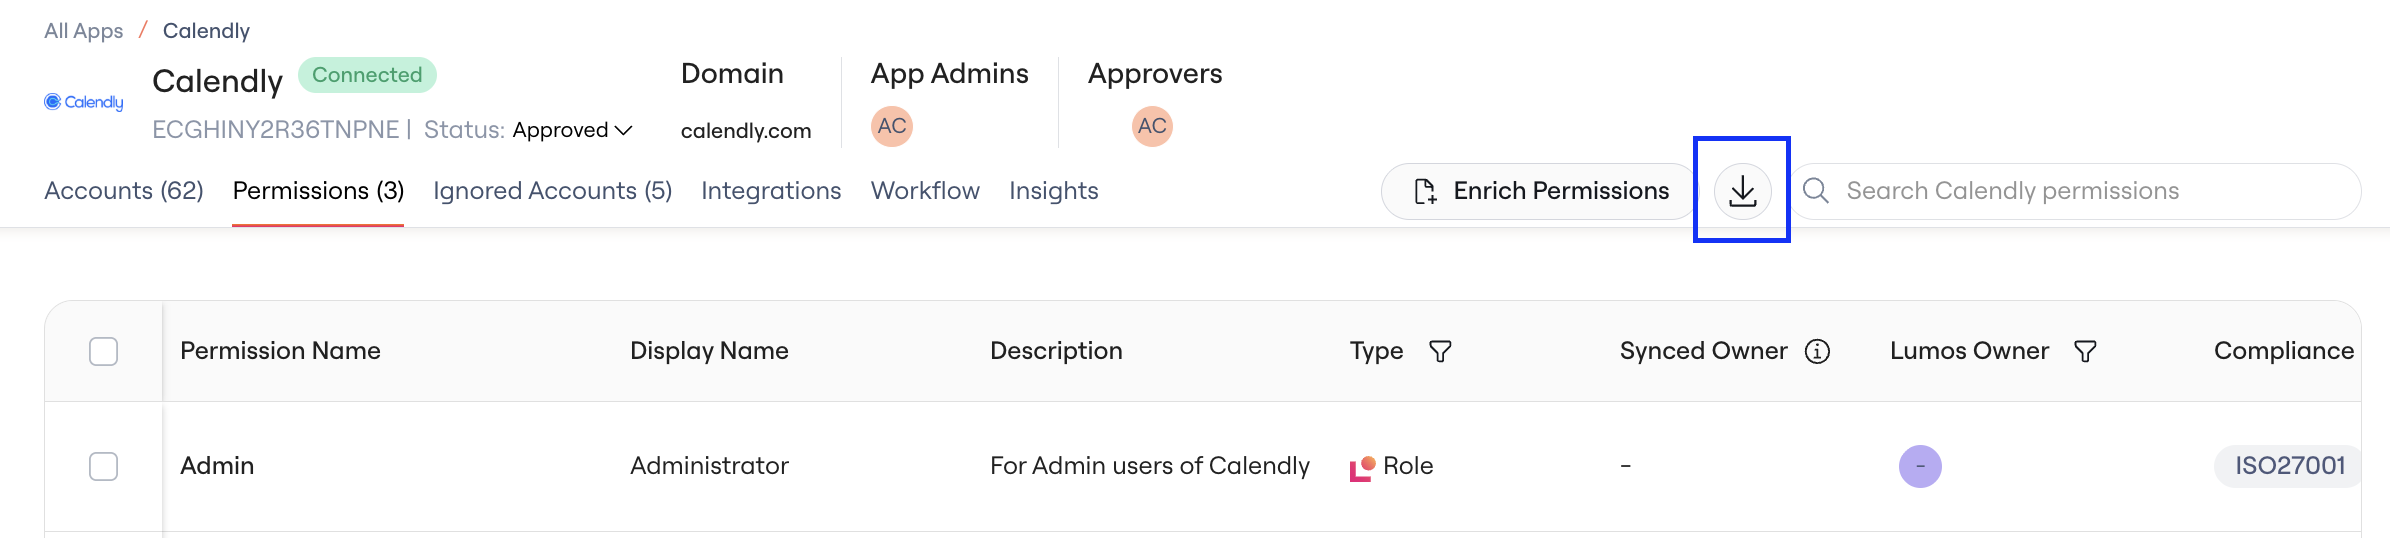
2. Update the CSV files with Permission display names, descriptions, and owners
Enter or Copy/paste values for Permission display names and descriptions in the CSV file. Map Owner columns (optional) You can also map owner information to assign Lumos owners to permissions:- Owner Email: Maps to a user’s email address (recommended method)
- Owner Given Name & Owner Family Name: Maps to user’s first and last name
- Primary Method: Email Lookup - If you provide an email address, Lumos searches for an exact match (case-insensitive) within your domain
- Fallback Method: Full Name Lookup - If no email is provided but first and last names are given, Lumos searches by the full name combination
- Duplicate Resolution - If multiple users have the same full name, the assignment is skipped and reported as an error to prevent incorrect assignments
- User not found - No user matches the provided email or full name
- Multiple users found - Multiple users have the same full name (ambiguous match)
3. Upload the CSV file
Click on Enrich Permissions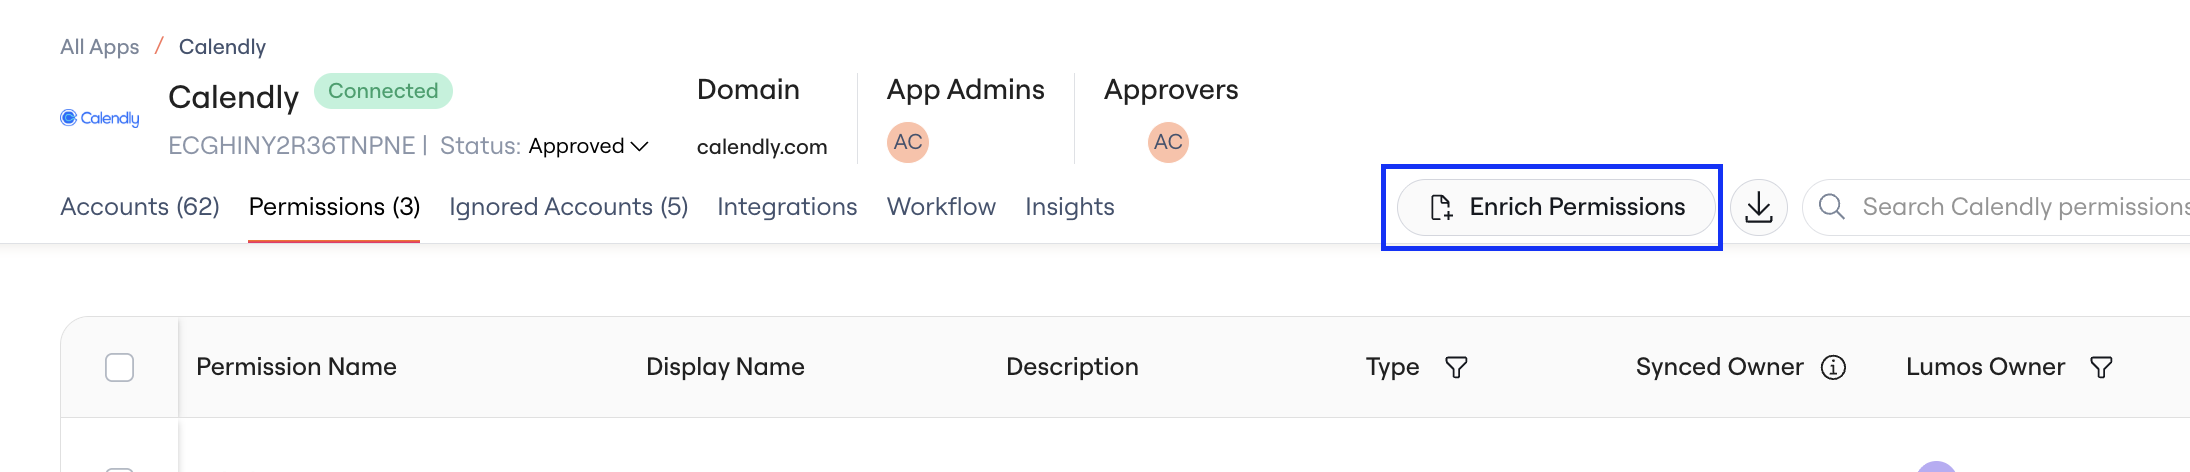
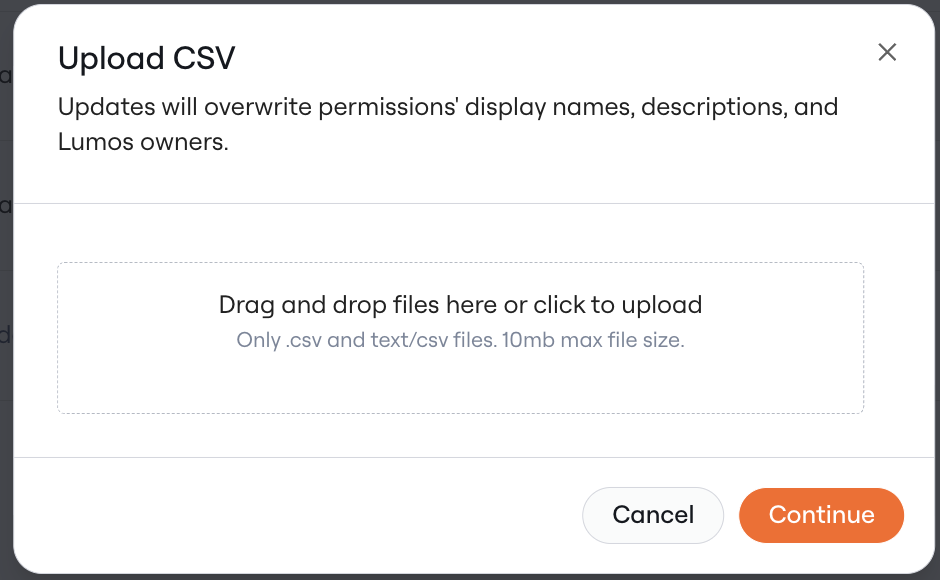
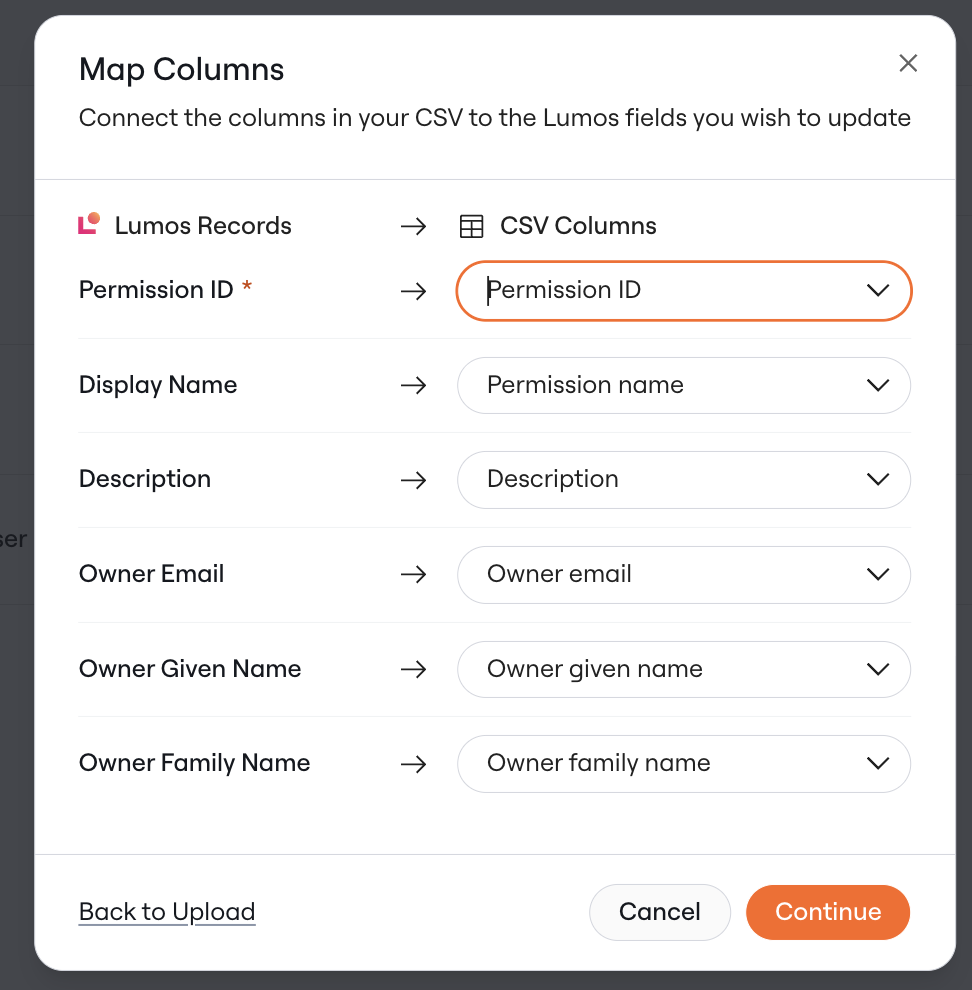
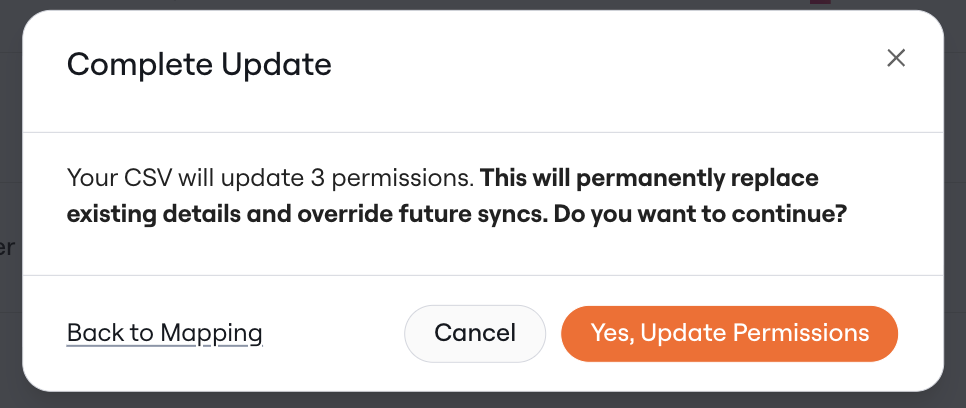
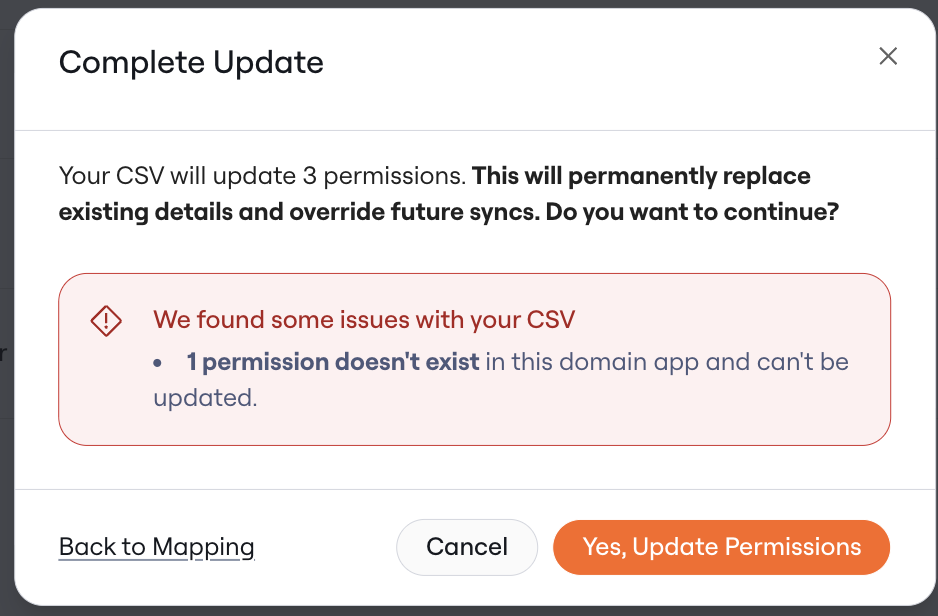
4. View updated values in the Permissions table
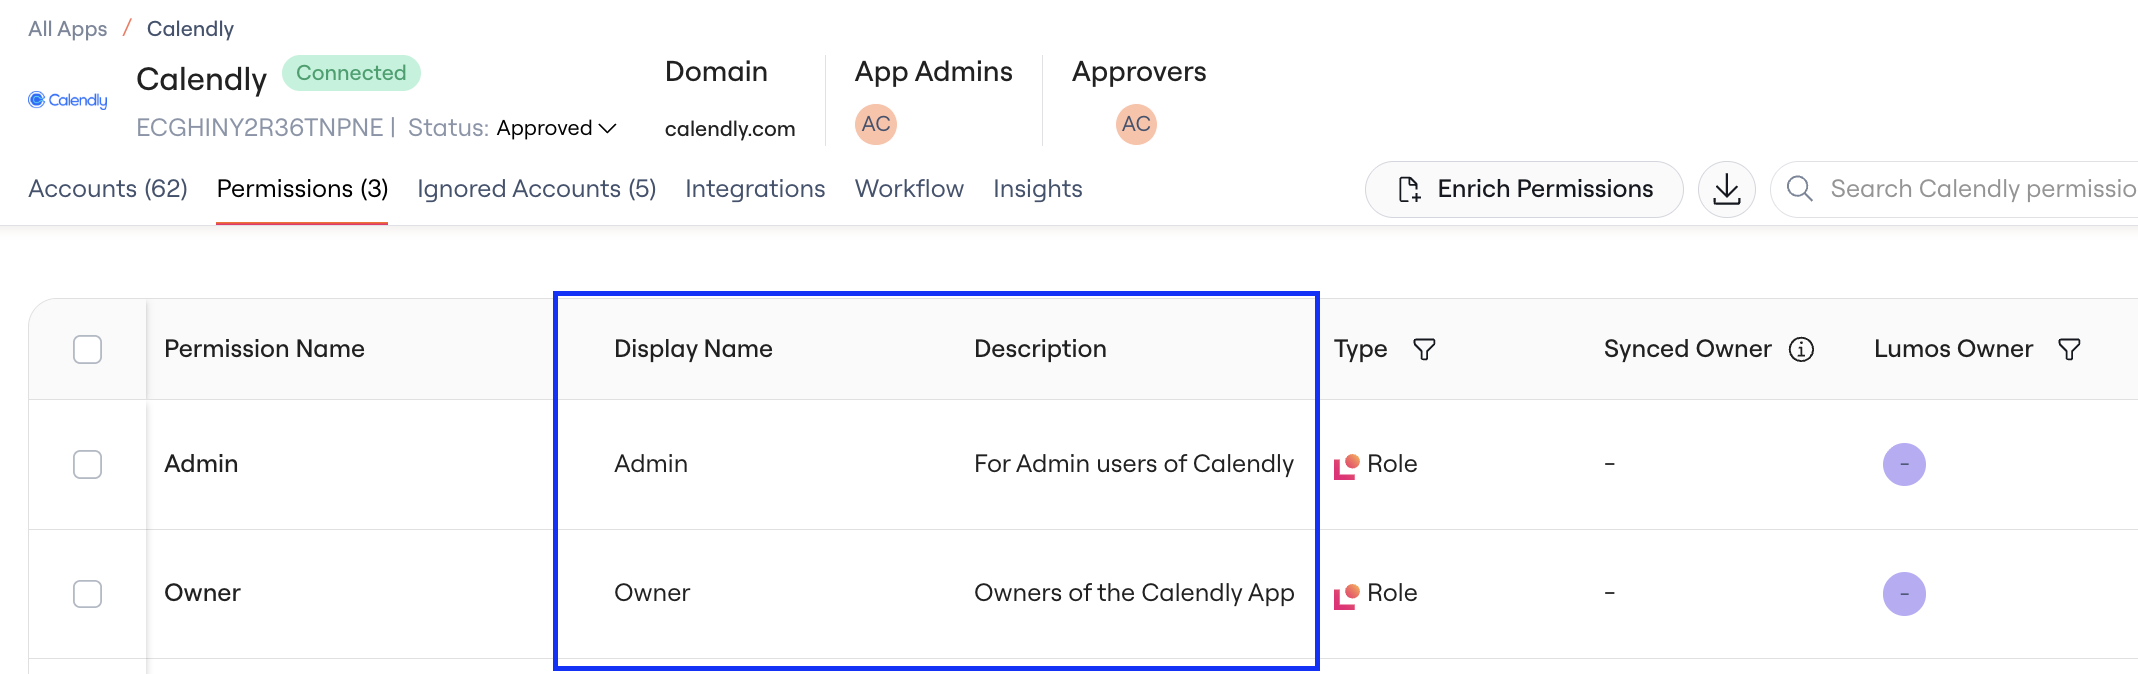
Adding Display Names and Permission Descriptions Inline
Click into the Display Name or Description field in the Permissions Table Add/Edit text inline for Display Names and Descriptions Click Save Hover over truncated text to see the entirety of the content Inline editing will overwrite any previous text permanently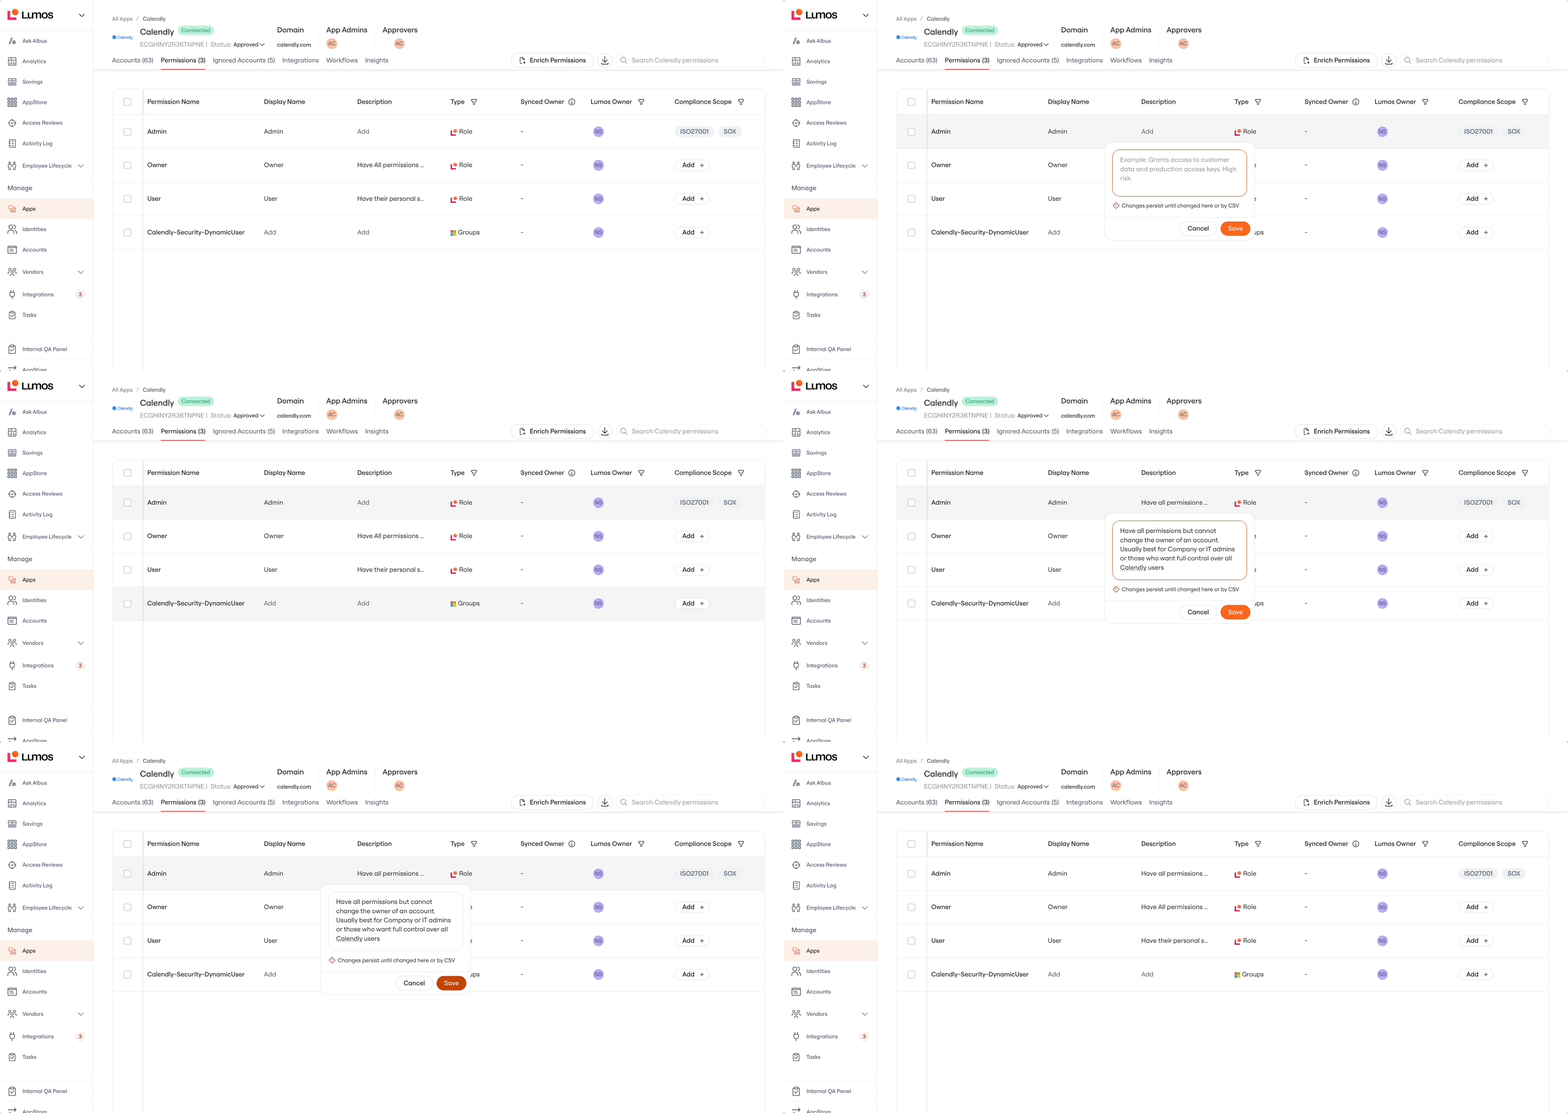
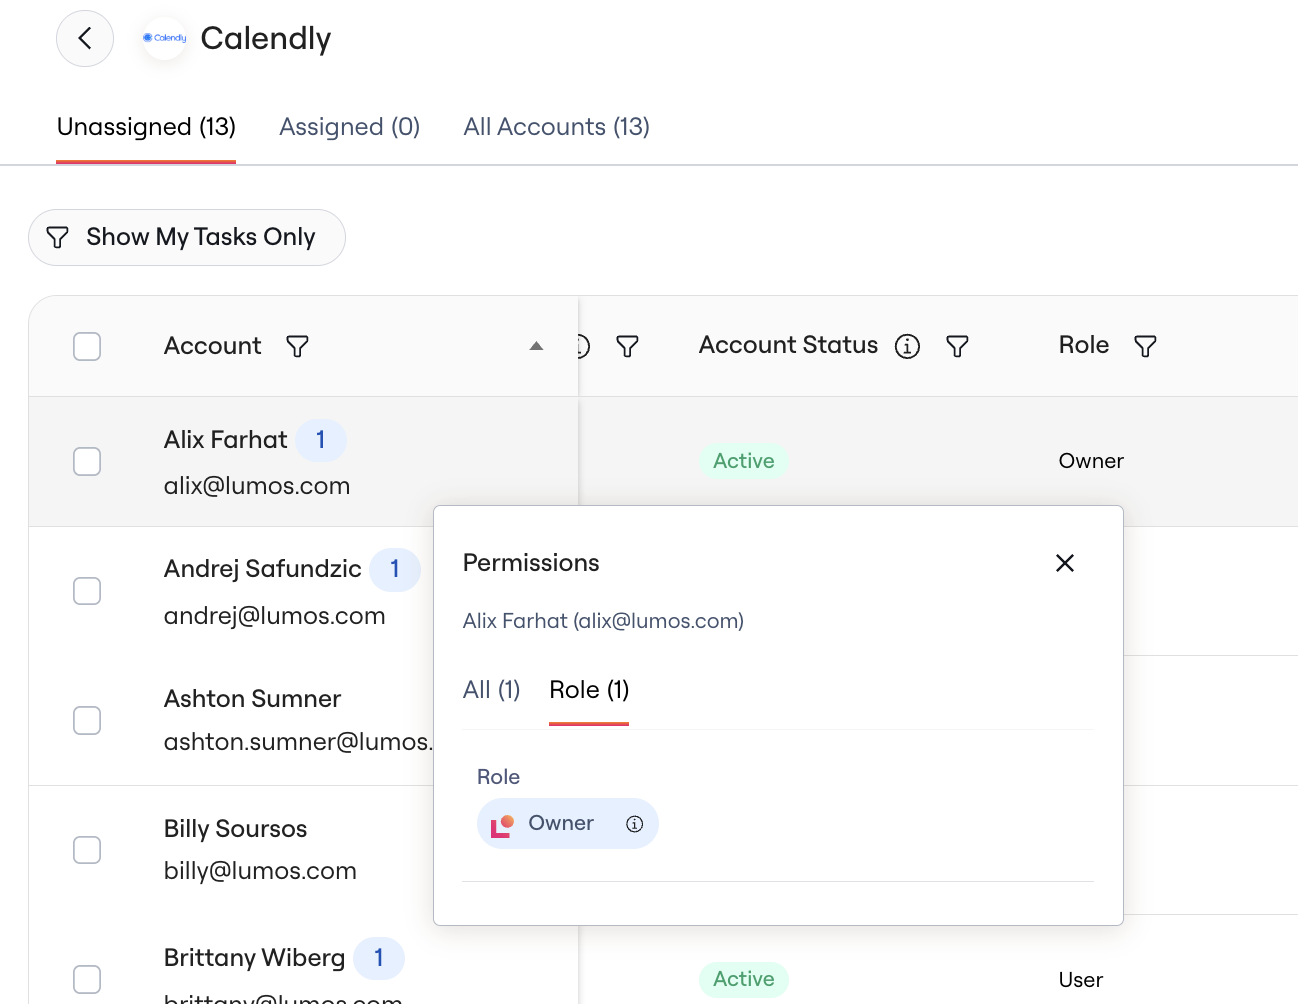
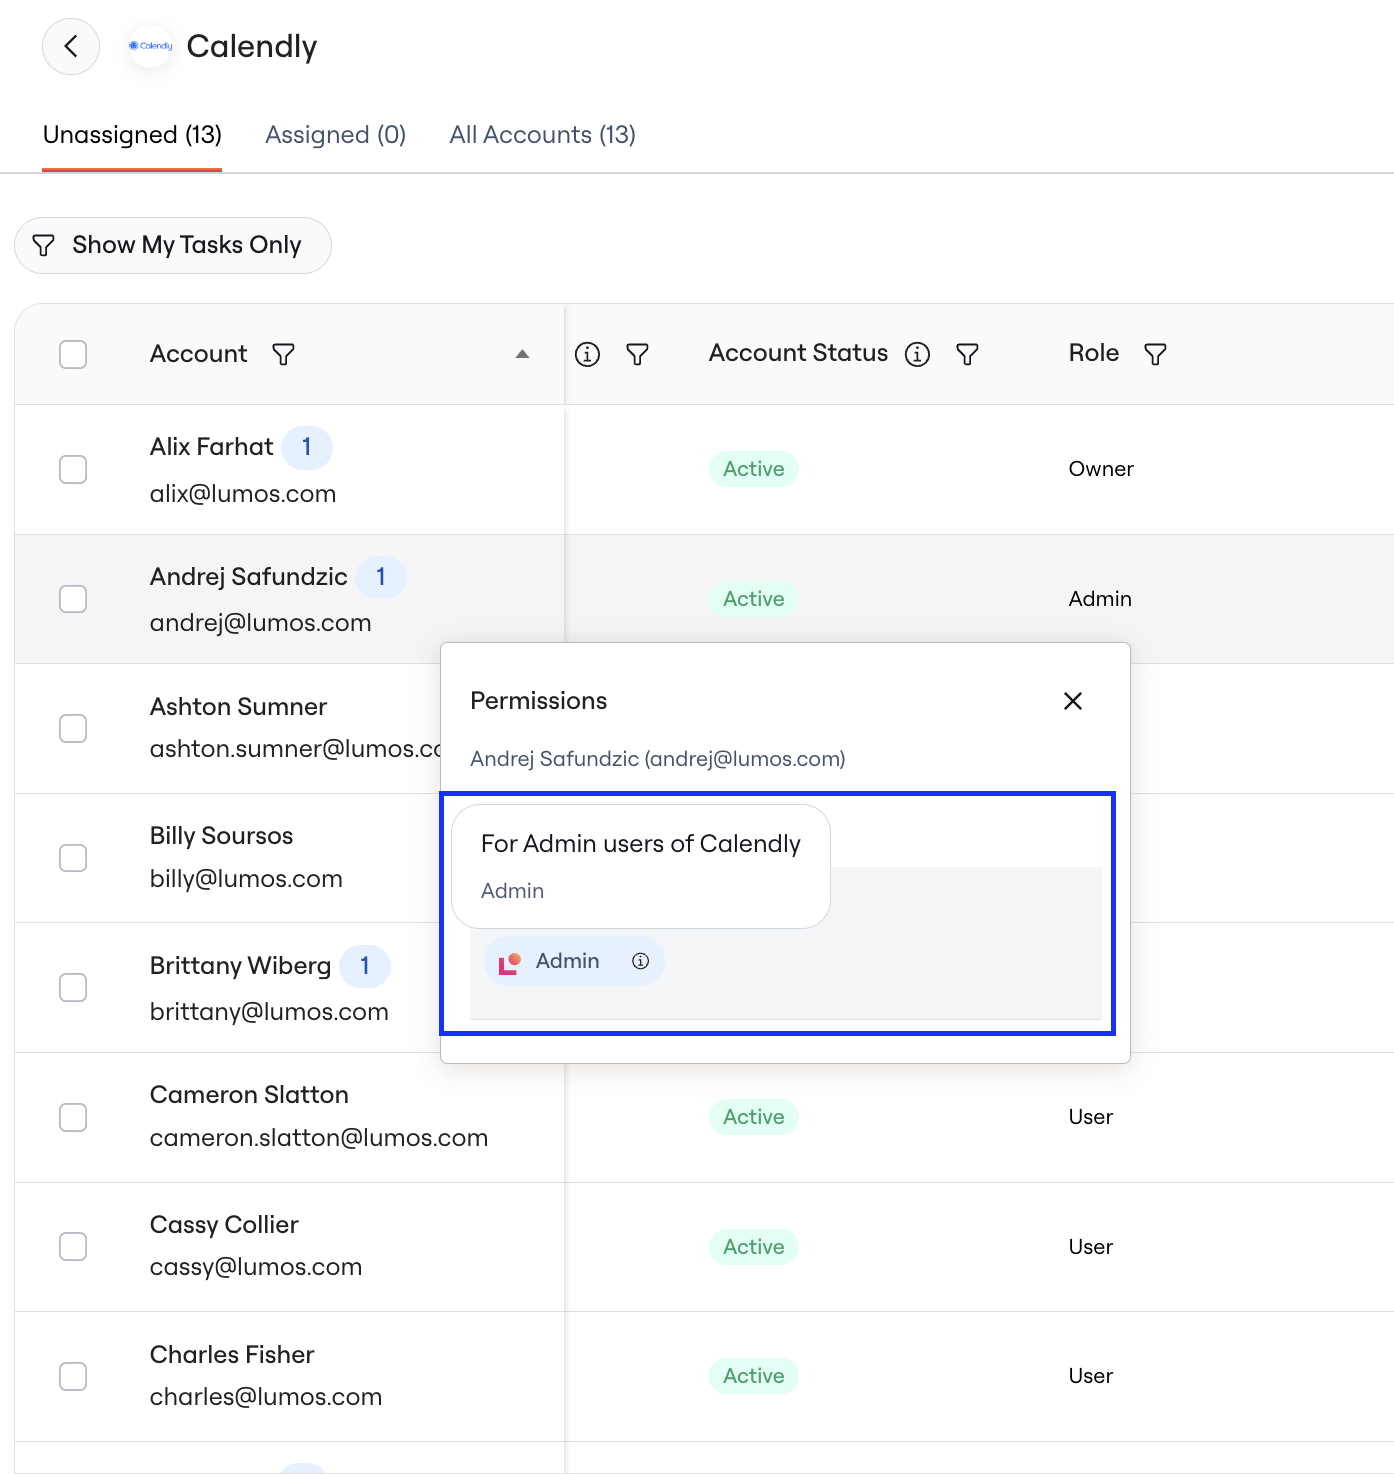
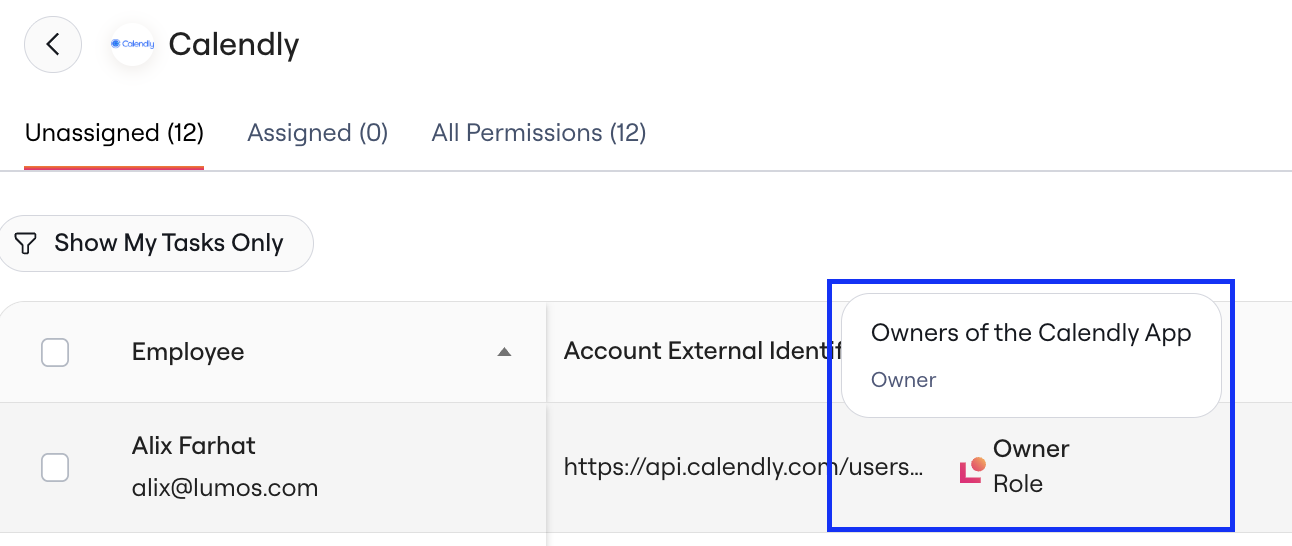
Viewing Display Names and Permissions in Access Reviews
In an Accounts Access Review, click on the Permission