After this article…
You’ll know how to add custom data to your apps in Lumos so you can better understand what licenses or entitlements your employees have.Background
You can enrich app data in Lumos with columns that you download directly from the service outside of Lumos (e.g. roles or permissions). Use this when the default columns from a Lumos integration or your IdP (e.g. Okta) aren’t enough for an Access Review, or when you need to refresh the data for a custom app before an audit. SeeAdding a custom appBefore you start
- Your CSV needs an Email, or a First Name and Last Name, for every row. See Custom Data (CSV) Formatting Requirements.
- Lumos matches each row to existing accounts using the app’s Identity Matching rules. Read Updating custom data for existing accounts before you import.
- Lumos treats your CSV as the current state of the app’s manually uploaded accounts, so any account that isn’t in your CSV is marked Deprovisioned, unless another source, such as your IdP or an integration, reports a different status for it.
Steps
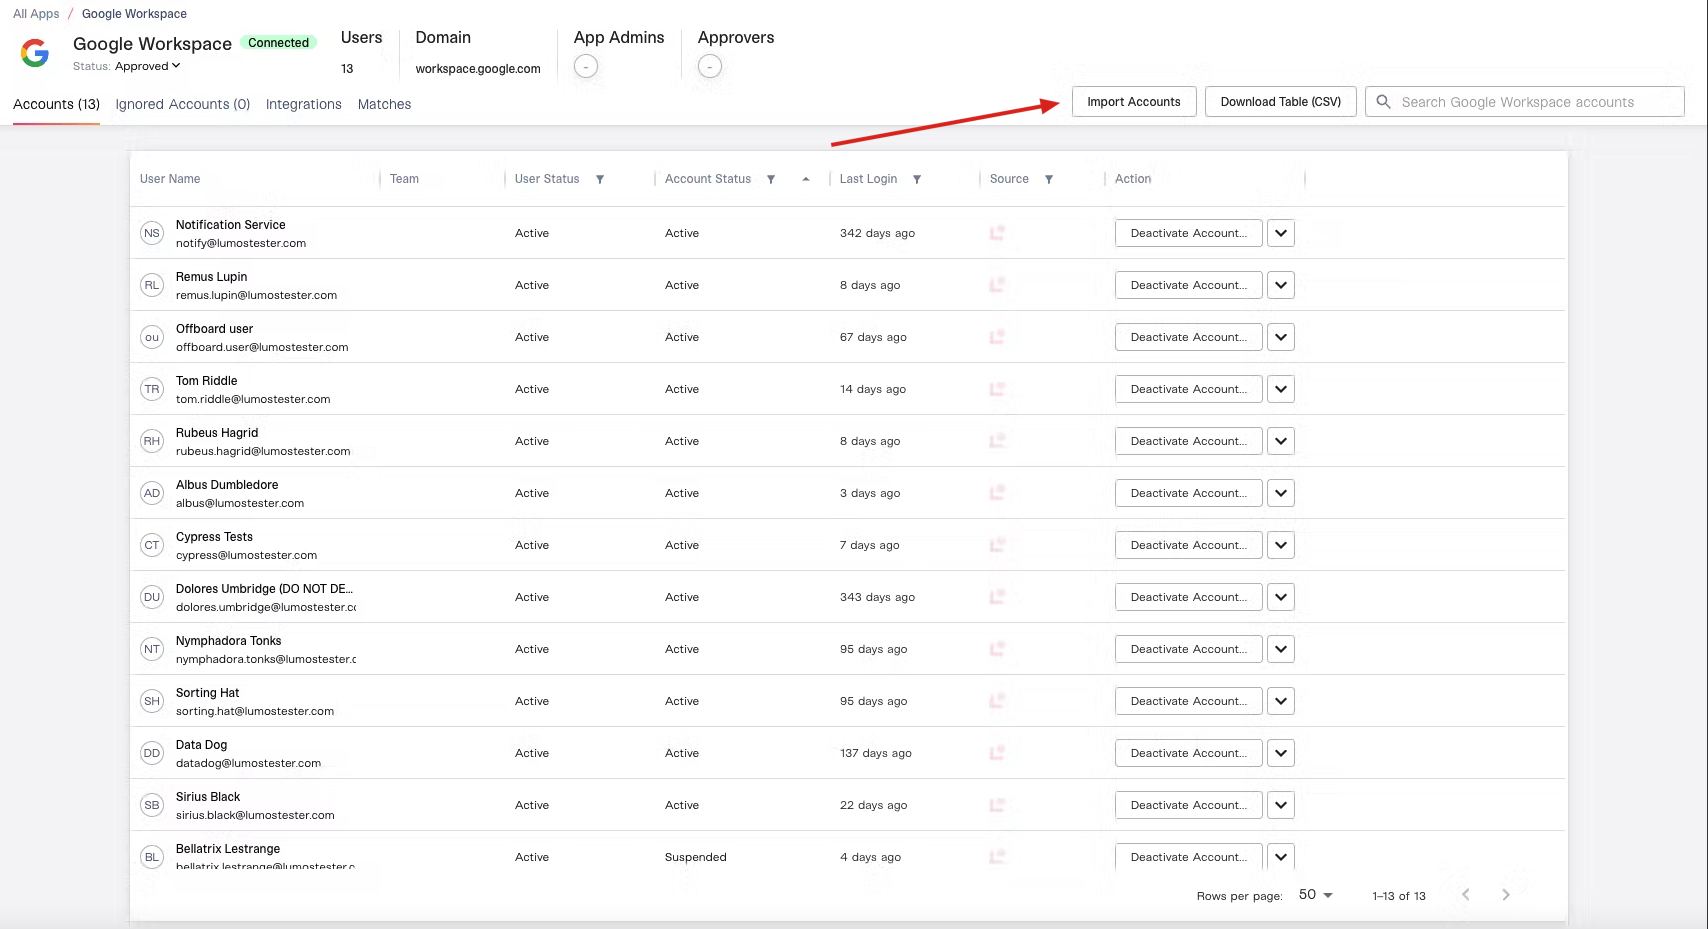
As an example, this article updates Google Workspace in Lumos to include a custom column, “Hogwarts House”.1. Go to the All Apps page and open the app you want to update.
2. Click Download Table (CSV) to back up the app’s current accounts.
Keep this file in case the import doesn’t work as expected.
3. Click Import Accounts in the top right, which will prompt you to upload a CSV.
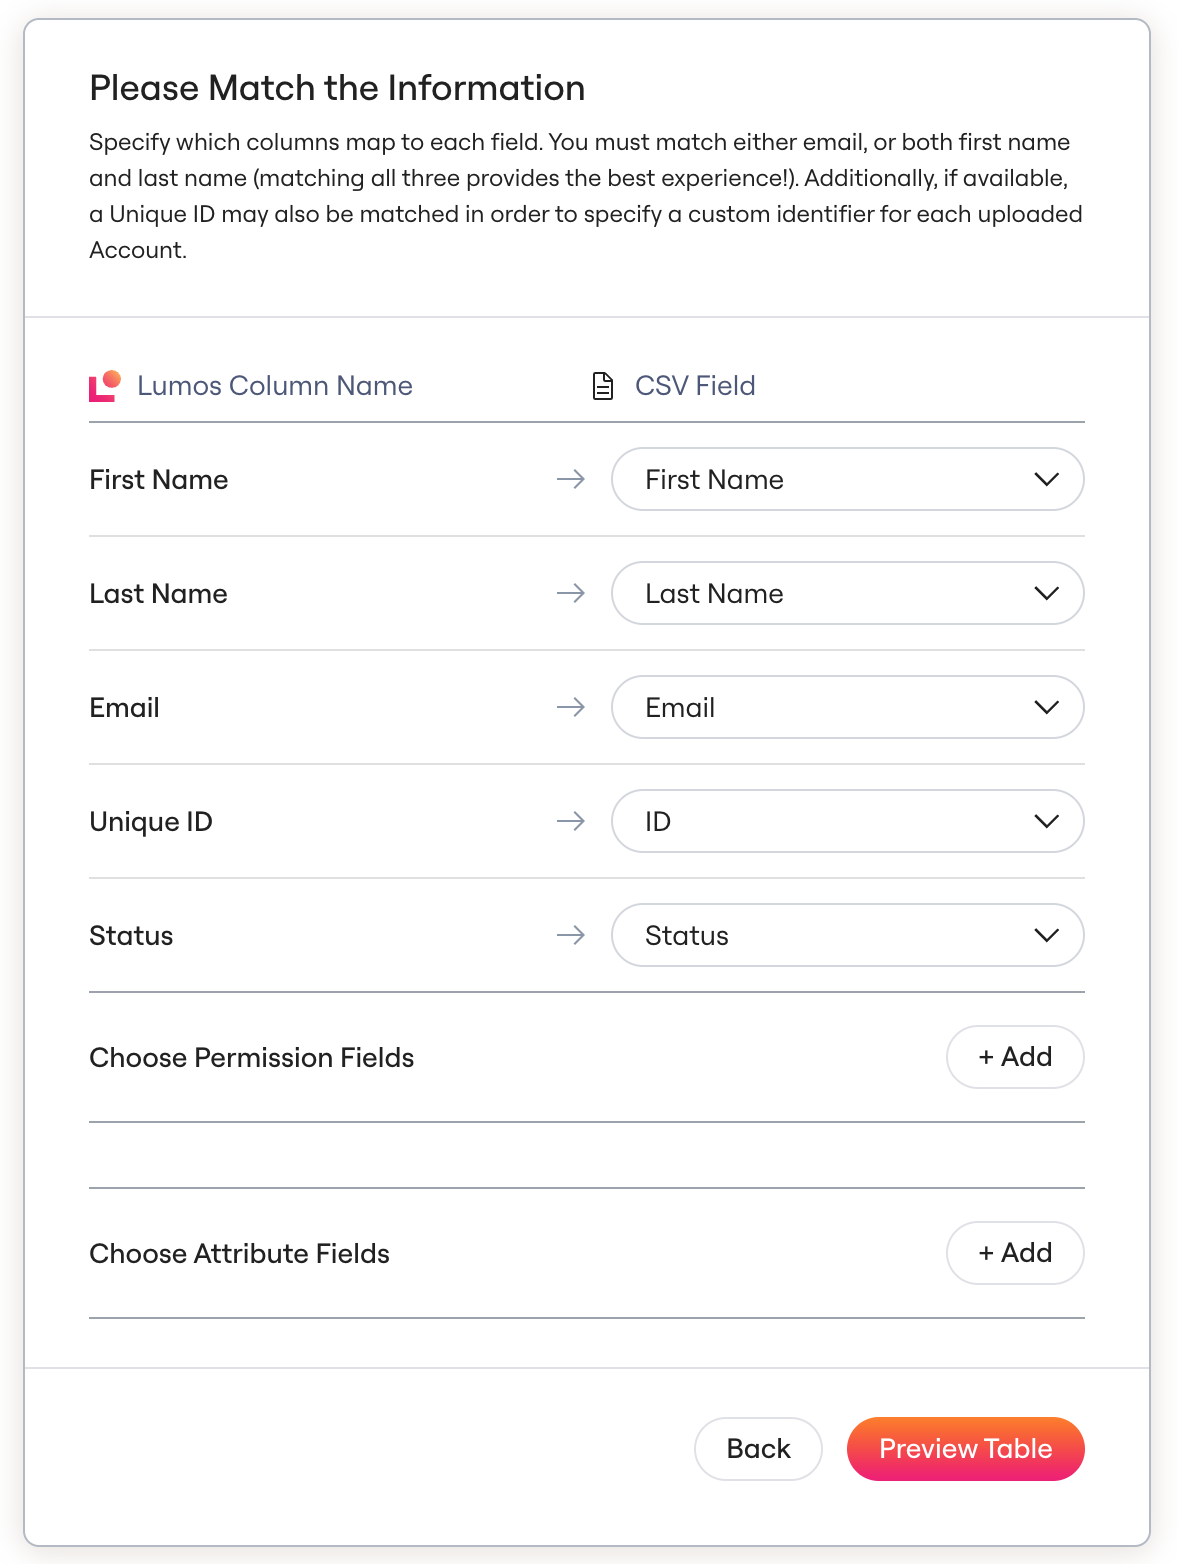
4. After attaching a file, you’ll be prompted to map any additional fields.
In this example, this is “Hogwarts House”. The name of the field on the right is what will show up in Lumos, while the name of the field on the left is the column header of your CSV.5. Select “Preview Table”, which will take you to a preview of the data.
If the upload fails, make sure the mapping follows the Lumos formatting requirements. SeeCustom Data (CSV) Formatting Requirements6. If you’re happy with the data, click “Finish Import”. Otherwise, go back to step 4 and update the mappings.
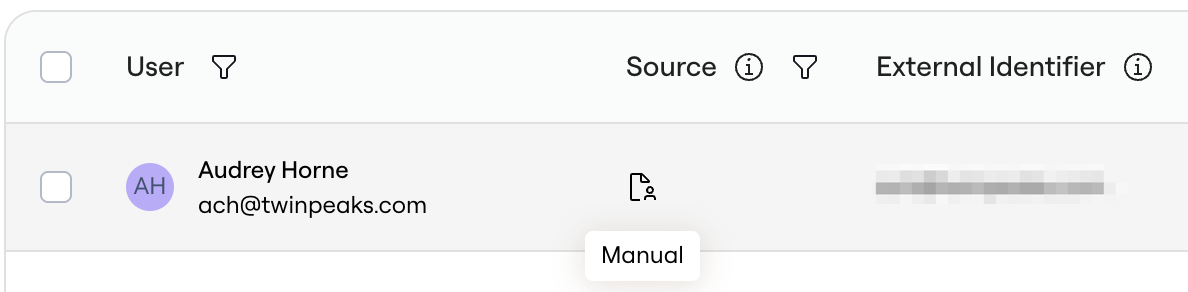
You’ll see the “Source” column is updated for rows that matched to existing accounts with an additional “Manual” icon (the silhouette of a person).Updating custom data for existing accounts
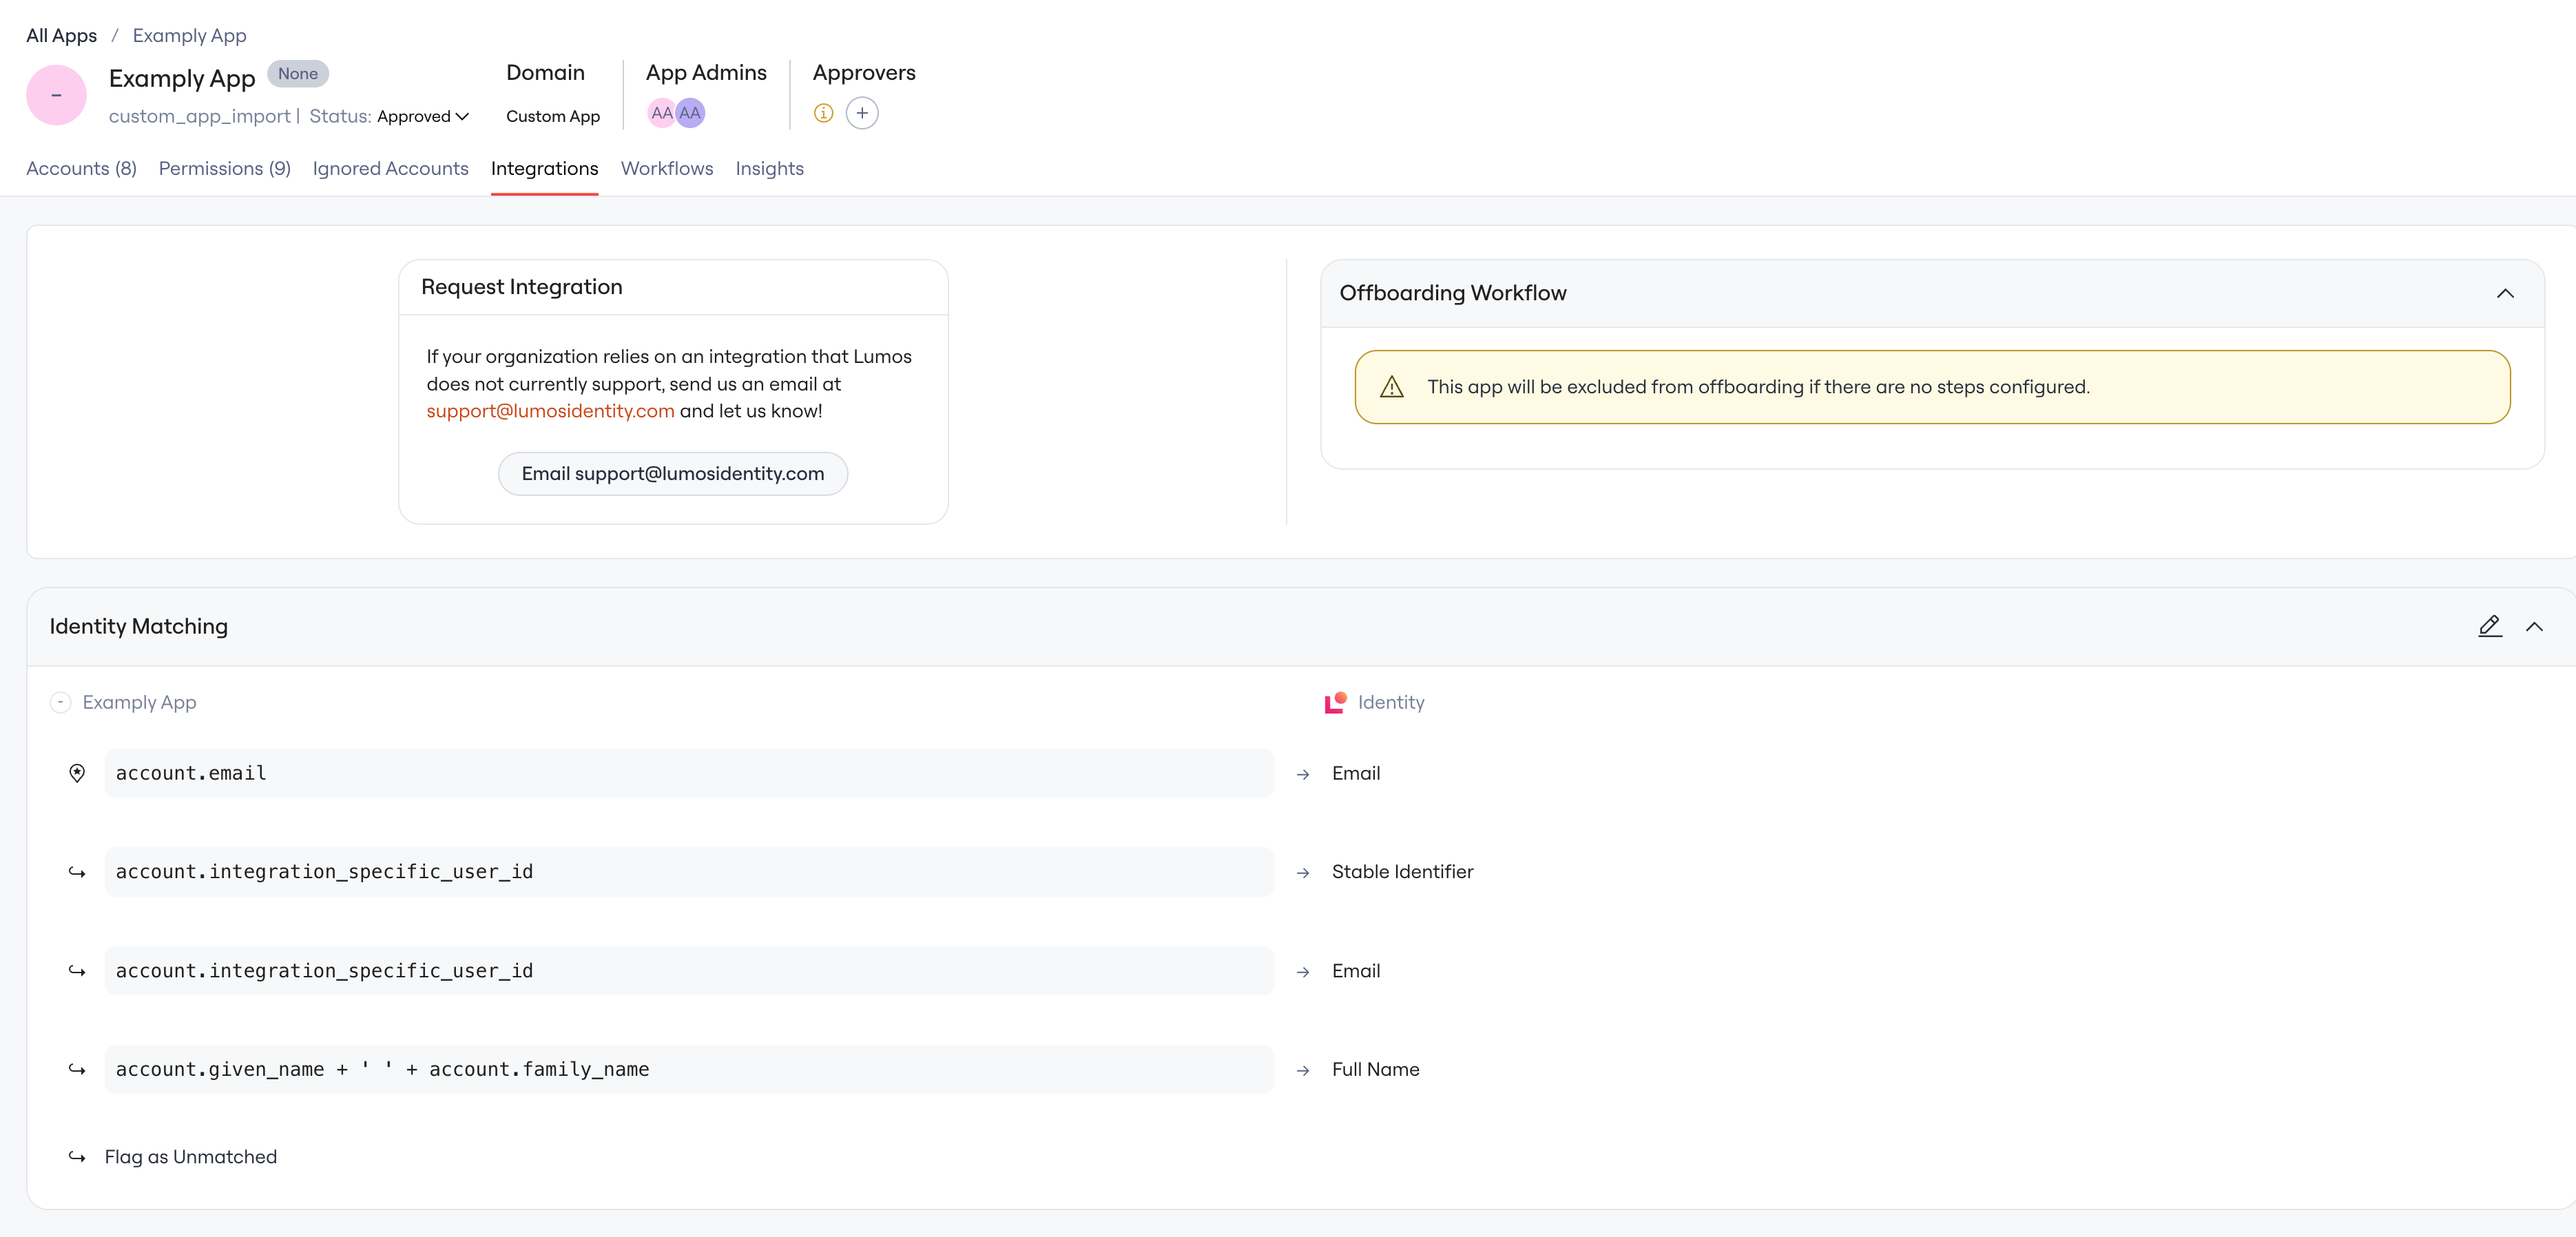
When uploading a CSV of custom account data, existing user’s accounts will be matched on the Identity Matching rules in the app’s Integrations tab: